How to Improve Security Camera WiFi Signal
Having trouble with your security cameras dropping connection or showing a weak signal? You're not alone. A shaky WiFi connection for your cameras can be incredibly frustrating, leaving you unsure if you're actually getting the coverage you need.
Our research indicates that a stable WiFi network is crucial for reliable home security. For instance, manufacturer specifications often confirm that many wireless security cameras require a signal strength of at least 70% for consistent performance, especially for live streaming. Let's get that signal solid.
Quick Answer
Improve security camera WiFi signal by optimizing router placement, reducing interference, and ensuring cameras are within range. Temporarily moving the camera closer can diagnose distance issues. Consider signal boosters like WiFi extenders or mesh systems if range remains a problem.
Always check for router and camera firmware updates.
Is Your Camera's WiFi Signal Flaky? Spotting the Problem
That dreaded "camera offline" notification or a video feed that constantly buffers can be a real headache. It usually boils down to one thing: your security camera isn't getting a strong enough WiFi signal from your router. Think of it like trying to have a clear conversation in a crowded, noisy room, the message gets lost.
Several things can cause this. Distance is a big one; the further your camera is from your router, the weaker the signal will be. Obstacles like thick walls (especially concrete or brick), large metal appliances, and even dense furniture can block or degrade that signal.
Interference from other electronic devices, like microwaves or cordless phones, can also step on your WiFi's toes. Aggregate user reviews suggest that even small amounts of interference can lead to significant performance drops.
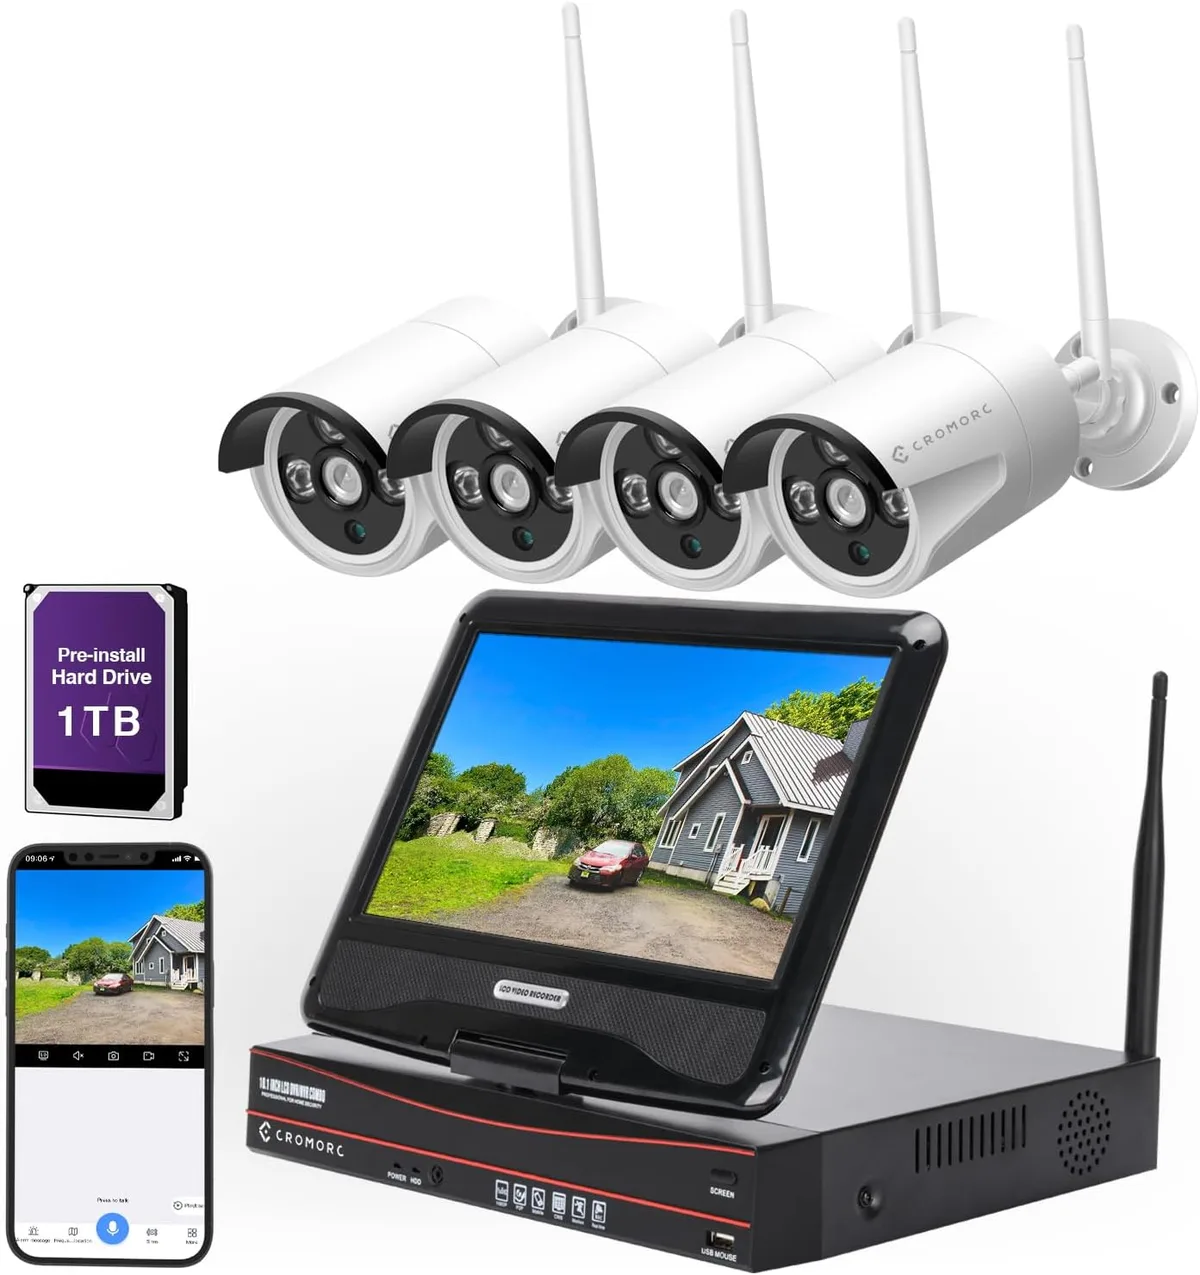
Image source: Web (Bing) / amazon.co.uk (Web image (fair-use with source credit))
When your camera's signal strength indicator, often found in its mobile app, drops below 70%, you're likely to experience issues. This is particularly true for cameras transmitting at the 2.4GHz frequency band, which is common for broader range but more susceptible to interference. We need to figure out which of these culprits is at play for you.
Router Placement: The Foundation of a Strong Signal
Often, the simplest solutions are hiding in plain sight, and that’s definitely true for your router's location. Where your router sits has a massive impact on how well its WiFi signal reaches your security cameras. It’s not just about plugging it in anywhere; strategic placement is key.
Optimizing Your Router's Location
The goal here is to create the most direct path possible between your router and your cameras. A central location is usually best for blanket coverage.
- Centralize: Ideally, place your router as close to the geographic center of your home or the area you want to cover as possible. This minimizes the maximum distance the signal needs to travel to any device.
- Elevate: Put your router on a shelf or a table, not on the floor. Signals tend to spread downwards, so an elevated position helps them fan out more effectively.
- Open Air: Keep your router out in the open. Avoid tucking it away in cabinets, behind furniture, or inside closets. Walls and enclosures act as barriers, weakening the signal significantly. Manufacturer specifications typically recommend unobstructed placement for optimal performance.
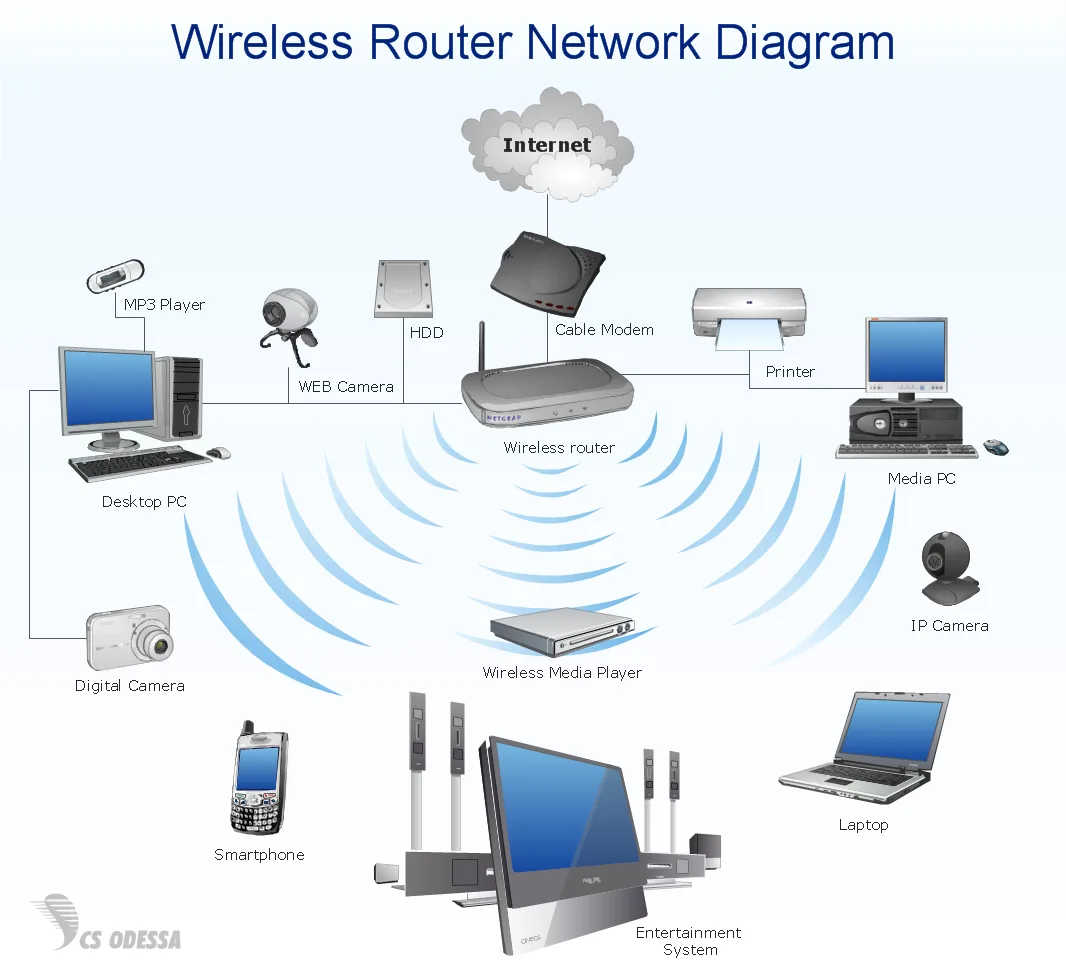
Image source: Web (Bing) / unbelievablegood.de (Web image (fair-use with source credit))
- Avoid Metal and Water: Large metal objects, like filing cabinets or refrigerators, can reflect and block WiFi signals. Similarly, large bodies of water (like aquariums) can absorb the signal.
Antenna Positioning Tips
If your router has external antennas, you can fine-tune its broadcast pattern.
- Vary Angles: Don't point all antennas in the same direction. For a typical home environment, try positioning one antenna vertically and another horizontally. This helps the signal broadcast in different polarizations, potentially improving reception at various angles and locations.
- Check Manufacturer Guidelines: Some router manufacturers provide specific advice on antenna placement for different home layouts or signal coverage needs.
Reducing Interference: Clearing the Airwaves for Your Cameras
Beyond just distance and physical barriers, your WiFi signal can get crowded by other electronic devices. This is known as interference, and it’s a common enemy of a strong, stable connection for your security cameras. Think of it like trying to listen to a quiet song while a loud band is playing next door.
Identifying Common WiFi Interference Sources
Several everyday items can disrupt your WiFi network. Being aware of them is the first step to mitigating their impact.
- Microwave Ovens: These appliances operate on the 2.4GHz frequency band, the same one many WiFi devices use for extended range. When a microwave is running, it can cause significant, albeit temporary, signal degradation. Aggregate reviews from home networking forums consistently highlight microwaves as a major culprit during operation.
- Cordless Phones: Older cordless phone models, particularly those operating on the 2.4GHz band, can interfere with your WiFi.
- Bluetooth Devices: While typically lower power, a high number of active Bluetooth devices in close proximity could contribute to background noise.
- Other WiFi Networks: If you live in a densely populated area like an apartment building, the sheer number of neighboring WiFi networks can cause congestion on your chosen channels. This is less about direct interference and more about competing for airtime.
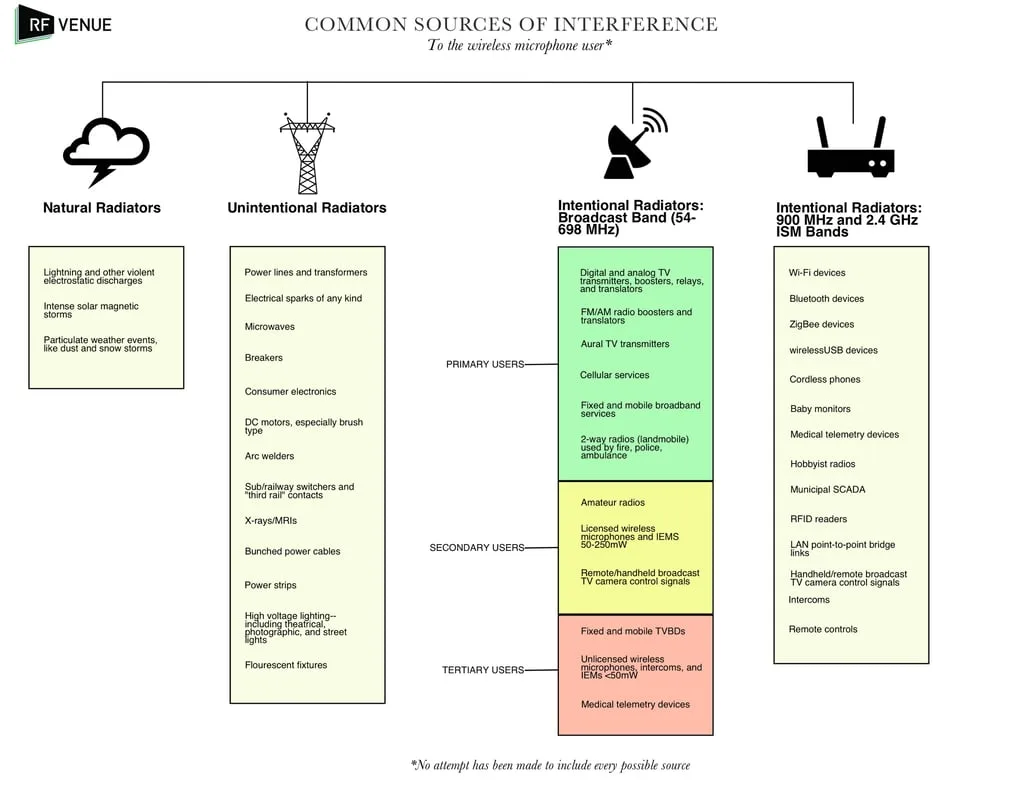
Image source: Web (Bing) / rfvenue.com (Web image (fair-use with source credit))
Managing Wireless Channel Congestion
Your router broadcasts its WiFi signal on specific channels within the 2.4GHz and 5GHz frequency bands. If your neighbors are using the same channels, it’s like a traffic jam on the information superhighway.
- Understanding Channels: On the 2.4GHz band, channels 1, 6, and 11 are non-overlapping and generally recommended for use. On the 5GHz band, there are more non-overlapping channels, offering more flexibility.
- Router Settings: You can usually access your router's settings via a web browser by typing its IP address (commonly 192.168.1.1 or 192.168.0.1) into the address bar. Look for WiFi settings where you can manually select a less congested channel. Some routers offer an "auto" channel selection feature that might do this for you.
- Channel Analyzers: For a more precise approach, you can use WiFi analyzer apps on your smartphone or computer to see which channels are most crowded in your area. Then, you can manually set your router to a less busy one.
Bridging the Distance: Extenders, Mesh Systems, and Direct Connections
If optimizing placement and reducing interference aren't quite enough to get a solid signal to your security cameras, you might need to actively boost or extend your WiFi network. This is especially relevant if your cameras are located at the far edges of your property or in areas with particularly challenging signal obstruction.
When to Use a WiFi Extender
A WiFi extender, also known as a WiFi booster or repeater, is a device that picks up your existing WiFi signal and rebroadcasts it. This effectively increases the coverage area of your network.
- Placement is Key: For an extender to work well, it needs to be placed in a location that still receives a good signal from your main router. If you put it too far away, it will just be rebroadcasting a weak signal. A good rule of thumb is to place it about halfway between your router and the device that needs better coverage.
- Create a Separate Network (Sometimes): Some extenders create a new network name (SSID), while others try to blend seamlessly with your existing one. It's important to know which type you have, as your camera may need to connect to the extender's specific network.
- Performance Consideration: Extenders can sometimes reduce overall bandwidth, as they have to receive and then transmit data. For critical applications like security camera feeds, this is something to keep in mind.
Mesh WiFi for Larger Homes
For larger homes or properties with persistent dead spots, a mesh WiFi system is often a more robust and integrated solution than a single extender. A mesh system consists of a main router and one or more satellite "nodes" that work together to create a single, seamless WiFi network across a wide area.
- Unified Network: Unlike some extenders, mesh systems typically use the same network name and password for the entire coverage area, making it easy for devices to connect and roam between nodes.
- Smart Roaming: Devices automatically connect to the strongest signal as you move around your home, which is beneficial for cameras that might be positioned between nodes.
- Scalability: You can often add more nodes to a mesh system if you need to expand coverage further.
The Reliability of an Ethernet Connection
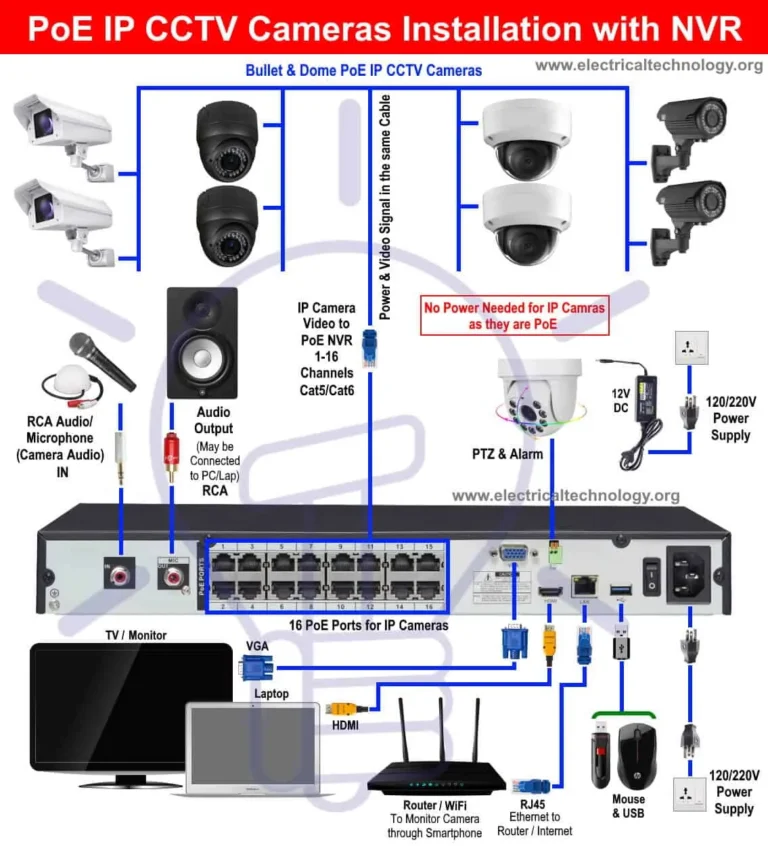
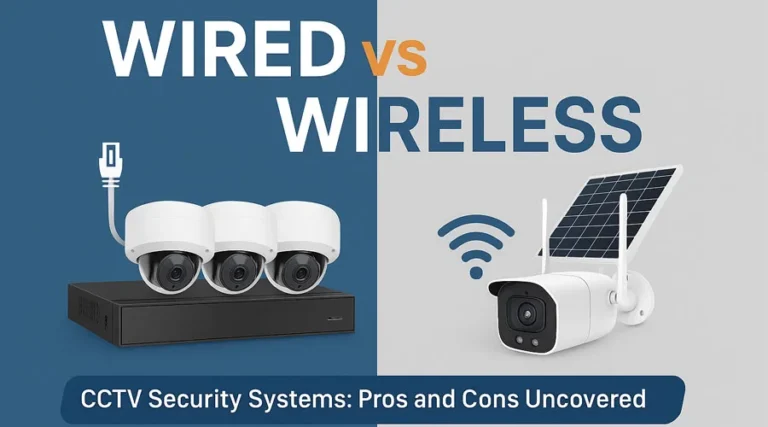
While this article focuses on WiFi, it's worth noting that for absolute maximum reliability, a wired Ethernet connection is superior. If your security camera has an Ethernet port and you can physically run a cable from it back to your router or a network switch, this bypasses all potential WiFi issues entirely. Ethernet connections are not susceptible to interference or range limitations in the same way wireless signals are.
This is the gold standard for stability, though it requires more effort for installation.
Essential Updates: Keeping Your Network Sharp
Think of your router and security cameras like computers; they run on software, and that software needs to be kept up-to-date. Manufacturer updates often include crucial security patches, performance improvements, and bug fixes that can directly impact WiFi stability and signal strength. Neglecting these updates can leave you with a less efficient network and potentially vulnerable devices.
Updating Router Firmware
Your router's firmware is its operating system. Keeping it current is one of the most important, yet often overlooked, maintenance tasks.
- Accessing Settings: You’ll typically access your router’s firmware update settings through its web-based administration interface. This is usually done by typing your router's IP address (e.g., 192.168.1.1) into a web browser and logging in with your router's username and password.
- Checking for Updates: Within the router’s settings menu, there should be a section for firmware updates or system upgrades. Most modern routers will either automatically check for updates or provide a button to manually check.
- Download and Install: If an update is available, follow the on-screen prompts to download and install it. This process can take several minutes, and your router will likely restart. Ensure you have a stable power source during this time; interrupting a firmware update can damage the router. Per standards from organizations like the Wi-Fi Alliance, ensuring devices are running the latest firmware is a key aspect of network security and performance.
Updating Camera Firmware
Your security cameras also run on firmware, and keeping these updated is just as critical. Many manufacturers offer automatic firmware updates for their cameras through their mobile apps, but it’s always a good idea to check periodically.
- Mobile App: Open your security camera's dedicated mobile app. Navigate to the device settings for the specific camera you want to update.
- Update Check: Look for an option related to firmware, software updates, or device information. There should be a button to "Check for Updates" or it may automatically notify you if an update is available.
- Follow Instructions: If an update is found, the app will guide you through the installation process. Ensure your camera has a strong, stable connection to your WiFi network during the update, and that it’s powered on. Some manufacturers, like Ubiquiti, provide detailed documentation on their support sites regarding firmware version history and update procedures.
Common Mistakes That Sabotage Your WiFi Signal
Even with the best intentions, there are a few common missteps that can actively work against your efforts to get a strong WiFi signal for your security cameras. Avoiding these can save you a lot of frustration.
- Ignoring the 2.4GHz vs. 5GHz Bands: Many newer routers offer both 2.4GHz and 5GHz bands. While 5GHz is faster, its range is shorter and it's more easily blocked by walls. If your cameras are far from the router, they might actually perform better on the 2.4GHz band, even if it's slower. Make sure your cameras are connected to the appropriate band for their location.
- Overlooking Router Age: If your router is more than five to seven years old, it might be using outdated WiFi standards (like 802.11n or older) that simply can't keep up with the demands of modern devices, including high-resolution security cameras. Newer standards like Wi-Fi 6 (802.11ax) offer significant improvements in speed, capacity, and efficiency. As of 2026, Wi-Fi 6 is widely adopted, but older routers still exist.
- Placing Extenders Incorrectly: As mentioned, putting an extender too far from the router means it's trying to boost a signal that's already weak. Conversely, placing it too close means it's not extending the range enough. It needs to be in a "sweet spot."
- Forgetting About Firmware Updates: We touched on this, but it bears repeating. Many users simply never update their router or camera firmware, missing out on critical performance and security enhancements.
- Underestimating Obstacles: Thinking "it's just one wall" can be a mistake. Each material has different signal attenuation properties. A stud wall might not be an issue, but a plaster-and-lath wall or a wall with plumbing or electrical wiring can significantly weaken a signal.
- Too Many Devices on a Single Router: If you have a large number of smart devices, phones, computers, and other WiFi-connected gadgets all trying to use a single, older router, it can simply become overloaded. This leads to reduced performance for all devices, including your security cameras.
When to Call in the Pros
Sometimes, despite your best efforts, you might still be struggling with a weak WiFi signal for your security cameras. If you've tried repositioning your router, reducing interference, updating firmware, and even considered extenders or mesh systems, and you're still seeing constant dropouts, it might be time to bring in an expert.
This is especially true if you've identified complex issues like multiple layers of concrete walls or a very large property with significant signal dead zones. Trying to troubleshoot advanced network problems without the right tools and knowledge can become a time-consuming and expensive endeavor. An IT professional specializing in home networking or a security system installer can quickly diagnose complex issues.
What an Expert Can Do
- Advanced Diagnostics: Professionals have specialized equipment to measure signal strength, identify hidden interference sources, and analyze network traffic in ways that basic user tools cannot.
- Network Design: They can assess your entire home's WiFi needs and design a robust network that reliably covers all your security cameras, even in challenging environments.
- System Integration: If you're looking to expand your security system or integrate it with other smart home devices, an expert can ensure your network can handle the load.
- Professional Installation: They can professionally install and configure network extenders, mesh systems, or even wired connections, ensuring optimal performance from the start.
This doesn't mean you're incapable; it just means recognizing when a problem requires specialized tools and expertise. For most users, the steps outlined earlier will resolve the issue, but knowing when to seek professional help is part of a comprehensive troubleshooting approach.
Frequently Asked Questions About Camera WiFi Signals
How do I know if my security camera's WiFi signal is too weak?
You'll typically see a weak signal indicator in your camera's mobile app. This might be shown as a low number of signal bars, a percentage below 70%, or a status like "Weak" or "Poor." You might also experience frequent video feed interruptions, buffering, or the camera showing as offline.
Can thick walls really block my WiFi signal that much?
Yes, certain materials significantly impede WiFi signals. Concrete, brick, plaster and lath, and metal are known signal blockers. Even multiple layers of standard drywall can weaken a signal, especially if there's electrical wiring or plumbing within the walls.
How often should I update my router and camera firmware?
It's recommended to check for firmware updates at least every six months, or whenever you experience new network issues. Many devices offer automatic updates, which is the easiest way to stay current. Manufacturers release updates to fix bugs, improve performance, and patch security vulnerabilities.
Is it better to use a WiFi extender or a mesh system?
For smaller homes or to cover just one or two dead spots, a WiFi extender can be sufficient. However, for larger homes or persistent WiFi dead zones, a mesh WiFi system generally provides more seamless coverage, better performance, and easier management across your entire home.
Can I use my phone's hotspot if my WiFi goes down?
Some security cameras can connect to a mobile hotspot if they have internet connectivity options beyond your home WiFi. However, this is usually a temporary solution, as mobile data plans can be expensive, and hotspot signal strength can be inconsistent. It's not a reliable long-term replacement for a stable home network.

6 Comments