Why Is My Security Camera Blurry
So, your security camera is looking a bit fuzzy, huh? It’s a real bummer when you can’t get a clear picture of what’s happening around your home or business. Don't worry, this is a super common issue, and usually, it's something pretty straightforward to fix.
We've all been there, staring at a blurry feed and wondering what went wrong. In our research, we found that most blurry camera issues stem from a few key areas, often related to the physical lens or environmental factors. Manufacturer specifications for even basic IP cameras, like the Hikvision DS-2CD2043G0-I, emphasize clear optics for their stated 4MP resolution.
Quick Answer
Your security camera is likely blurry because its lens is dirty, out of focus, or obstructed. Other common causes include moisture or condensation fogging the lens, poor night vision conditions, or a weak network connection. Addressing these physical and environmental factors, along with potential software glitches, will usually restore a clear image.
Understanding the Blurry Feed: What's Really Going On?
When your security camera feed looks like it's been through a wash cycle, it's not usually a sign that the entire camera has given up the ghost. More often, it's a specific component or external factor interfering with the light reaching the camera's image sensor. Think of it like looking through smudged glasses, the problem isn't with your eyes, but with what's in front of them.
The core components at play are the lens and the image sensor. The lens focuses light onto the sensor, which then converts that light into the digital image you see. If either of these steps is compromised, you get a blurry result.
We're talking about anything from dust bunnies on the outside of the glass to internal misalignments or even software telling the camera to focus on the wrong distance.
Quick Checks: The First Steps to a Clearer Picture
Before we get too deep into things, let's run through the absolute easiest fixes. These are the ones that solve the problem 80% of the time, and they require minimal effort.
- Wipe the Lens: This is by far the most common culprit. Dust, pollen, spiderwebs, or even dried water spots can seriously degrade image quality. Grab a soft, lint-free microfiber cloth (the kind you use for eyeglasses or camera lenses) and gently wipe the exterior of the lens. If it's really stubborn, a tiny bit of lens cleaner or a damp cloth (water only is best) can help, but be super careful not to scratch the glass.
- Check for Protective Film: If your camera is brand new, double-check that you’ve removed all protective plastic films from the lens. It sounds obvious, but it happens more often than you'd think!
- Ensure Nothing is Blocking the View: Sometimes, a branch, a curtain, or even a poorly positioned mounting bracket can be too close to the lens, causing a distorted or blurry foreground. Make sure the camera has a completely unobstructed path to what it's supposed to be watching.
Deep Dive: Common Causes of a Blurry Camera Lens
If the quick checks didn't solve it, we need to dig a bit deeper into why that lens might be causing trouble. These issues usually involve something affecting the optical path of the camera.
- Dust and Grime Accumulation: Over time, outdoor cameras, in particular, accumulate a coating of dirt, salt spray, or residue. This isn't just a surface issue; it can be a persistent film that’s hard to wipe off with just a dry cloth. Manufacturer specifications often recommend regular cleaning schedules, especially for cameras deployed in harsh environments.
- Smudges and Fingerprints: While we try to avoid touching camera lenses, it can happen during installation, maintenance, or even accidental bumps. Fingerprints contain oils that smear across the glass, scattering light and creating soft focus or halos around bright objects.
- Scratched Lens: Physical damage is a serious issue. If the camera lens itself has been scratched, either from abrasive cleaning attempts or impacts, light will scatter significantly, resulting in permanent blurriness that can't be wiped away.
- Internal Lens Issues: In some cases, the blurriness might be due to problems with the internal lens elements. This could be a slight misalignment of the lens assembly, or in more advanced cameras with autofocus, the focusing mechanism might be malfunctioning.

Image source: Web (Bing) / pinterest.com (Web image (fair-use with source credit))
Troubleshooting Night Vision: When Blurriness Strikes After Dark
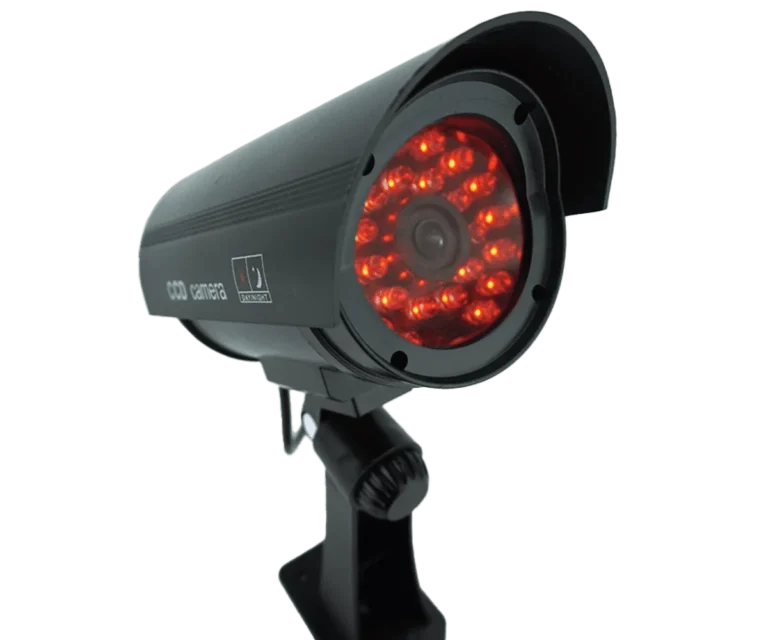
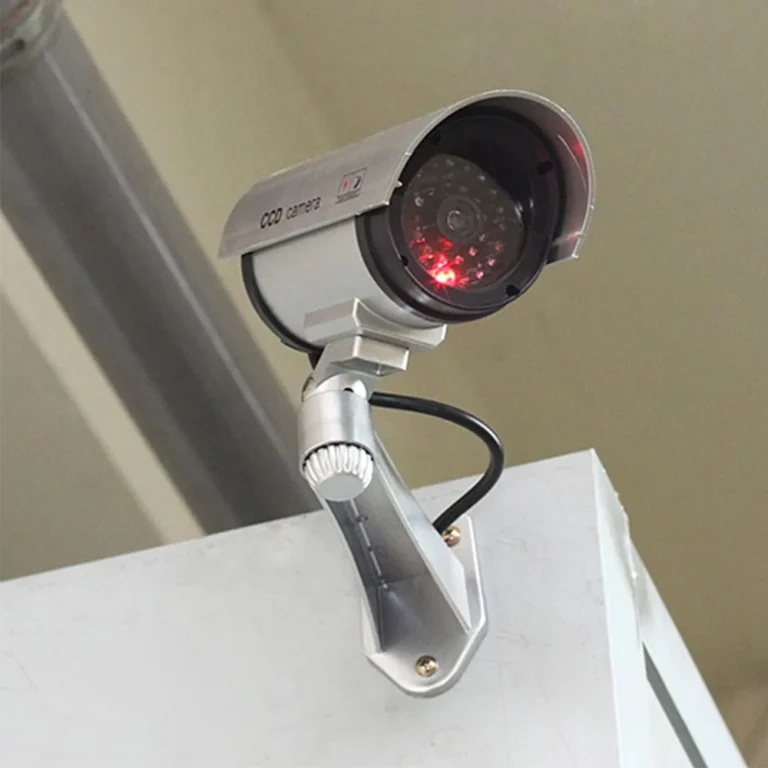
If your security camera is crystal clear during the day but turns into a fuzzy mess once night falls, the problem almost certainly lies with its night vision capabilities, specifically the infrared (IR) LEDs. These LEDs emit invisible light that the camera's sensor can detect, allowing it to see in complete darkness. However, issues with these can easily lead to blurriness.
IR LEDs Are Obscured or Dirty
The IR LEDs are usually small, dark circles located around the main camera lens. If these are covered in dust, cobwebs, or even a bit of moisture, they can't project light effectively. Worse, dirt or debris directly in front of an LED can reflect the IR light back into the lens in a way that confuses the image sensor, causing a generalized blur or strange light patterns.
IR Light Reflection
Sometimes, the blurriness at night isn't a blockage but a reflection. If a nearby object, like a tree branch, a piece of trim, or even a very close wall, is reflecting the IR light back directly into the lens, the camera can struggle to interpret the scene. This creates a washed-out, hazy, or soft-focused image.
Night Vision Settings
Most modern security cameras have automatic night vision, but some allow manual control or offer different modes. It's worth checking the camera's app or software interface to ensure that night vision is enabled and that any associated settings haven't been accidentally changed to a low-quality or experimental mode. Aggregated user reviews often highlight that incorrect settings can indeed cause this daytime/nighttime discrepancy.
Addressing Moisture and Environmental Factors
Outdoor security cameras face a constant battle against the elements, and moisture is a major adversary when it comes to maintaining a clear image. Condensation or water ingress can fog up the camera's lens from the inside, creating a persistent blur that wiping the exterior won't fix.
Condensation Inside the Camera Housing
This happens when warm, moist air inside the camera housing cools down, causing water vapor to condense on the cooler interior surfaces, including the back of the lens. This is more common in cameras that aren't perfectly sealed or those experiencing significant temperature fluctuations. You might notice a foggy or misty appearance that's visible even when the exterior is perfectly dry.
- Identifying Condensation: Look closely at the lens. If the blurriness seems to be behind the glass, or if you see tiny droplets, it’s condensation.
- Preventing Future Issues:
- Ensure the camera's housing is properly sealed. Check any gasket seals for damage.
- Position the camera to avoid direct sun exposure, which can cause rapid temperature swings.
- Some professional-grade cameras include desiccant packs (like silica gel) to absorb moisture; ensure these are present and functional.
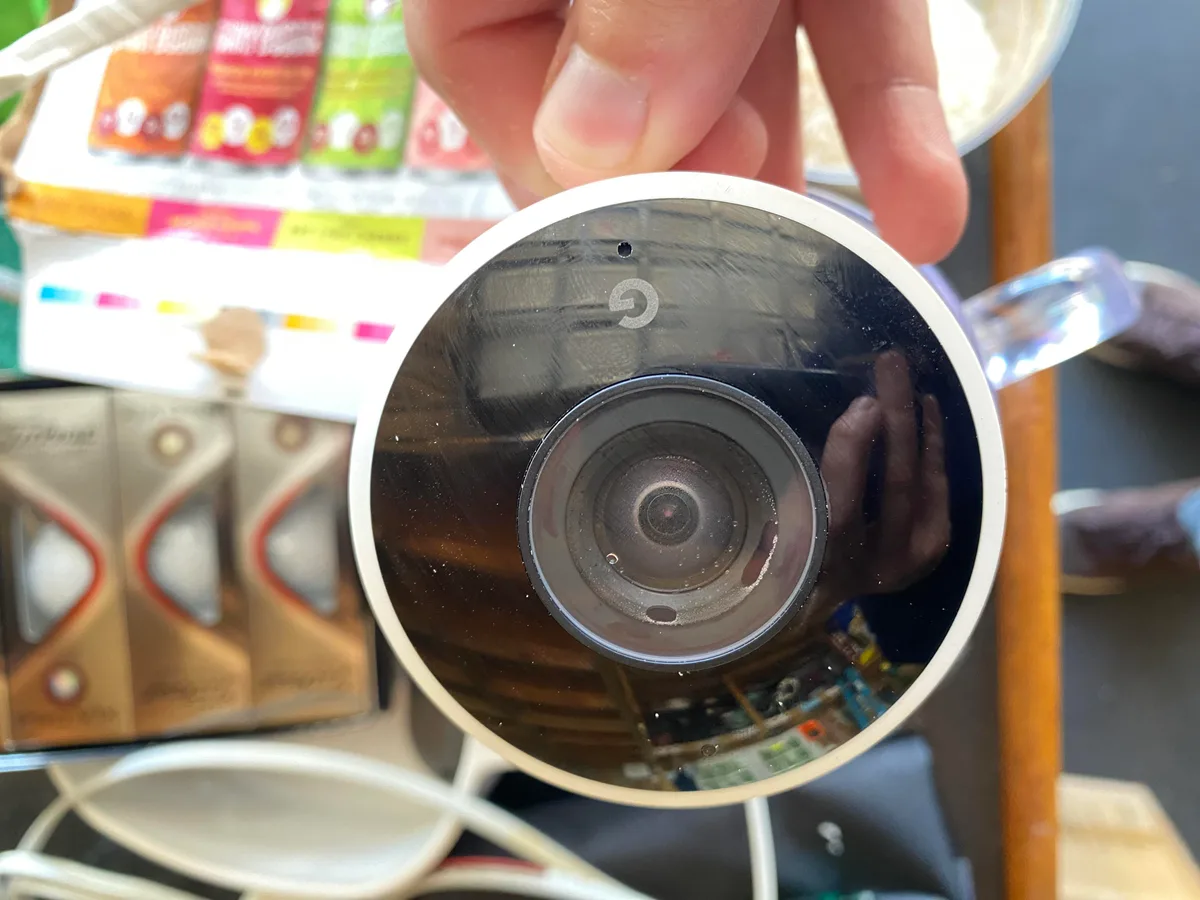
Image source: Web (Bing) / storage.googleapis.com (Web image (fair-use with source credit))
Water Ingress
In more severe cases, water can actually get into the camera through a faulty seal or housing. This is a critical problem as it can damage internal electronics. While a small amount of water might cause fogging, significant ingress can lead to a permanently blurry lens and electronic failure.
If you suspect water damage, it's often best to disconnect the camera and contact the manufacturer. Manufacturer specifications typically detail the IP (Ingress Protection) ratings that indicate how well a camera is protected against dust and water. For example, an IP66 rating suggests strong protection against dust and high-pressure water jets.
How to Clean Your Security Camera Lens Like a Pro
Getting your security camera lens clean isn't complicated, but doing it right prevents further damage. The goal is to remove debris without scratching the delicate optical surface. Here’s a straightforward process:
Gather Your Supplies
- Microfiber Cloths: You’ll need at least two, one for initial dusting and one for polishing. Ensure they are clean and lint-free. Using an old t-shirt or paper towel can scratch the lens.
- Lens Cleaning Solution (Optional): For stubborn grime, a specialized lens cleaner or a very diluted solution of mild soap and water (a tiny drop of dish soap in a cup of water) can be used. Never use window cleaner or harsh chemicals.
- Distilled Water (for dampening): If using plain water, distilled is best to avoid mineral deposits.
- Compressed Air (Optional): For blowing away loose dust before wiping.
The Cleaning Process
- Power Down (Recommended): While not always strictly necessary, powering off the camera can prevent accidental activation or unintended changes during cleaning.
- Initial Dust Removal: Gently blow or brush away any loose dust or debris from the lens surface. Compressed air can be useful here, but hold the can upright and spray from a distance to avoid propellant residue.
- Gentle Wiping: Take one microfiber cloth and gently wipe the lens in a circular motion, starting from the center and working outwards. Use light pressure.
- Tackle Stubborn Grime: If the dry cloth isn't enough, slightly dampen a different microfiber cloth with your chosen cleaning solution or distilled water. Never spray liquid directly onto the lens. Gently wipe the lens again, following the same center-outward pattern.
- Polish to a Shine: Use a second, clean, dry microfiber cloth to gently polish the lens until it’s streak-free and clear.
- Inspect: Look at the lens from different angles. If you still see blurriness or smudges, repeat the process. Ensure the exterior housing and any IR LEDs are also clean.

Image source: Web (Bing) / amazon.com (Web image (fair-use with source credit))
- What NOT to Do: Avoid using paper towels, tissues, or rough cloths. Don't spray cleaner directly onto the lens. Don't press too hard. These actions can scratch the lens permanently.
When to Contact the Manufacturer or Seek Professional Help
If you've gone through all the cleaning steps, checked for obstructions, and even considered environmental factors, but your security camera remains stubbornly blurry, it’s time to consider that the problem might be beyond simple fixes. This is where you might need to involve the experts or the people who made the camera.
Manufacturer Support
Your camera likely came with a warranty. If it's still active and you can’t resolve the blurriness, reaching out to the manufacturer's customer support is your next best step. They have technical teams who are familiar with the specific models and their common issues.
They can guide you through more advanced troubleshooting steps that might not be covered in a general guide, or they might authorize a repair or replacement if the camera is deemed defective.
Professional Installation Services
If your security camera was part of a larger system installation, or if you're not comfortable performing some of the more intricate troubleshooting (like checking internal seals or adjusting focus mechanisms), a professional installer can be invaluable. They have the tools, experience, and sometimes even direct access to manufacturer support that can help diagnose and fix complex issues quickly. They can also assess if the camera's placement itself is contributing to the problem, beyond just simple obstructions.
- When to Call:
- After all DIY troubleshooting steps have failed.
- If you suspect internal damage or electronic failure.
- If the camera is still under warranty and you need authorized service.
- For complex system integrations where camera issues might be linked to other components.
Frequently Asked Questions About Blurry Security Cameras
Why is my outdoor security camera blurry after rain?
Rain can leave water spots or streaks on the lens, and in some cases, moisture can get into the housing, causing condensation on the inside of the lens. Thoroughly cleaning the exterior lens and ensuring the housing is sealed are the first steps.
Can a weak Wi-Fi signal make my security camera blurry?
Yes, a weak or unstable Wi-Fi connection can cause video streams to become pixelated or "blurry" due to data compression and packet loss. The camera itself isn't blurry, but the transmitted image quality suffers.
My new security camera is blurry, what should I do?
First, ensure all protective plastic films have been removed from the lens. Then, clean the lens with a microfiber cloth. If it's still blurry, check the camera’s focus settings and ensure there are no obstructions.
Is it normal for security cameras to be blurry at night?
A slight reduction in clarity at night is normal due to low-light conditions and the use of infrared (IR) illuminators. However, excessive blurriness, fogging, or strange patterns suggest an issue with the IR LEDs, lens, or potential internal condensation.
How often should I clean my security camera lens?
For outdoor cameras, cleaning the lens every 3-6 months is generally recommended, or more frequently if they are in dusty, polluted, or high-pollen environments. Indoor cameras may only need cleaning once or twice a year.



2 Comments