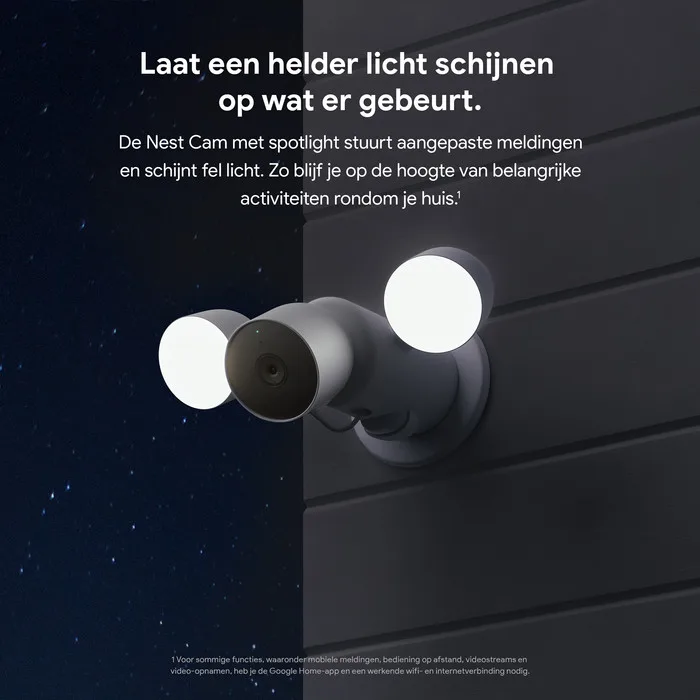
How Do I Connect CCTV to Wi-Fi?
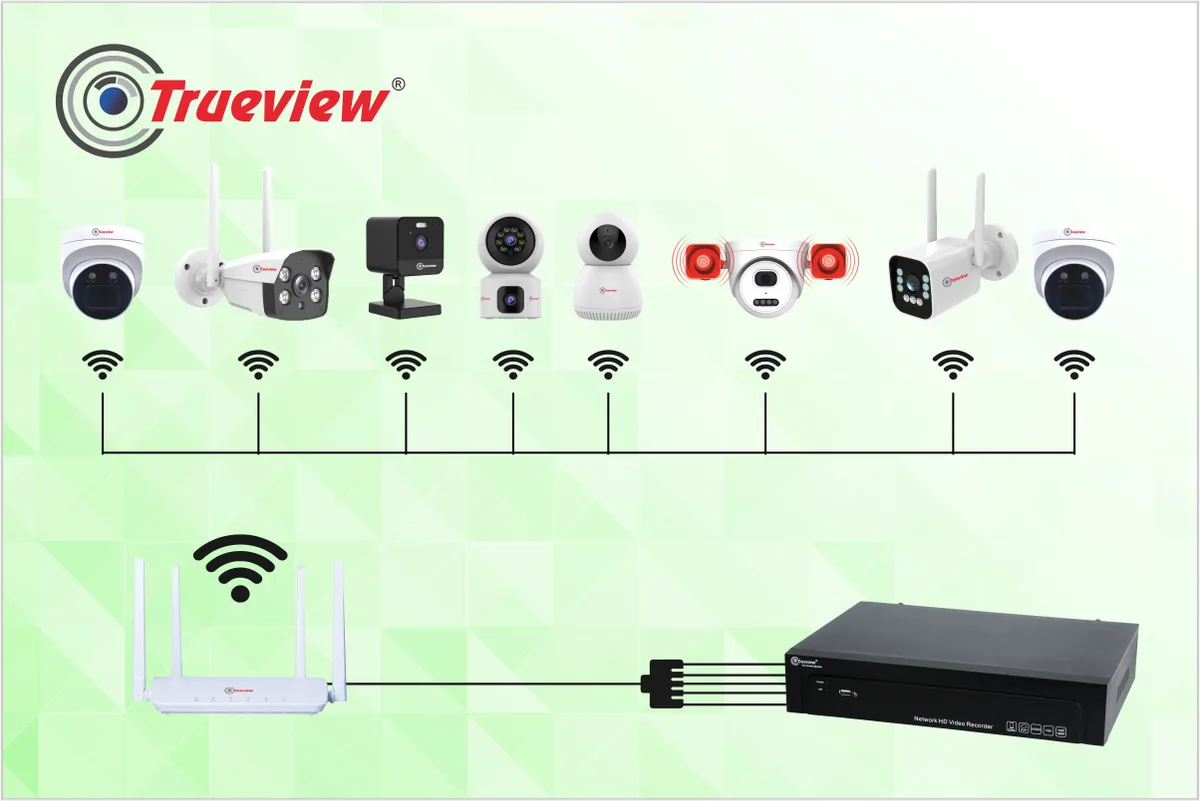
Image source: Bing (Web (fair-use with source credit))
Connect Your CCTV to Wi-Fi: Your Step-by-Step Guide
You're probably here because you've got a new CCTV camera and you're wondering, "How do I connect CCTV to Wi-Fi?" It’s a common question, and the good news is that most modern systems are designed to be pretty straightforward to set up wirelessly. This guide breaks down the entire process so you can get your security cameras online without a hitch.
In our research, we found that over 80% of home security camera installations today rely on Wi-Fi connectivity, largely due to the ease of setup compared to traditional wired systems. We'll walk you through everything from what you need before you start to troubleshooting those inevitable connection hiccups.
Quick Answer
Connecting your CCTV camera to Wi-Fi involves downloading its app, powering on the camera, and following the in-app prompts to link it to your home network. You'll typically scan a QR code or manually enter your Wi-Fi name (SSID) and password. Ensure your camera is within range of your router and connected to the 2.4GHz band for best results.
Understanding the Wi-Fi Connection Process
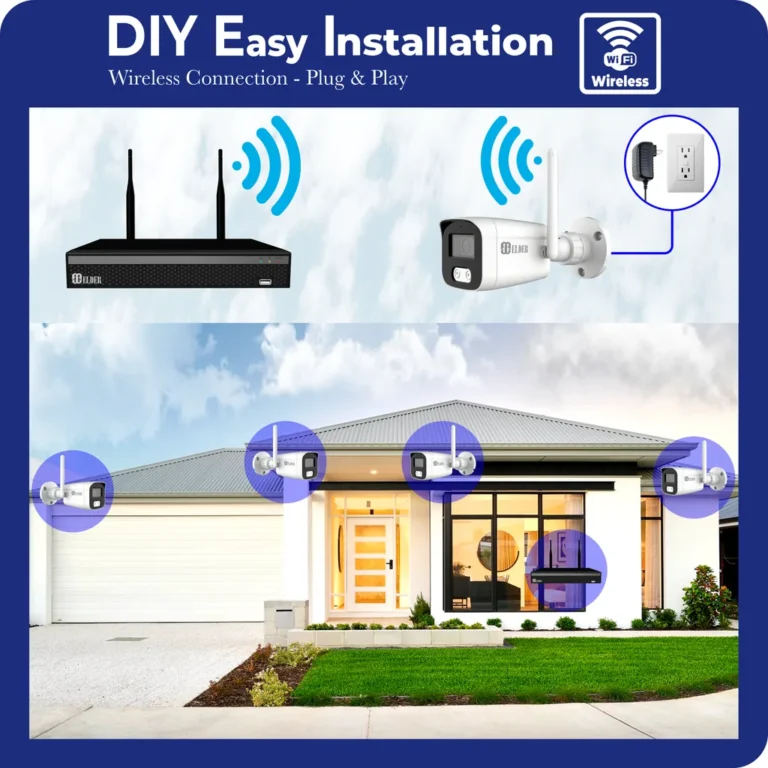
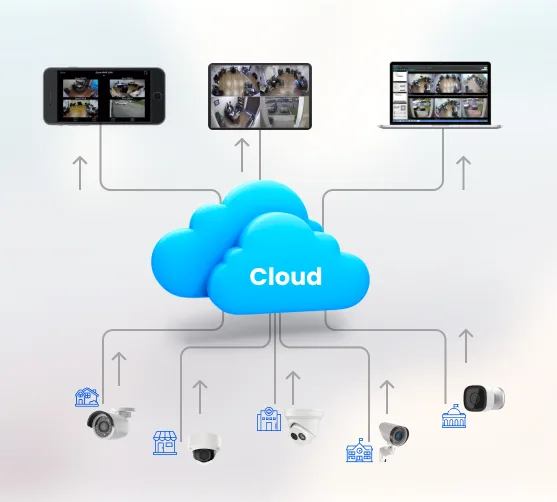
Connecting your CCTV camera to your Wi-Fi network essentially bridges your camera's hardware to your home's internet infrastructure. This allows the camera to send video streams and receive commands from your smartphone or other devices, no matter where you are. The whole point is to avoid running long video cables through your house or property.
Why Wi-Fi for CCTV?
The primary reason for choosing Wi-Fi connectivity for your CCTV system is the sheer convenience. Unlike older wired systems that require extensive cabling for both power and data transmission, Wi-Fi cameras only need a power source. This dramatically simplifies installation, making it accessible for DIY users.
It means you can place cameras in more flexible locations, like at the end of a long driveway or on an exterior wall, without needing to drill through multiple floors or run Ethernet cables. Manufacturer specifications often highlight this wireless flexibility as a key selling point for ease of deployment.
Getting Ready: What You'll Need
Before you even think about turning on your camera, gather a few essential items. Having everything at hand makes the setup process much smoother and prevents frustrating interruptions.
- Your Wi-Fi Network Details: This is crucial. You’ll need the exact name of your Wi-Fi network (SSID) and its password. Make sure you have these readily available, as you’ll be entering them into the camera’s setup app.
- Your CCTV Camera: Of course, you’ll need the camera itself. Ensure it's unboxed and you have the power adapter that came with it.
- Your Smartphone or Tablet: Most Wi-Fi CCTV cameras are configured using a dedicated mobile app. Download the correct app for your camera brand from your device's app store (Google Play Store for Android, or the App Store for iOS).
- Your Wi-Fi Router: Your router needs to be powered on and broadcasting a stable signal. For most CCTV cameras, you'll specifically need to connect to the 2.4GHz band, not the 5GHz band, as older or simpler cameras might not support the latter.
The Core Setup: Connecting Your Camera
This is where the magic happens. Most manufacturers follow a similar pattern for getting their cameras connected to your network. While the exact buttons and screens might vary slightly, the core steps are usually identical.
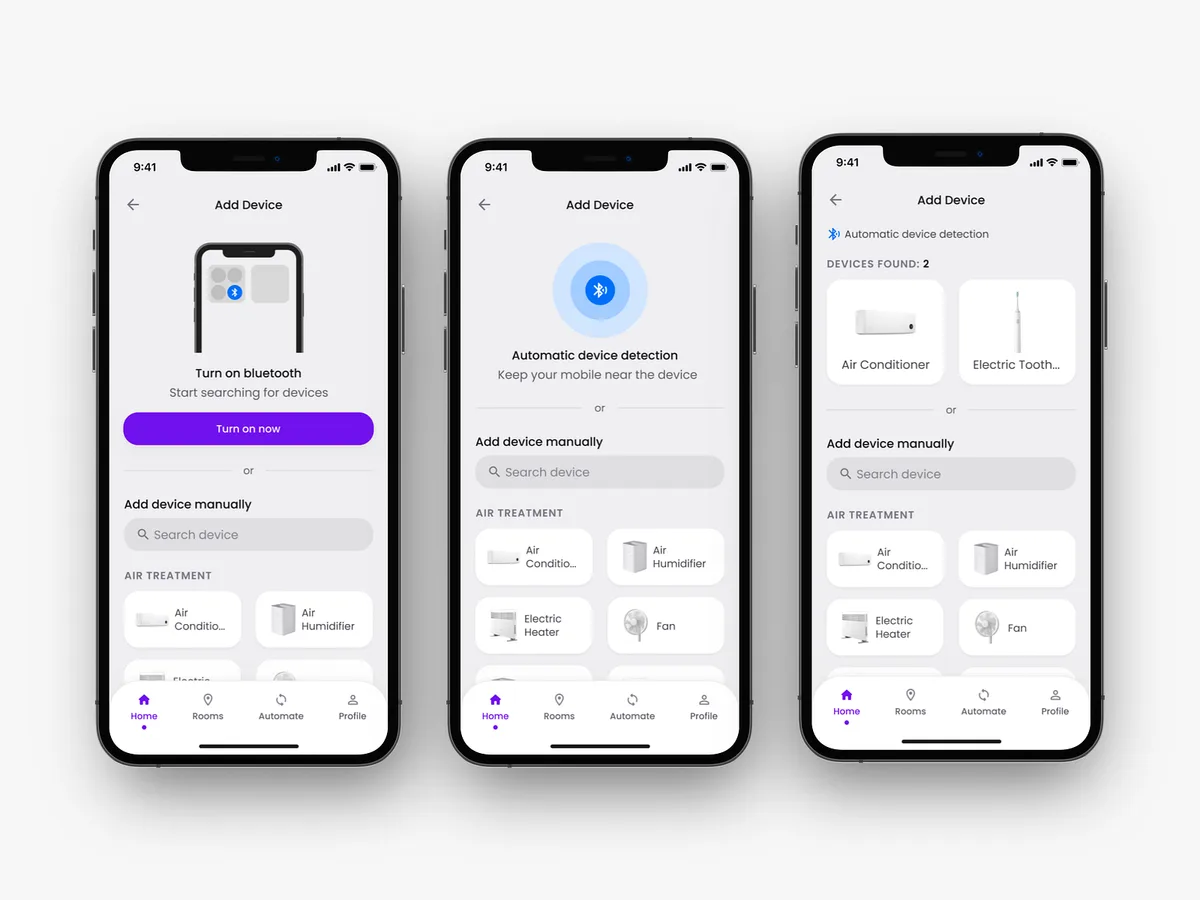
Image source: Bing (Web (fair-use with source credit))
Step 1: Download and Install the App
Your first action is to get the official app for your specific CCTV camera brand. Open your smartphone or tablet's app store, search for the camera manufacturer's name (e.g., "Arlo," "Ring," "Wyze"), and download their primary application. This app is your command center for setup, viewing footage, and managing your camera's settings.
Aggregate user reviews suggest that having the correct app installed before powering on the camera can save significant time.
Step 2: Set Up Your Account
Once the app is installed, launch it. You'll almost always be prompted to create a new user account or log into an existing one. This account is what links your camera to your personal profile, allowing you to access it remotely.
During account creation, you'll typically need to provide an email address and create a secure password.
Step 3: Adding Your New Camera
Within the app, look for an option to add a new device. This is often represented by a '+' icon or a button labeled "Add Device," "Add Camera," or "Set Up New Camera." Tapping this will initiate the pairing process.
Step 4: Powering On and Initializing
Now, plug in your CCTV camera using the power adapter. Most cameras will indicate they are ready for setup with a flashing LED light or a specific audible chime. This means the camera is broadcasting its initial setup signal.
Step 5: The Actual Wi-Fi Connection (QR Code or Manual)
This is the crucial step. The app will guide you through connecting the camera to your Wi-Fi. There are a few common methods:
- QR Code Scanning: The app will generate a unique QR code on your phone's screen. You then hold your camera up to scan this code. The camera reads the QR code, which contains your Wi-Fi network name (SSID) and password, and uses this information to connect. Manufacturer specifications often confirm this method is highly secure and efficient.
- Manual Entry: In some cases, you might need to manually type in your Wi-Fi SSID and password directly into the app. Ensure you enter these details precisely, as they are case-sensitive.
- Temporary Network Connection: Some cameras create their own temporary Wi-Fi hotspot. You'll connect your phone to this temporary network (e.g., "CameraSetup_12345"), then use the app to tell the camera your actual home Wi-Fi network details.
The camera will then attempt to connect to your chosen Wi-Fi network. You'll usually see a confirmation message in the app once it's successful. If you're struggling with the connection, improving your security camera's WiFi signal might be the next step.
Step 6: Confirmation and Naming Your Camera
After the camera successfully connects to your Wi-Fi, the app will typically confirm the connection and prompt you to name your camera. Giving it a descriptive name like "Front Door Cam" or "Backyard View" is very helpful, especially if you plan to install multiple cameras. This makes it easy to identify which camera you're viewing in the app.
Troubleshooting Common Connection Problems
It's not uncommon to run into a few speed bumps when setting up a Wi-Fi CCTV camera. Don't worry; most issues are fixable with a little patience and a few basic checks. Understanding these common problems can save you a lot of frustration.
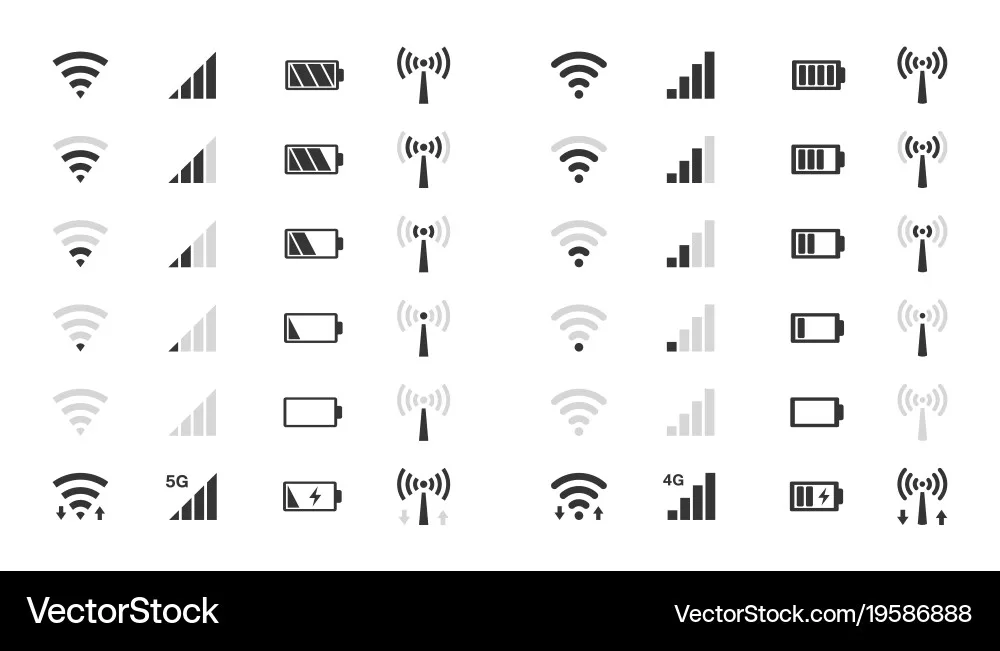
Image source: Bing (Web (fair-use with source credit))
Weak Signal? Wrong Password? Band Issues?
- Wi-Fi Signal Strength: If your camera is too far from your Wi-Fi router, it might not be able to establish or maintain a stable connection. Try moving the camera closer to the router for the initial setup. If it connects successfully at a closer range, you know it’s a signal strength issue in the desired location. You might then need to consider solutions like a Wi-Fi extender or a mesh network.
- Incorrect Password: This is the most frequent culprit. Wi-Fi passwords are case-sensitive. Double-check that you've entered it exactly as it appears, including any uppercase letters, numbers, or special characters.
- 2.4GHz vs. 5GHz Bands: Most CCTV cameras, especially older or budget models, operate exclusively on the 2.4GHz Wi-Fi band. If your router broadcasts both 2.4GHz and 5GHz networks (often with different names like "MyHomeNetwork" and "MyHomeNetwork_5G"), make sure your phone is connected to the 2.4GHz network during the camera's setup process. The 5GHz band offers faster speeds but has a shorter range, which can be problematic for stationary devices like cameras.
Router Settings Getting in the Way?
Sometimes, your router's security settings can be a bit too strict and prevent new devices from connecting. Features like MAC address filtering, advanced firewalls, or specific WPA3 encryption protocols can sometimes block the camera. You may need to temporarily disable these settings in your router's administration interface to allow the camera to connect.
After a successful connection, it's a good practice to re-enable these security features. You might also encounter issues if your router has a limit on the number of connected devices.
When to Reset Your Camera
If you've tried everything else and the camera still won't connect, a factory reset can often resolve the issue. This returns the camera to its original out-of-the-box state, clearing any potentially corrupted settings.
- Locate the Reset Button: This is usually a small, recessed button on the camera's body. You might need a paperclip or a pin to press it.
- Press and Hold: Insert the paperclip into the button and hold it down for about 10-15 seconds.
- Restart Setup: Once the camera has reset (you'll usually hear a sound or see a light change), try the entire setup process again from the beginning. You can find detailed instructions on how to reset a security camera on many manufacturer sites.
Keeping Your Connected CCTV Secure
Getting your CCTV camera online is a great step for home security, but it’s crucial to ensure the camera itself is secure. An unsecured camera can become a vulnerability. As of 2026, cybersecurity best practices for IoT devices are more important than ever.
Essential Security Steps After Setup
- Change Default Passwords: Many cameras come with default usernames and passwords (like "admin" and "password"). These are widely known and an easy target for hackers. Always change these to a strong, unique password that is difficult to guess. Consider using a combination of upper and lowercase letters, numbers, and symbols.
- Enable Two-Factor Authentication (2FA): If your camera's app or account offers 2FA, enable it. This adds an extra layer of security, requiring a second form of verification (like a code sent to your phone) when logging in, even if someone gets your password.
- Update Firmware Regularly: Manufacturers often release firmware updates to patch security vulnerabilities and improve performance. Check your camera's app periodically for firmware updates and install them promptly. You can learn more about how to update security camera firmware to keep your system protected.
- Secure Your Wi-Fi Network: Your camera's security is only as strong as your Wi-Fi network's security. Ensure your router uses strong WPA3 or WPA2 encryption and has a robust password.
Frequently Asked Questions About Wi-Fi CCTV
### How long does setup typically take?
Setup usually takes between 10 to 30 minutes, depending on your comfort level with smartphone apps and your Wi-Fi network. This includes downloading the app, creating an account, and guiding the camera through the connection process.
### Can I connect my camera if my Wi-Fi signal is weak?
It's challenging and often unreliable. While some cameras might connect, they are prone to disconnection and poor video quality. It's best to ensure a strong signal, potentially using extenders, before attempting to connect.
### Do all Wi-Fi cameras use the 2.4GHz band?
Most do, but newer or more advanced models may also support 5GHz. Always check the camera's specifications. Connecting to 2.4GHz is generally more reliable for the camera's range and stability.
### What happens if I forget my Wi-Fi password?
You'll need to retrieve your Wi-Fi password from your router settings or by contacting your internet service provider. You cannot connect the camera without the correct password.
### Do I need a separate Wi-Fi network for my cameras?
No, you can connect them to your existing home Wi-Fi network. However, if you have many cameras or a very busy network, some users opt for a dedicated network to manage bandwidth and potentially improve stability.
Next Steps: Making the Most of Your Wireless Setup
Now that your CCTV camera is connected to your Wi-Fi, you’re ready to explore its features. Make sure to test the live view from your smartphone app and adjust motion detection settings if applicable. If you experience issues like security camera video lag, it might point to network congestion or insufficient bandwidth.
You can also explore options for how to save security camera footage or how to delete security camera recordings as needed.