How to Update Security Camera Firmware
You've got security cameras installed for peace of mind, but keeping them running at their best requires a little upkeep. Updating your security camera firmware is a critical task that bolsters security and improves performance. It might sound technical, but it's usually a manageable process that keeps your surveillance system sharp.
Manufacturer specifications often highlight firmware as the core operating system, responsible for everything from image processing to network communication. As of 2026, many manufacturers recommend checking for updates at least quarterly to ensure optimal protection and functionality, especially since security patches are often released without much prior notice.
Quick Answer
Updating security camera firmware involves checking the manufacturer's website or app for new software. You'll typically log into the camera's interface via a web browser or mobile app. Then, navigate to the system settings, select the firmware update option, download the latest version, and install it.
Crucially, do not turn off power during the update.
Why Bother Updating Anyway? Benefits and Drawbacks
So, why go through the process of updating your security camera firmware? It's not just busywork; there are tangible reasons why manufacturers push these updates, and why you should pay attention to them. Think of it like updating the software on your phone or computer, it’s about staying current and protected.
Security First: Patching Vulnerabilities
This is the most critical reason to keep your firmware updated. Manufacturers regularly discover security flaws in their devices. These vulnerabilities, if left unpatched, can be exploited by malicious actors to gain unauthorized access to your camera feeds, your network, or even your personal data.
For instance, vulnerabilities related to insecure network protocols could allow remote attackers to view live streams. A firmware update acts like a digital security guard, patching these holes before they can be exploited. The National Institute of Standards and Technology (NIST) consistently publishes advisories on cybersecurity vulnerabilities, underscoring the importance of timely software updates across all connected devices.
Smoother Sailing: Bug Fixes and Performance
Beyond security, firmware updates are often packed with fixes for bugs that have cropped up since the camera's release. You might have experienced occasional glitches, like dropped connections, grainy video quality, or issues with motion detection not triggering properly. These aren't necessarily signs of a broken camera; they could just be software quirks that a newer firmware version resolves.
These updates aim to make your camera perform more reliably and efficiently, ensuring you get the clear, consistent footage you expect.
New Tricks: Unlocking Features
Sometimes, firmware updates aren't just about fixing things; they're about adding new capabilities. Manufacturers might introduce enhanced features, such as improved night vision algorithms for clearer low-light images, more intelligent motion detection zones, or better integration with other smart home devices. For example, an update might enable your camera to distinguish between pets and people, reducing false alerts.
These functional enhancements can significantly boost the usefulness and versatility of your existing surveillance system without requiring new hardware.
Getting Started: What You'll Need
Before you jump into updating, let's make sure you have everything you need. Having these items ready will make the process go much smoother and quicker. It’s about preparation to avoid any unexpected roadblocks.
Essential Tools and Information
To successfully update your security camera firmware, you'll typically need a few key things. Knowing your camera's specific make and model is paramount, as update procedures can vary significantly between brands like Reolink, Arlo, or Lorex. You will also need a stable internet connection, as firmware files are downloaded from the manufacturer's servers.
This usually requires your Wi-Fi network to be operational. A computer or a mobile device, depending on the camera's management system, will be necessary for initiating the update. Finally, ensure you have your camera's login credentials (username and password) handy, as you'll need them to access the device’s settings.
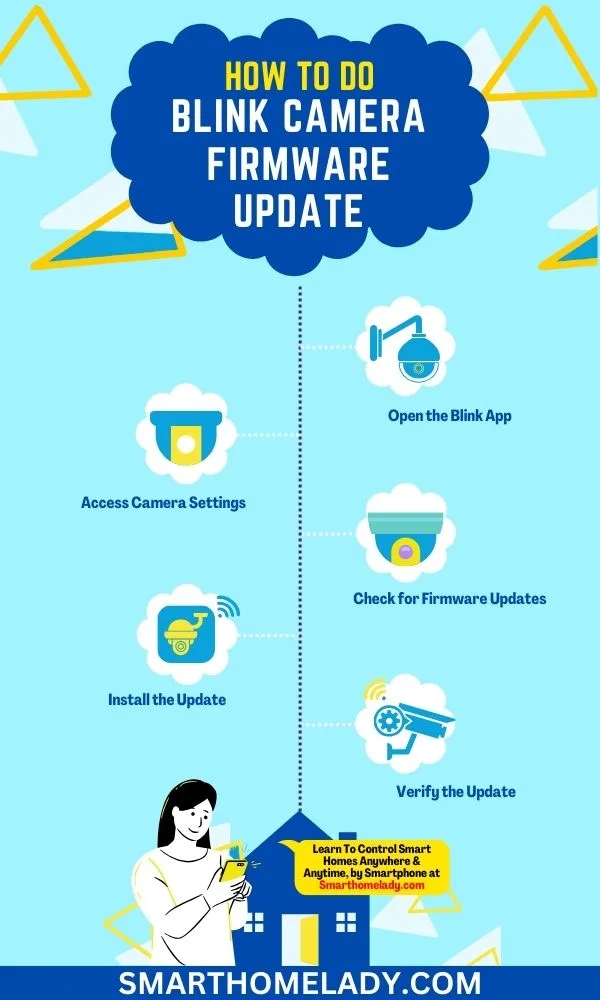
Image source: Web (Bing) / smarthomelady.com (Web image (fair-use with source credit))
The How-To Flow: Updating Your Security Camera Firmware
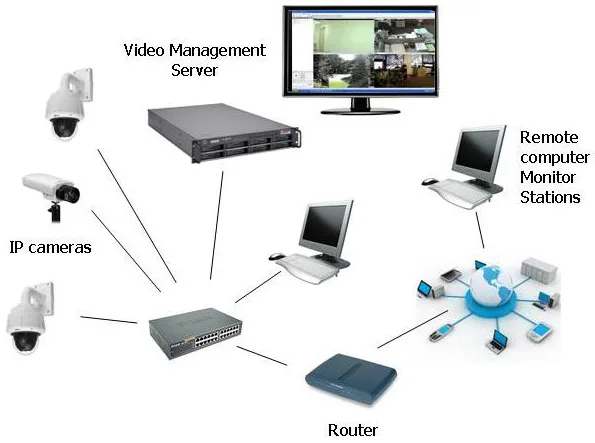
The exact steps for updating your security camera firmware can differ based on whether you're dealing with a standalone camera, a smart home camera managed by an app, or a system connected to a Network Video Recorder (NVR) or Digital Video Recorder (DVR). We'll walk through the most common methods to ensure you can get the job done, no matter your setup.
Scenario 1: Updating Through Your Camera's Web Interface
This method is common for many standalone IP cameras or older surveillance systems. It involves accessing your camera directly through a web browser.
Step 1: Find Your Camera's IP Address
Before you can access your camera via a browser, you need its IP address on your local network. You can usually find this by logging into your home router's administrative interface, look for a "connected devices" or "DHCP client list." Alternatively, many camera manufacturers provide a small utility program on their website that can scan your network and discover your camera's IP address. Check your camera's manual for brand-specific instructions on how to locate this crucial piece of information.
Step 2: Open Your Web Browser & Log In
Once you have the IP address, open your preferred web browser (like Chrome, Firefox, or Edge). Type the IP address directly into the address bar and press Enter.

Image source: Bing (Web (fair-use with source credit))
You'll then be prompted to log in. Enter the camera's username and password. These are often found on a sticker on the camera itself, in the user manual, or were set by you during the initial setup.
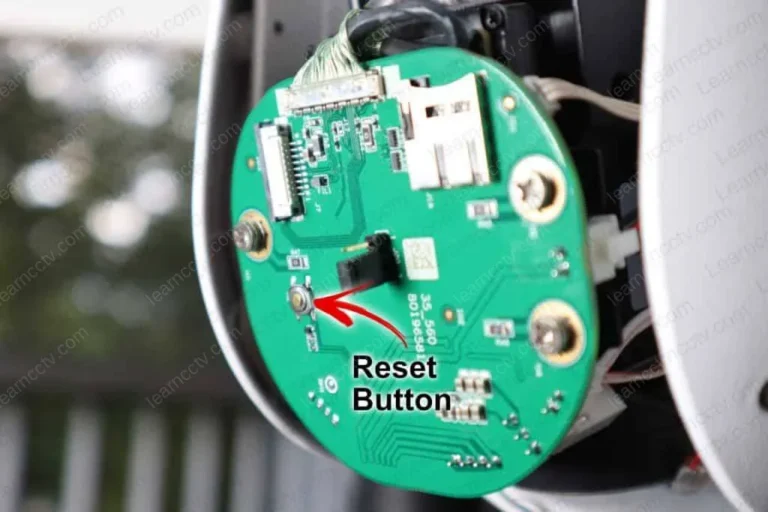
If you've forgotten them, you may need to perform a factory reset on the camera, which will revert it to its default login credentials but will also erase all its settings.
Step 3: Locate and Check for Firmware Updates
After successfully logging in, navigate through the camera's web interface. Look for menu options such as "System," "Maintenance," "Settings," "Advanced Settings," or "Upgrade." Within this section, you should find a clear option to "Check for Updates," "Firmware Update," or "Software Version." Click this button. Your camera will then attempt to connect to the manufacturer's official servers to see if a newer firmware version is available for your specific model.
Step 4: Download and Install Firmware (Don't Interrupt!)
If an update is found, you'll typically see a button to "Download" and then "Install" or "Apply." This is the most critical step: once the firmware installation process begins, do not power off the camera, disconnect it from the network, or close your web browser. Interrupting the firmware update can corrupt the camera's firmware, rendering it inoperable and potentially requiring a complete replacement. This process can take several minutes, so be patient and let it complete fully.
Step 5: Reboot (If Necessary)
After the firmware has been successfully installed, the camera might automatically reboot itself to apply the changes. If it doesn't, or if you're prompted to do so, you may need to manually power cycle the camera. This involves unplugging its power adapter, waiting about 10-15 seconds, and then plugging it back in.
This ensures that the new firmware is fully loaded and active.
Scenario 2: Updating Through a Mobile App
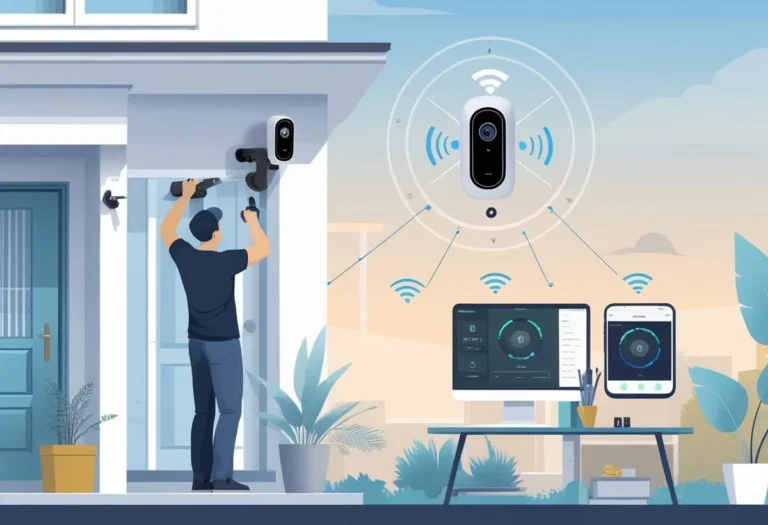
Many modern security cameras, especially those integrated into smart home ecosystems, are managed through dedicated mobile applications. This often simplifies the update process significantly.
Step 1: Open Your Camera's App & Navigate Settings
First, launch the mobile app you normally use to view and manage your cameras on your smartphone or tablet. Locate the specific camera you wish to update within the app's interface. Typically, you'll find a settings or gear icon associated with that camera's feed or listing.
Tap on this icon to access its individual settings menu.
Step 2: Find the Firmware Update Option
Once you're in the camera's settings, look for an option related to firmware. This might be labeled as "Firmware Update," "Software Version," "About Device," or "System Information." Tapping this will usually reveal the current firmware version installed and provide options for checking for updates.
Step 3: Download and Install Firmware
If the app indicates that a new firmware version is available, you'll see a button or prompt to "Download" and "Install." It’s essential to ensure that your mobile device is connected to Wi-Fi and that the camera itself has a stable power source and network connection before you begin. Keep the app open and running in the foreground throughout the download and installation process. Closing the app prematurely can interrupt the update, potentially leading to the same issues as interrupting a web-based update.
The app will typically notify you once the firmware has been successfully installed.
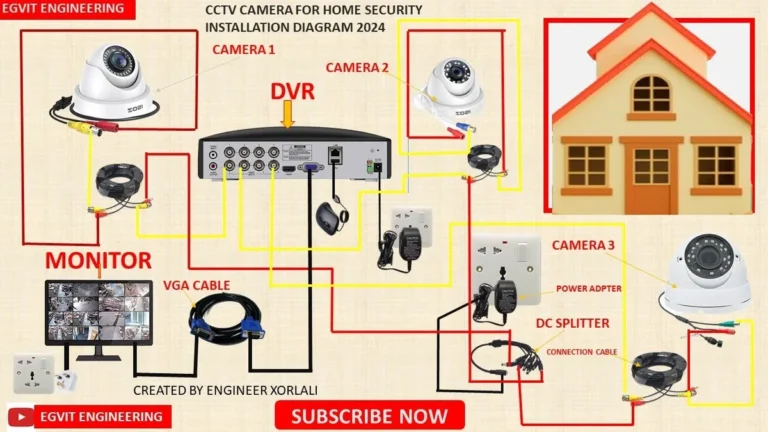
Scenario 3: Updating Through an NVR or DVR System
If your cameras are part of a larger surveillance system managed by a Network Video Recorder (NVR) or Digital Video Recorder (DVR), the firmware update process is usually handled through the NVR/DVR itself. This central unit then pushes the updates to the connected cameras.
Step 1: Access Your NVR/DVR Interface & Log In
You'll need to access the NVR/DVR's main interface. This is typically done by connecting a monitor and mouse directly to the NVR/DVR unit, or sometimes through a dedicated PC software or web interface provided by the manufacturer. Log in using your NVR/DVR administrator credentials.
Step 2: Find and Install the Update
Within the NVR/DVR's menu system, navigate to the "System," "Maintenance," "Update," or "Firmware" section. Here, you'll usually find an option to check for updates. Updates can sometimes be downloaded directly from the internet if the NVR/DVR is connected to your network, or you might need to download the firmware file from the manufacturer's website onto a USB drive and then upload it through the NVR/DVR's USB port.
Follow the on-screen instructions to initiate the update. Never disconnect power from the NVR/DVR during this process, as it can cause significant system damage.
Step 3: Camera Updates via NVR/DVR
After the NVR/DVR's firmware has been successfully updated, it will often automatically check for and push compatible firmware updates to any cameras connected to it. You may see a separate section within the NVR/DVR's menu dedicated to managing or updating individual cameras within the system. Ensure these camera updates are also initiated and allowed to complete without interruption.
What If Something Goes Wrong? Common Mistakes and Troubleshooting
While updating your security camera firmware is generally straightforward, things can occasionally go awry. Understanding common pitfalls and how to address them can save you a lot of hassle. It's always better to be prepared for the unlikely event that something doesn't go according to plan.
Crucial Steps to Avoid During Updates
The most common mistake people make is interrupting the firmware update process. This typically happens when the power to the camera or the entire system is cut off prematurely, or if the user closes the browser window or mobile app before the update is finalized. Another frequent error is attempting to install firmware meant for a different camera model; using firmware not specifically designed for your device can render it inoperable.
Always double-check that you have downloaded the correct firmware file for your exact camera make and model. Furthermore, attempting to update over an unstable or weak Wi-Fi signal can lead to download corruption or installation failures.
When to Seek Help
If your camera stops working after an attempted update, don't panic immediately. First, give it some extra time. Some devices can take 10, 15 minutes to fully reboot and load new firmware.
Ensure the camera is receiving power and check your network connection. If the camera remains unresponsive, your best course of action is to consult the official documentation. This includes the camera's user manual or the support section on the manufacturer's website.
Many manufacturers offer dedicated troubleshooting guides or customer support lines that can provide model-specific advice for resolving firmware-related issues. For example, Arlo's support site offers detailed guides for firmware issues on their various camera models.
Final Recommendation: When to Update and What to Watch For
Deciding when to update your security camera firmware boils down to balancing proactive maintenance with potential disruption. For most users, the primary driver should be security. If the manufacturer releases a patch for a critical vulnerability, it's generally advisable to update as soon as you can reasonably do so, ideally within a few days.
This minimizes your exposure to potential cyber threats.
However, if your system is running smoothly and you haven't seen any security advisories specific to your cameras, you might choose to wait for a few weeks after a general firmware release. This allows early adopters to test the update and for manufacturers to potentially release a quick follow-up patch if any unexpected bugs surface. For instance, aggregate user feedback suggests that waiting a week or two after a major release from brands like Amcrest can sometimes help avoid minor glitches reported by the first wave of upgraders.
Ultimately, the decision hinges on your risk tolerance and the stability of your current system.
Expert Tips: Proactive Security and Maintenance
Keeping your security cameras updated is a key part of ongoing cybersecurity hygiene. Think of it as a regular check-up for your digital eyes and ears. Manufacturers’ advisories often highlight that neglected firmware is a leading vector for unauthorized access.
Always ensure your camera’s administrative password is strong and unique to prevent brute-force attacks, even with up-to-date firmware.
When you do update, try to schedule it during a time when you don’t critically need live camera access. While updates are usually quick, there’s always a slim chance of a prolonged reboot or a minor network hiccup. Having a backup plan, like knowing how to quickly access your router’s settings or having the camera's manual at hand, can also prove invaluable if you encounter unexpected issues.
Consistent, informed maintenance ensures your surveillance system remains a reliable asset.
4 Comments