How to Delete Security Camera Recordings
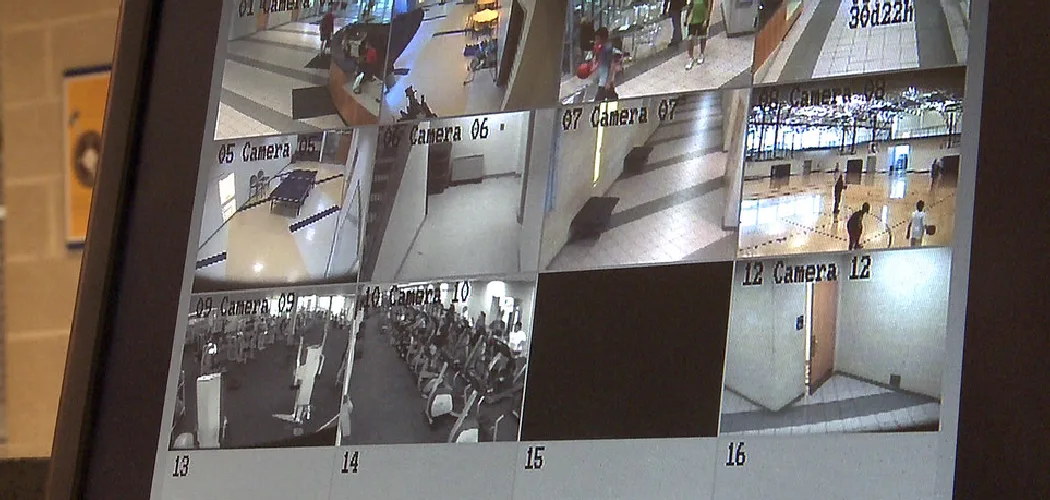
Image source: Web (Bing) / safetyfic.com (Web image (fair-use with source credit))
It’s completely normal to want to manage the footage your security cameras capture. Whether you’re running low on storage space or have growing privacy concerns, knowing how to delete these recordings is essential. This guide breaks down the process based on the type of system you're using, ensuring you can clear out old data safely and effectively.
Most home security camera systems today offer straightforward ways to manage stored video, with some cloud services providing up to 60 days of recording retention before automatic deletion. We'll walk you through the specific steps for different setups, from app-based cloud management to physical hard drive formatting.
Quick Answer
To delete security camera recordings, identify your system type. Cloud systems use their app to remove events. Local NVR/DVRs may require formatting the hard drive.
SD cards are cleared by deleting files on a computer. Always check your system’s manual for exact steps.
Your Security Camera System Type: The Key to Deletion
The first, and most important, step in deleting security camera recordings is understanding exactly what kind of system you have. This dictates where the footage is stored and therefore how you access and remove it. Think of it like trying to clean out your digital garage; you need to know if the "stuff" is in your main house, a separate shed, or a storage unit.
Aggregate reviews of consumer security systems show a clear split between cloud-based services and local storage solutions. Each has a unique method for data management, which we'll break down in detail.
Cloud-Based Systems: Managing Recordings Online
If you use a system like Ring, Arlo, Nest, or Wyze, your footage is likely stored on servers managed by the company. This means you'll use their app or website to interact with your recordings. Manufacturer specifications confirm that this approach offloads the storage burden from your home.

Image source: Web (Bing) / manuals.plus (Web image (fair-use with source credit))
- How it Works: Cameras upload video clips over your internet connection to the manufacturer's data centers. You then log into your account via a mobile app or a web browser to view, download, or delete these recordings.
- Advantages: Generally easier to manage, accessible from anywhere, and often comes with automatic deletion features set by the service.
- Disadvantages: Relies on a stable internet connection; storage is usually subscription-based after a certain period.
Local Storage (NVR/DVR): Wiping Your Local Drive
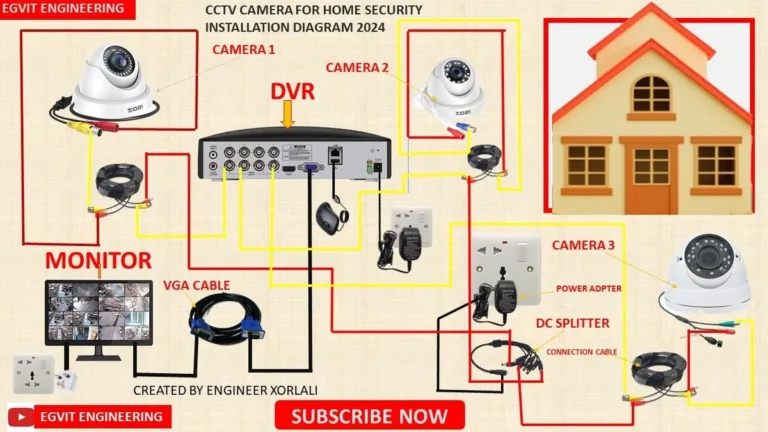
Systems that use a Network Video Recorder (NVR) or Digital Video Recorder (DVR) store footage directly onto a hard drive within a dedicated box in your home or office. This is common for more robust, professionally installed, or older DIY setups. Per NIST guidance on digital storage security, local drives offer direct control.
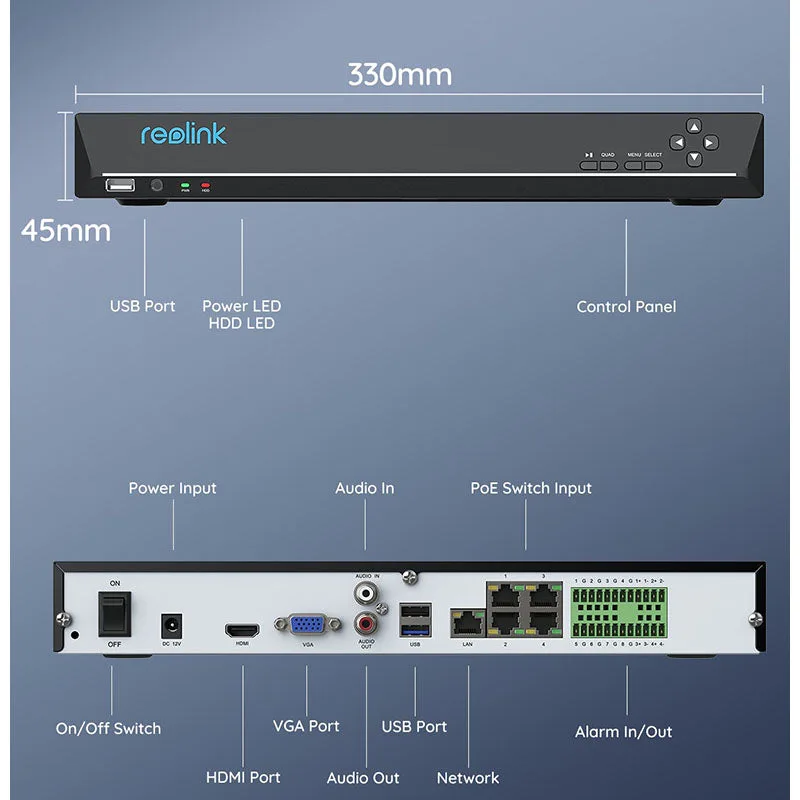
Image source: Bing (Web (fair-use with source credit))
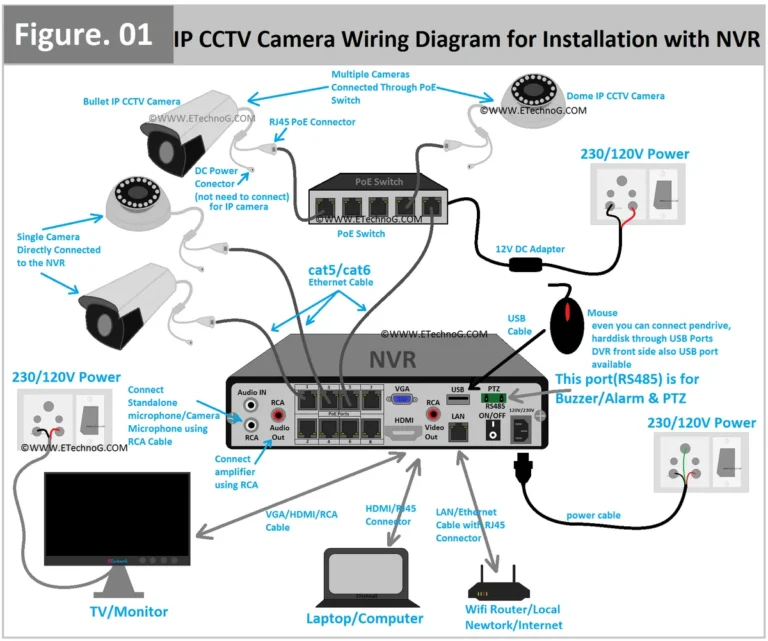
- How it Works: Cameras connect to the NVR/DVR, which acts as a central hub for recording and storing video data on its internal hard drive. Deletion typically involves accessing the NVR/DVR's interface, either directly with a monitor and mouse or via its web interface on your network.
- Advantages: You have direct physical control over your data; no reliance on internet speed for recording or playback; often a one-time hardware purchase without ongoing subscription fees for basic storage.
- Disadvantages: Requires physical access to the recorder; formatting the drive erases everything; potential for hardware failure of the recorder or drive.
SD Card Systems: Simple File Management
Some standalone security cameras, or even certain higher-end models, can record directly to a microSD card inserted into the camera itself. This offers a very basic, self-contained storage solution.
- How it Works: Video is captured and saved onto the microSD card within the camera. To manage recordings, you usually need to physically remove the card, insert it into a computer or card reader, and then delete or format the files.
- Advantages: Very simple, no network or external recorder required; cost-effective for basic recording needs.
- Disadvantages: Limited storage capacity; card can be stolen with the camera; requires physical access to the camera to remove the card.
Step-by-Step: Deleting Recordings from Your System
Now that you know your system type, let's get into the actual deletion process. Remember, the exact menu names or button labels might vary slightly between brands, but the general flow should be very similar.
For Cloud Systems: App & Web Portal Steps
Managing recordings on a cloud-based system is typically done through its dedicated mobile app or a web portal. This is generally the most user-friendly method.
- Open Your Camera App or Log In to the Web Portal: Use the official application on your smartphone or tablet, or go to the manufacturer's website on a computer and log in to your account.
- Navigate to Your Event History or Recordings: Look for a section labeled "Event History," "Recordings," "Timeline," "Videos," or similar. This is where all your captured footage is stored.
- Select Individual Recordings or Groups: You'll usually see a list of recorded events, often sorted by date and time. Most systems allow you to select one or multiple clips by tapping checkboxes or a selection tool. You might also find options to select all recordings for a specific day or week.
- Initiate the Delete Command: Once your desired recordings are selected, look for a "Delete," "Remove," or a trash can icon.
- Confirm Deletion: The system will likely ask you to confirm your choice, as deleted footage is usually unrecoverable.
For NVR/DVR: Accessing & Managing the Recorder
Deleting recordings from a local NVR or DVR system often involves interacting with the device itself or its network interface.
- Connect a Monitor and Mouse (if direct access): For many systems, you'll connect a compatible monitor and USB mouse directly to the NVR/DVR unit.
- Access via Web Browser: Alternatively, you can often access the NVR/DVR’s interface through a web browser on a computer connected to the same local network. You’ll typically need to enter the recorder's IP address into the browser's address bar.
- Log In: Use your administrator username and password for the NVR/DVR.
- Navigate to Playback or Storage Settings: Look for menus like "Playback," "Search," "Record," "Storage," or "HDD Management."
- Select Footage to Delete: You'll be able to view recorded footage, often by selecting specific cameras, dates, and times. There should be an option to select individual clips or a range of footage for deletion.
- Initiate Deletion or Format Drive:
- Individual Clips: Some systems allow you to delete specific segments from the playback screen.
- Format Drive: To clear all recordings at once, you'll need to find the "Format HDD" or "Wipe Storage" option, usually within the system's storage or maintenance settings. This action will erase ALL data on the hard drive, including any existing recordings and potentially system configurations if not done carefully.
For SD Cards: Direct File Deletion
Managing recordings on an SD card is the most straightforward, involving direct file manipulation.
- Power Down the Camera: Safely turn off the camera or disable recording to prevent data corruption while removing the card.
- Remove the microSD Card: Carefully eject the microSD card from its slot in the camera.
- Insert into a Computer: Use a microSD card adapter or a built-in card reader to connect the card to your computer.
- Access and Delete Files: The card will appear as a removable drive. Open it, select the video files you wish to delete, and then move them to the computer's Recycle Bin or Trash.
- Format the SD Card (Optional but Recommended for Full Wipe): To ensure all data is gone, you can format the SD card through your computer's operating system. This is a more thorough way to clear the card completely.
- Reinsert the Card: Once deleted or formatted, place the microSD card back into the camera.
Essential Settings: Automate Deletion & Save Space
One of the smartest ways to handle security camera recordings is to set them up to manage themselves. Most modern systems offer features designed to prevent you from constantly having to manually delete old footage. Taking advantage of these settings can save you a lot of time and effort.
Setting Up Auto-Deletion Schedules
This is a common feature in cloud-based systems, but some NVR/DVRs also offer it. Auto-deletion means you define how long you want to keep recordings, and the system automatically removes older footage to make space for new recordings.
- Cloud Systems: In the camera's app or web portal, look for settings related to "Storage," "Recording," or "Retention Policy." Here, you can typically choose a duration, such as 7 days, 30 days, or 60 days. Once recordings pass this threshold, they are automatically purged from the cloud servers. As of 2026, many popular services like Nest Aware and Ring Protect offer flexible retention plans.
- NVR/DVR Systems: These might have an option in their storage or recording settings to enable "Overwrite" or "Loop Recording." When the hard drive is full, the system automatically starts recording over the oldest footage. Some advanced NVRs might offer more granular scheduling for deletion, but simple overwriting is the most common.
Understanding Loop Recording & Overwriting
Loop recording, often referred to as continuous recording with overwriting, is a fundamental function for local storage systems like NVRs and DVRs. When the hard drive reaches its capacity, the system doesn't stop recording; instead, it deletes the earliest recorded footage to make room for new data.
- How it Works: Imagine a tape recorder that automatically rewinds and starts recording over the beginning of the tape when it reaches the end. Your NVR/DVR does something similar with its hard drive. The oldest video segments are the first to be deleted.
- Setting It Up: This feature is usually found in the "Recording Settings" or "Storage Management" menu of your NVR/DVR. You'll typically just need to enable the "Overwrite" or "Loop Recording" option.
- Importance: Without this enabled, your recording would simply stop once the drive is full, leaving you with no new footage until you manually delete older files.
Common Pitfalls: Mistakes to Avoid When Deleting Footage
While deleting security camera recordings is generally straightforward, a few common mistakes can lead to frustration or unintended data loss. Being aware of these can help you navigate the process smoothly and keep the footage you actually want.
Accidental Deletion of Important Clips
This is perhaps the most common and frustrating mistake. In the haste to clear space or when selecting multiple files, you might accidentally delete a recording that's crucial for evidence, a memory, or a specific incident.
- Why it Happens: Selecting "delete all" without reviewing, misjudging which clips are old, or simply clicking too quickly can lead to accidental deletion.
- Prevention:
- Review Before Deleting: Always take a moment to review the clips you've selected for deletion, especially if they are from a sensitive period.
- Use Download Features: If you think you might need a clip later, download it to a computer or external storage before deleting it from your primary system.
- Be Cautious with "Select All": Use "select all" features very carefully, especially on cloud systems where recovery might be difficult or impossible.
Formatting Without Backups
When dealing with local NVR/DVR systems, the "format drive" option is often the quickest way to clear all recorded data. However, if you haven't properly backed up any footage you might need later, formatting the drive will permanently erase everything.
- The Risk: A full format operation on an NVR/DVR hard drive is usually irreversible. Any video clips, events, or evidence stored on that drive will be gone.
- Best Practice: Before you ever format an NVR/DVR hard drive, confirm that you have downloaded or backed up any footage you might need for legal reasons, insurance claims, or personal records. Many systems offer a "download" feature for selected clips. If you're unsure about the retention period or need specific segments, always back them up first.
When to Keep Recordings: Legal & Privacy Considerations
While the drive to delete recordings often stems from practical needs like storage or privacy, it's crucial to pause and consider if there are any reasons you shouldn't delete them. In certain situations, keeping footage is not just recommended but legally required. Understanding these requirements can save you from potential trouble down the line.
- Legal and Evidentiary Needs: If your security cameras have captured an incident such as a break-in, accident, or dispute, that footage can serve as critical evidence. Law enforcement or legal proceedings might require you to preserve these recordings for a specific period. Policies vary, but as of 2026, some jurisdictions may have guidelines on digital evidence retention. Always check with local authorities if an incident has occurred.
- Insurance Claims: In the event of property damage, theft, or an accident, your insurance company may request video footage to support your claim. Deleting relevant recordings before filing or while a claim is active could jeopardize your ability to get compensated.
- Personal Safety and Monitoring: Sometimes, footage might be useful for monitoring activity around your property, like package deliveries, visitors, or potential threats. While privacy is important, there might be a period where keeping recordings offers a continued sense of security or insight.
- System Monitoring and Troubleshooting: Keeping a short history of recordings can also be helpful for troubleshooting your own camera system. If you're experiencing issues like frequent disconnections or motion detection problems, reviewing recent footage can sometimes reveal the cause.
Frequently Asked Questions About Deleting Camera Footage
### How long can I keep security camera recordings?
This varies greatly. Cloud services often offer plans that retain footage for 7, 30, or 60 days, while local NVR/DVR systems depend on hard drive size and recording settings. Always check your specific system's capabilities and any legal requirements in your area.
### Is it illegal to delete my own security camera footage?
Generally, no, it is not illegal to delete footage from your own security cameras, provided you are not deleting evidence required for an ongoing legal investigation, insurance claim, or mandated by a specific contract or regulation.
### Can I recover deleted security camera footage?
For cloud-based systems, recovery is usually impossible once footage is permanently deleted. For local NVR/DVR systems, professional data recovery services might be able to retrieve some data from a formatted drive, but success is not guaranteed and can be very expensive. It's always best to avoid deletion if you might need the footage.
### Does deleting footage free up space immediately?
Yes, for cloud systems, space is freed up on the server almost instantly after deletion. For local NVR/DVR systems, deleting individual files frees up space immediately. Formatting the drive also frees up all space instantly.


2 Comments