How Can I Watch CCTV on My Phone?
Ever find yourself wondering what's going on back at the house, or needing to check in on your business from miles away? Knowing how can I watch CCTV on my phone is a game-changer for peace of mind and security. It's more straightforward than you might think, mostly depending on what kind of system you've got set up.
We're not diving into super complex tech jargon here. It’s about understanding your system and taking a few key steps. Think of this as your practical guide, breaking down exactly what you need to do to get that live feed on your phone.
Quick Answer
You can watch CCTV on your phone by downloading the system's specific mobile app. This often involves connecting your DVR or NVR to the internet and then linking your phone app via a device ID or QR code. For Wi-Fi cameras, you'll download their individual app and connect each camera directly.
What Kind of CCTV System Do You Have?
Before you can stream your camera feeds to your phone, the first and most crucial step is figuring out what type of surveillance system you're working with. This dictates the entire process. Most home and small business setups fall into one of two main categories, with a third less common but still relevant option.
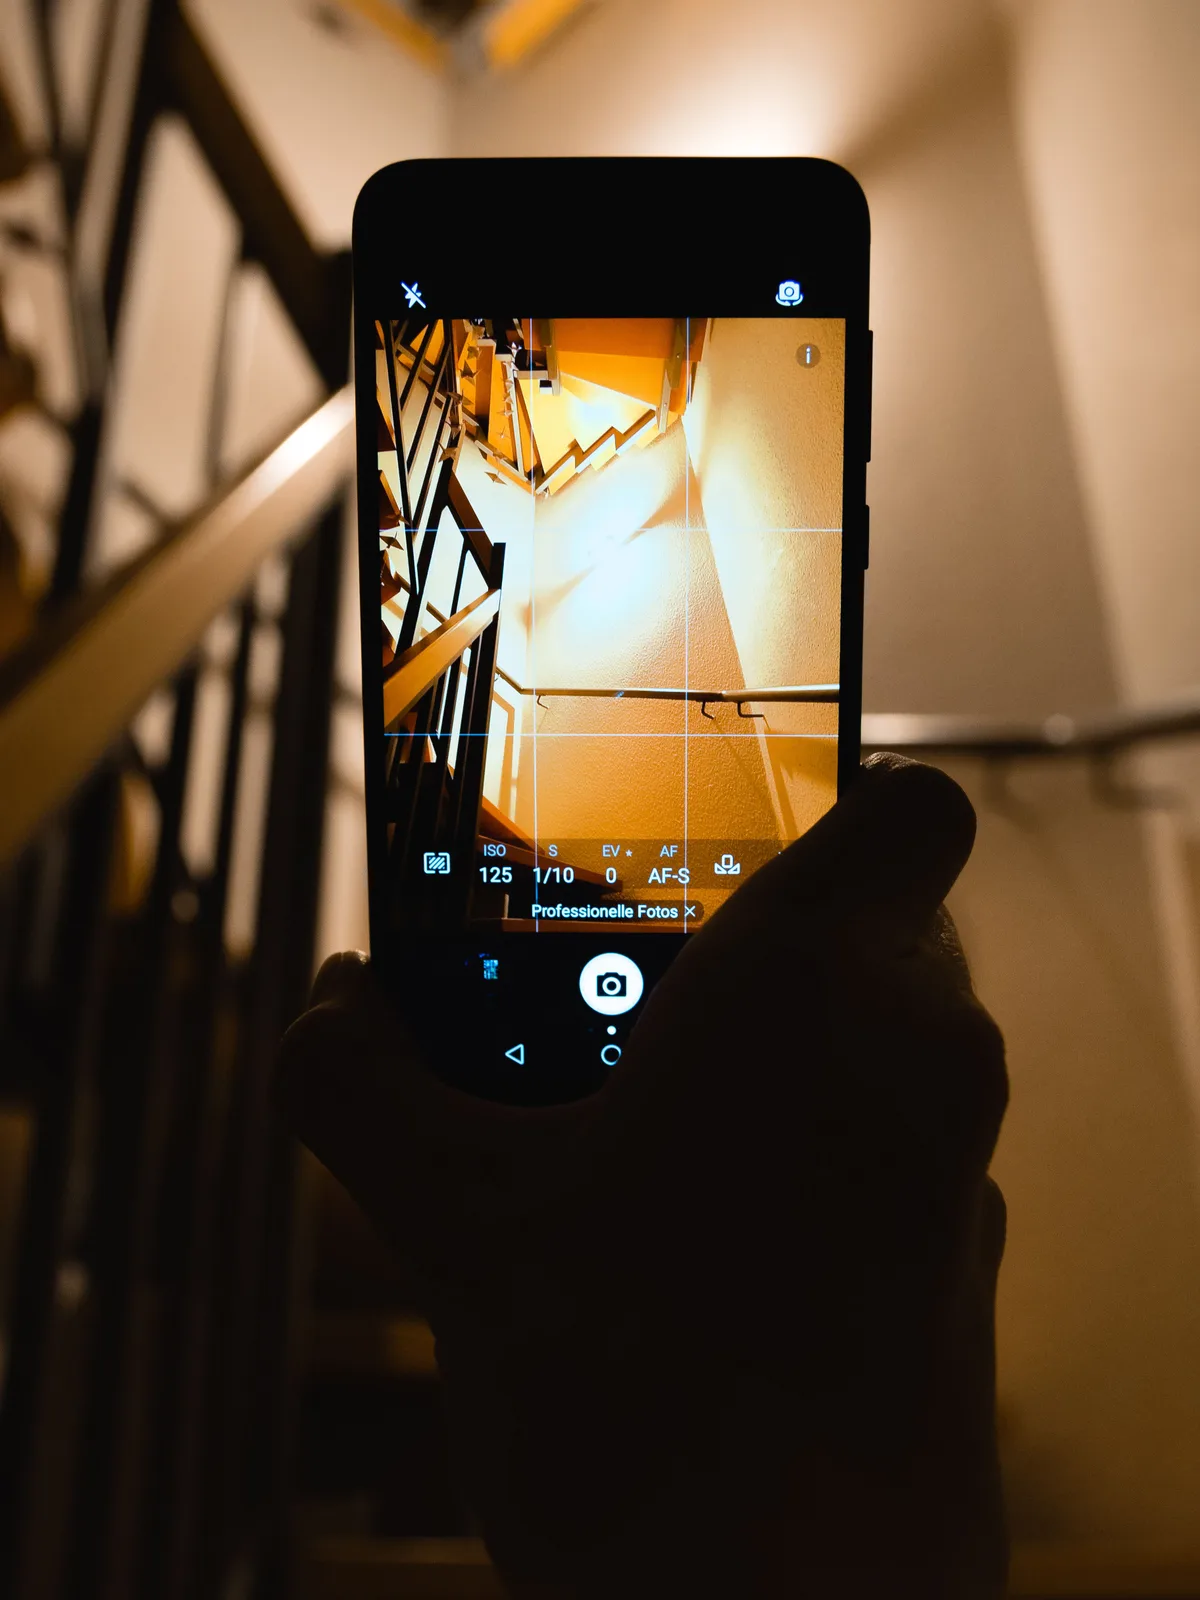
Image source: Web (Bing) / pexels.com (Web image (fair-use with source credit))
Is It a DVR/NVR Box or Individual Wi-Fi Cameras?
The way you connect your system to your phone depends heavily on whether you have a central recording hub or standalone cameras.
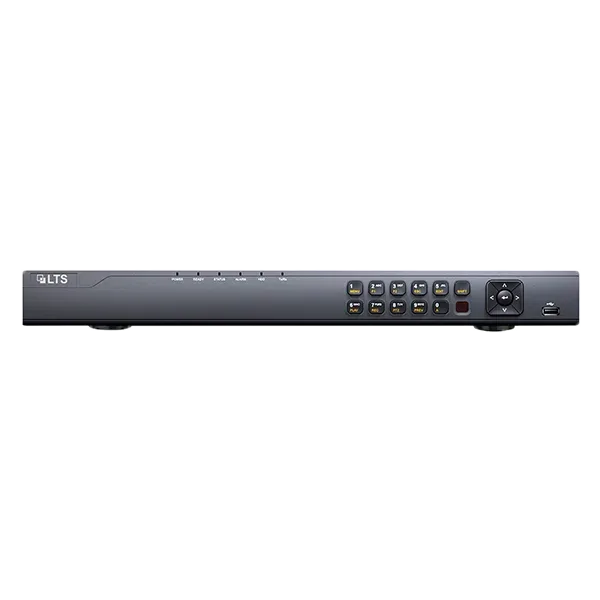
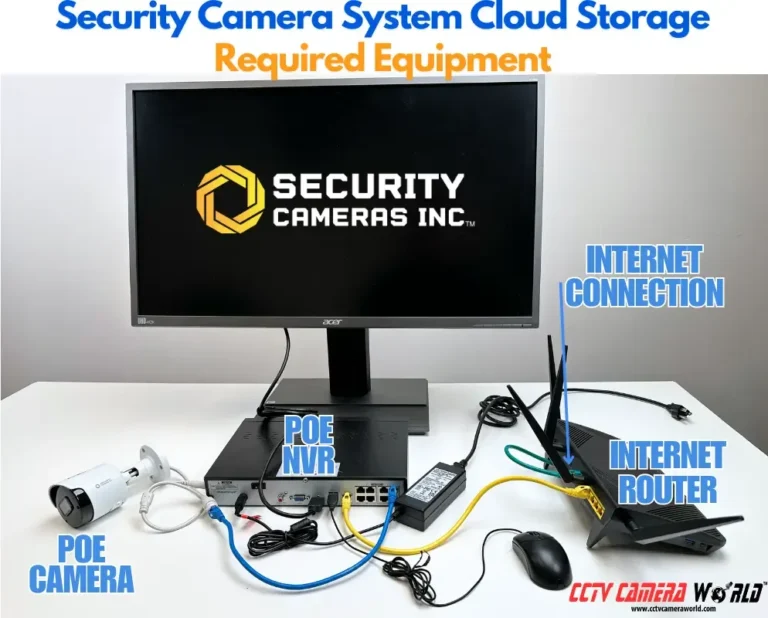
- DVR/NVR Systems: These systems typically use a Digital Video Recorder (DVR) or a Network Video Recorder (NVR) box to capture footage from multiple cameras. The DVR connects to analog cameras, while the NVR connects to IP cameras over a network. These boxes need to be connected to your home or business internet. Manufacturer specifications for many NVR systems, for instance, indicate they support remote access protocols for mobile viewing as a standard feature.
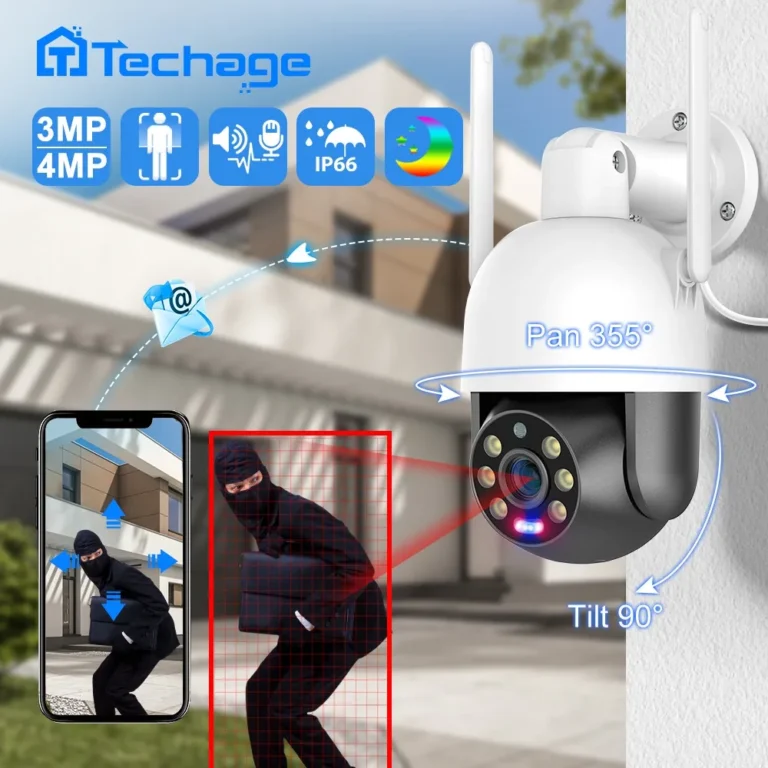
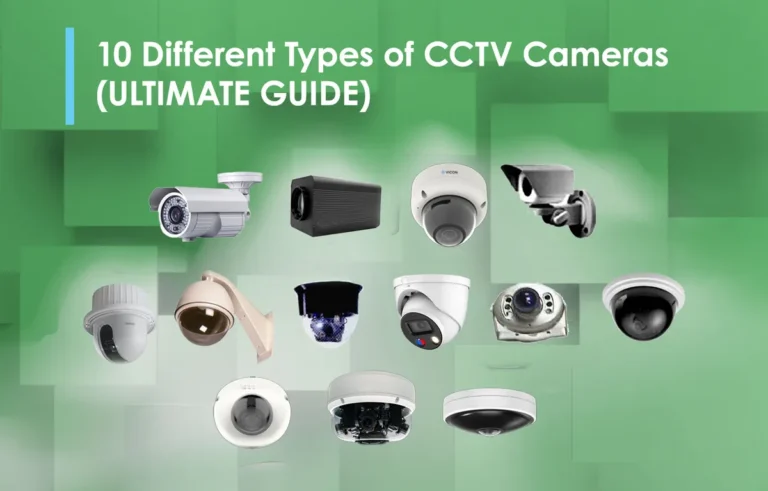
- Individual Wi-Fi Cameras: These are standalone cameras that connect directly to your home's Wi-Fi network. Each camera usually has its own dedicated mobile app for setup and viewing. This setup is common for simpler needs, like monitoring a single entryway or a baby's room.
- Professional Monitoring Services: If you have a service that monitors your cameras, they will provide their own specific app or portal for you to access your footage. In this case, your provider will guide you through their proprietary system.
Understanding which of these applies to you is key to moving forward.
Watching DVR/NVR Footage on Your Phone: The Step-by-Step
If you have a DVR or NVR system, you're likely set up for remote viewing, but it requires a few specific steps to connect your phone. The process usually involves getting the recorder online and then using a mobile app to bridge the gap between your phone and the recorder. This approach is common for comprehensive home security setups.
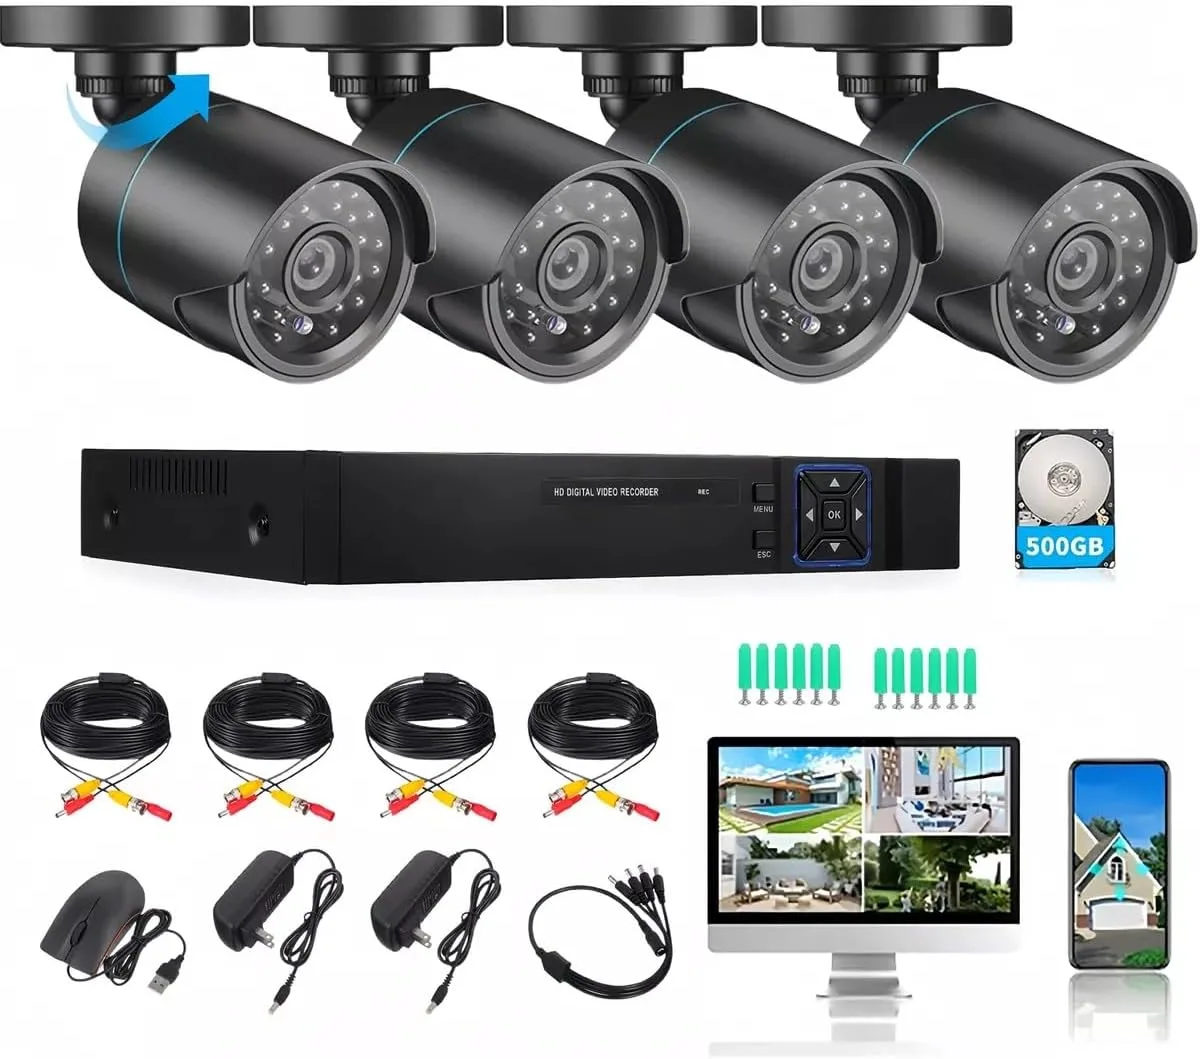
Image source: Web (Bing) / amazon.com (Web image (fair-use with source credit))
Downloading the Right App and Connecting
First, you need to identify the manufacturer of your DVR or NVR. Most reputable brands, such as Hikvision, Dahua, or Swann, have dedicated mobile apps available for both iOS and Android devices. You can usually find the app's name on the recorder's box, manual, or the device itself.
Once you've found the correct app (e.g., "Hik-Connect" for Hikvision or "DMSS" for Dahua), download it from your smartphone's app store. After installation, you'll typically need to create an account within the app. This account acts as your gateway to all connected devices.
Setting Up Remote Access (P2P Explained)
The easiest way to connect your DVR/NVR to your phone is often through a P2P (Peer-to-Peer) connection. This technology allows devices to communicate directly over the internet without needing complex network configurations like port forwarding. Aggregate reviews report that P2P is user-friendly for most systems.
To set this up, your DVR/NVR must be connected to your router via an Ethernet cable. Then, within the app, you'll usually find an option to "Add Device" or "Scan Device." This often involves scanning a QR code displayed on your DVR/NVR's interface or directly on the device itself, or manually entering a device serial number.
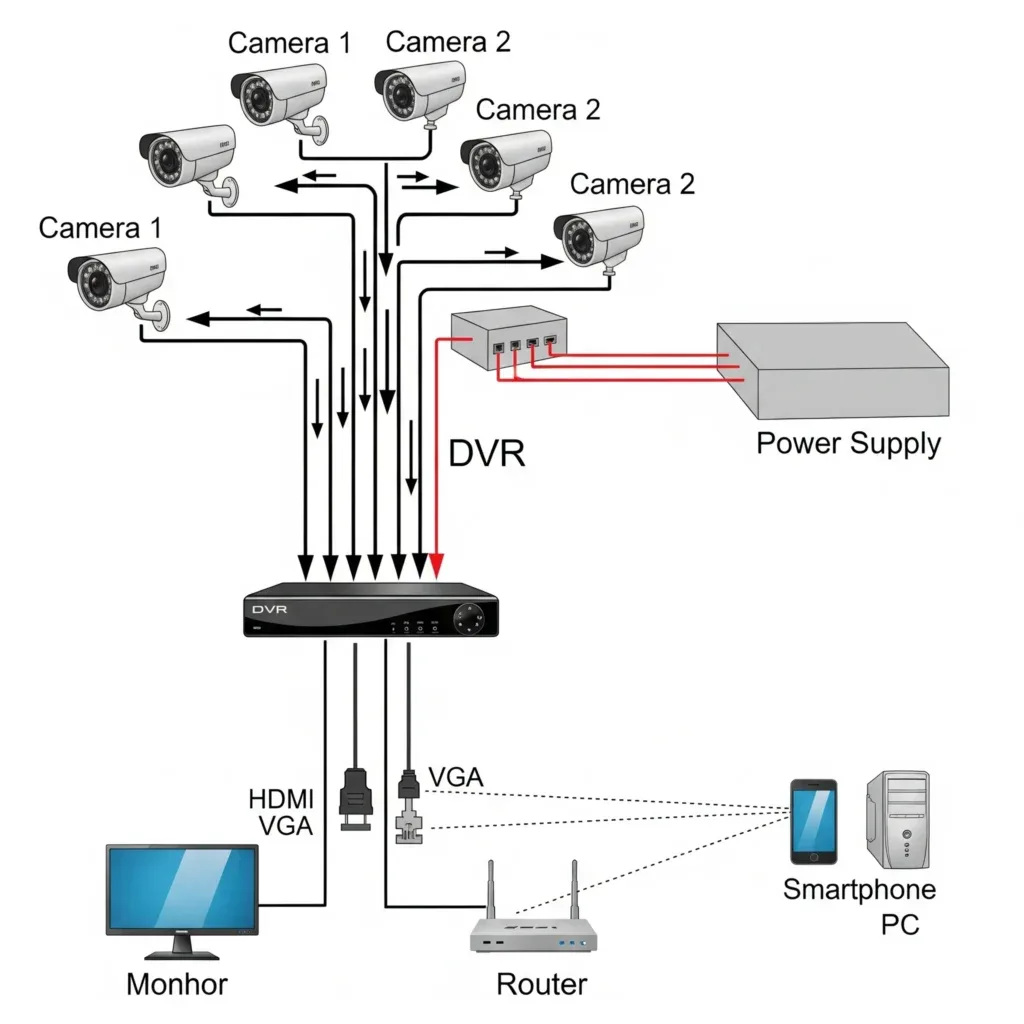
Image source: Web (Bing) / cctvdesk.com (Web image (fair-use with source credit))
Logging In and Viewing Your Cameras
Once the device is added to your app account, you’ll typically be prompted to set a username and password for that specific recorder. Use strong, unique credentials to secure your feed. After logging in with these details, you should see a list of your connected cameras.
Tapping on a camera will bring up its live video feed. If you encounter issues with video lag, it's worth checking your internet connection's stability for both your recorder and your phone, or exploring articles on how to fix security camera video lag.
Checking Individual Wi-Fi Cameras on Your Phone
If you're using individual Wi-Fi cameras, the process for mobile viewing is generally more streamlined and often doesn't require any central recording box. These cameras are designed for direct connection and management via their own apps. This is a popular choice for homeowners looking for a simpler, more modular security setup.
Downloading the Camera's Specific App
Each brand of Wi-Fi camera will have its own proprietary mobile application. For example, Arlo cameras use the "Arlo Secure" app, Ring cameras use the "Ring" app, and Eufy cameras use the "Eufy Security" app. You'll need to identify the brand of your cameras and download the corresponding app from the Apple App Store or Google Play Store onto your smartphone.
Creating an account within this app is usually the first step.
Connecting Cameras to Wi-Fi and Your Account
The app will then guide you through connecting each camera to your home Wi-Fi network. This typically involves putting the camera into pairing mode (often by pressing a button or following on-screen prompts) and then entering your Wi-Fi network name (SSID) and password into the app. Some cameras might use Bluetooth or a temporary Wi-Fi hotspot for initial setup.
Once connected to your network, the camera will be associated with your app account, making it accessible remotely. If you're experiencing connectivity issues, you might need to improve your security camera WiFi signal.
Accessing Live Feeds
After all your cameras are set up and linked to your account, you can view their live video feeds directly from the app, no matter where you are. The app interface will typically display all your connected cameras, allowing you to select and view them individually. Some apps also offer features like motion detection alerts, two-way audio, and recording playback, depending on the camera's capabilities and any subscription services involved.
If your cameras aren't detecting motion reliably, you might need to look into why your security camera is not detecting motion.
When Your System Needs a Little Extra Help
Sometimes, even with the right app and a correctly configured system, you might run into trouble connecting your CCTV cameras to your phone. This can be frustrating, but often the issues are common and have straightforward solutions. The key is to systematically troubleshoot.
Common Connection Problems and Fixes
One frequent hiccup is an unstable internet connection. For DVR/NVR systems, both the recorder and your phone need a reliable internet connection. If your cameras seem slow or drop frequently, investigate why is my security camera delayed.
For Wi-Fi cameras, ensure the camera is within range of your router. If not, consider a Wi-Fi extender or mesh system to improve coverage. Another common issue is outdated software.
Manufacturer specifications from companies like Reolink often recommend regular updates to ensure compatibility and security. If your app or the firmware on your recorder/camera is out of date, this can prevent remote access. You can usually find instructions on how to update security camera firmware on the manufacturer's support site.
If all else fails, sometimes a simple reset of the camera or recorder can resolve temporary glitches. For this, consult the guide on how to reset a security camera.
Mistakes to Avoid When Going Mobile
Getting your CCTV cameras onto your phone is empowering, but there are a few common pitfalls that can cause frustration or even compromise your security. Being aware of these can save you a lot of headaches down the line. It’s about setting things up right from the start to avoid future problems.
Security Blunders and Other Pitfalls
The most critical mistake is using weak or default passwords. Many DVRs, NVRs, and Wi-Fi cameras come with easily guessable default credentials that hackers can exploit. Always change these immediately upon setup to something strong and unique, using a combination of letters, numbers, and symbols.
Not updating your system's firmware is another major error; as of 2026, many vulnerabilities are patched through these updates. Running outdated software leaves your system exposed to known exploits. Furthermore, neglecting network security can be a serious issue.
Ensure your home Wi-Fi network itself is secured with a strong WPA2 or WPA3 password. If you're attempting advanced setups like port forwarding (though P2P is generally preferred), incorrect configurations can not only block remote access but also create security holes. Finally, relying on a single camera or system without a proper backup strategy for your footage can be problematic if the device fails or is compromised.
Consider how to back up security camera footage effectively.
Expert Tips for Smooth Remote Viewing
Getting your CCTV feed onto your phone is mostly about following the right setup steps. But a few pro tips can make the experience even better and more reliable. Our research indicates that users who take these extra steps often report fewer technical headaches.
Think of these as tweaks that elevate your system from functional to truly seamless.
One key tip is ensuring your home internet is robust. For DVR/NVR systems, the recorder's connection is vital. Manufacturer specifications, like those from Ubiquiti UniFi, often highlight the importance of consistent bandwidth for remote access, recommending upload speeds of at least 2-5 Mbps per camera for smooth HD streaming.
If your internet is spotty, your live feed might freeze or drop. This is why understanding how much data does a security camera use is also important, especially if you have a data cap.
Another crucial practice is managing your system's notifications. Most apps allow you to customize what alerts you receive, from motion detection to system errors. By tuning these, you avoid notification fatigue while still being alerted to important events.
For instance, setting motion detection sensitivity appropriately can prevent constant alerts from trees swaying, while still catching genuine intruders. For those with multiple cameras, organizing them within the app by location (e.g., "Front Door," "Backyard") can make it much quicker to find what you're looking for when an alert pops up.
Frequently Asked Questions (FAQs)
How long does setup typically take?
Setup time can vary, but for most P2P-enabled DVR/NVR systems and individual Wi-Fi cameras, you can expect it to take between 30 minutes to 2 hours. This includes downloading apps, connecting devices to Wi-Fi, and basic configuration. More complex network setups might take longer.
Do I need a special internet plan?
Generally, no. A standard home broadband internet plan with a decent upload speed is sufficient. For smooth HD streaming from multiple cameras, an upload speed of at least 2-5 Mbps per camera is recommended.
You can check how to reduce security camera bandwidth if you have a limited plan.
Can I use multiple types of cameras with one app?
Typically, no. Each camera brand or system (DVR/NVR) usually requires its own specific app. If you have cameras from different manufacturers, you will likely need to use multiple apps to view them all.
Some third-party apps claim to integrate various brands, but compatibility can be inconsistent.
What happens if my internet goes down?
If your internet connection goes down, you will lose the ability to view your CCTV feed remotely on your phone. However, most DVR/NVR systems will continue to record footage locally to their hard drive. Wi-Fi cameras without a local recording option may simply stop capturing events until the internet is restored.
Is it safe to access my cameras remotely?
Yes, accessing cameras remotely is generally safe if you take proper security precautions. This includes using strong, unique passwords for your Wi-Fi network, your CCTV system, and the mobile app, as well as keeping all software and firmware updated. Always ensure your system uses encrypted connections.