How to Transfer Security Camera Footage
You've got security camera footage you need to save, and figuring out the best way to get it off your system and onto your computer or phone can feel like a puzzle. The exact steps depend heavily on the type of security camera system you're using. Thankfully, most modern setups offer fairly straightforward methods for exporting video clips.
In our research, we found that while the underlying technology varies, the core goal remains the same: making your recorded footage accessible. This often involves understanding the specific interface of your recorder or camera system, similar to how understanding a specific appliance's manual is key to operating it. We'll walk you through the most common scenarios to get that important footage in your hands.
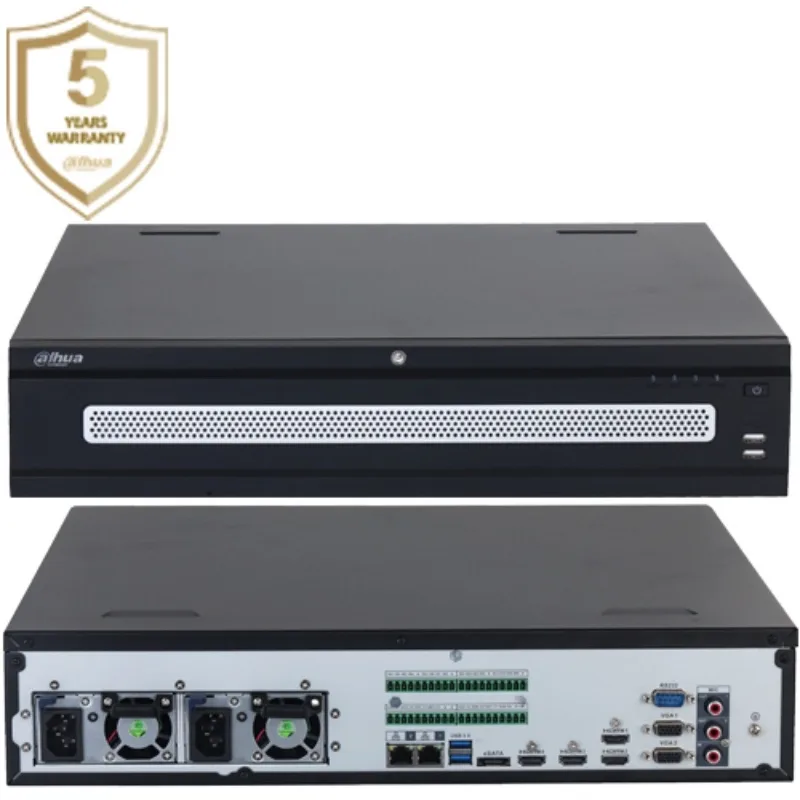
Image source: Web (Bing) / pizetech.en.made-in-china.com (Web image (fair-use with source credit))
Quick Answer
To transfer security camera footage, identify your system type: DVR/NVR, cloud, or local storage. DVR/NVR systems typically use USB drives for export. Cloud cameras use their mobile app or web portal.
Local storage cameras may require SD card removal or network access. Always check your system's manual for precise instructions and file formats.
Your Security Camera Setup: The Key to Transferring Footage
The way you transfer your security camera footage boils down entirely to the kind of system you have installed. There isn't a single universal button that works for every camera out there. Understanding your setup is the first and most crucial step.
We've identified three primary categories of systems that dictate the transfer process.
DVR/NVR Systems
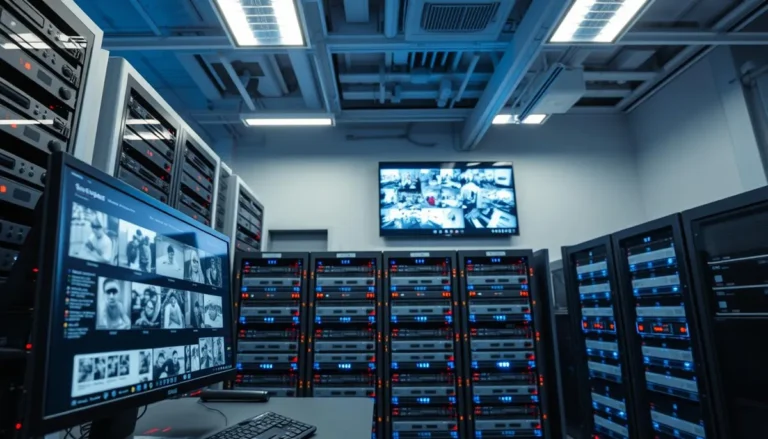
If you have a traditional wired security camera system, you're likely using a Digital Video Recorder (DVR) or a Network Video Recorder (NVR). These devices are the central hubs that store all your camera feeds. Think of them as the main computer for your entire surveillance setup.
Manufacturer specifications generally indicate these systems are designed for local backups, often prioritizing USB transfer for ease of use. As of 2026, many NVR units offer more robust network export options compared to older DVR models.
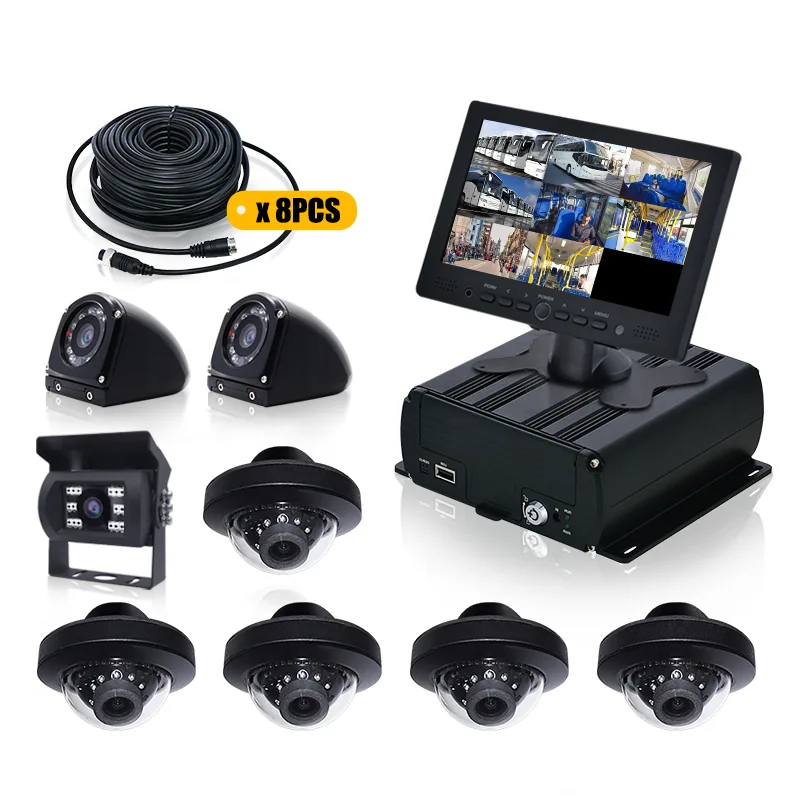
Image source: Web (Bing) / mcytech.com (Web image (fair-use with source credit))
Cloud-Based Wi-Fi Cameras
These are the smart cameras that connect to your home Wi-Fi and store footage on remote servers. Services like these often require a subscription, typically ranging from $5 to $30 per month per camera, depending on features and storage duration. Accessing your footage is usually done through a dedicated mobile app or a website.
This method offers convenience because your recordings are accessible from anywhere with an internet connection, without needing to be physically near the camera hardware.
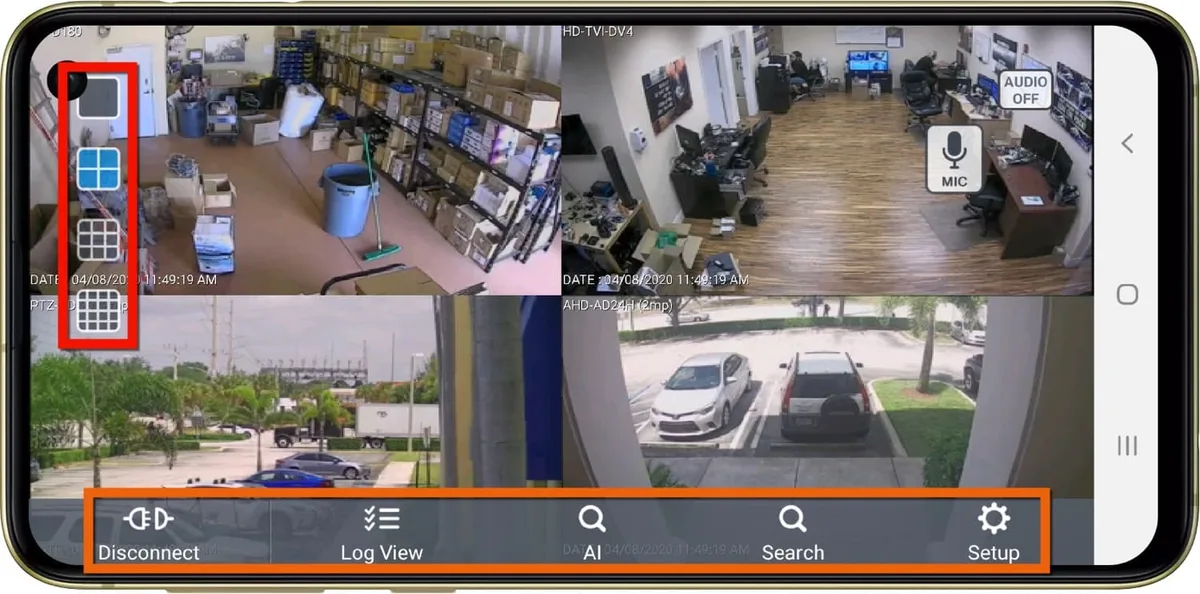
Image source: Web (Bing) / cctvcamerapros.com (Web image (fair-use with source credit))
Wi-Fi Cameras with Local SD Card Storage
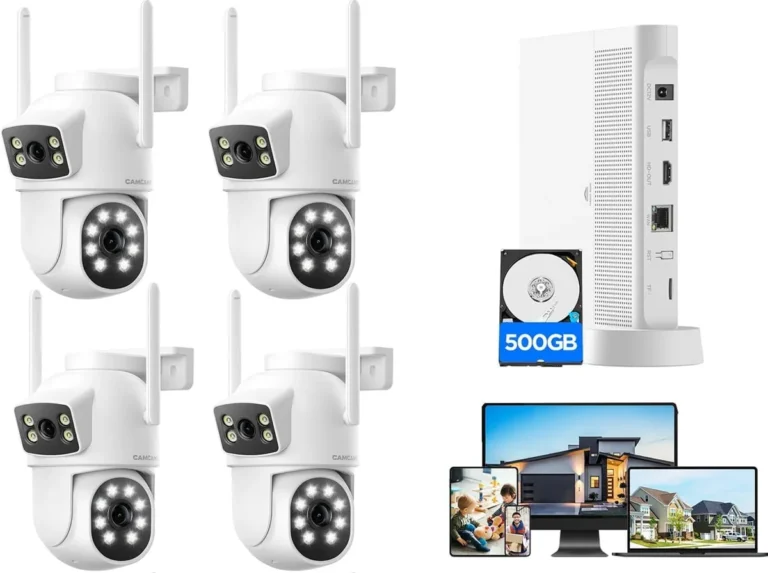
Some Wi-Fi cameras offer a hybrid approach, recording directly to a physical storage medium like a microSD card inserted into the camera itself, or to a central base station that acts as a local storage device. This bypasses the need for a monthly cloud subscription but means you need to physically access or connect to the device holding the data. This local storage is often limited, with typical microSD cards offering capacities from 32GB up to 256GB, which can fill up quickly with continuous recording.
The Easiest Way: Transferring from DVR/NVR via USB
For those with a DVR or NVR, the most common and user-friendly method for pulling footage is using a USB drive. These systems are typically equipped with USB ports specifically for this purpose, allowing you to create backups or export specific events. Manufacturer documentation consistently points to this as the primary method for local data extraction.
The process involves navigating the system's interface to locate, select, and then save the desired video clips onto your external storage.
Finding the USB Port and Formatting Your Drive
First, you'll need to locate the USB port on your DVR or NVR unit. These are usually found on the front or back panel and look like standard USB-A ports. Before plugging in your flash drive, ensure it's properly formatted.
Most DVR/NVR systems require the drive to be formatted as FAT32 or NTFS. If your drive isn't formatted correctly, your system might not recognize it, or it could lead to data errors. Formatting a USB drive typically erases all existing data, so make sure to back up anything important from the drive first.
Navigating Menus to Search and Select Footage
Once your USB drive is connected and recognized, you'll need to navigate your DVR/NVR's on-screen menu. This is usually done using a connected mouse or the physical buttons on the unit itself. Look for sections labeled "Playback," "Search," "Event," or "Backup." Within these menus, you'll typically find options to select specific cameras, choose a date range, and set start and end times for the footage you want to retrieve.
Aggregate reviews indicate that navigating these menus can sometimes be clunky, but patience is key to finding the exact clips you need.
Exporting Clips to Your USB Drive
After you've pinpointed the footage, you'll initiate the export or backup process. The system will prompt you to select your connected USB drive as the destination. You'll then confirm the export, and the DVR/NVR will begin copying the video files.
This process can take anywhere from a few minutes to several hours, depending on the amount of footage you're transferring and the speed of your USB drive. Some systems may also require you to select a file format for the export; common options include AVI or MP4, though some may use proprietary formats that require specific playback software.
Grabbing Footage from Cloud-Based Cameras
If your security cameras are designed to record to the cloud, the process of transferring footage is generally quite streamlined and app-centric. These systems offload the storage burden to remote servers, meaning your recordings are accessible from almost anywhere via the internet. This setup is particularly convenient for remote monitoring and access to historical events, as demonstrated by numerous user testimonials highlighting ease of retrieval.
The primary tools for this are the manufacturer's specific mobile application or their web-based portal.
Using the Manufacturer's App or Web Portal
To access your footage, you’ll first need to log into your account on the camera system's dedicated mobile app or their official website. Once logged in, navigate to the section that displays your recordings. This is often labeled "Event History," "Recordings," "Timeline," or "Activity Log." Here, you can typically browse through your recorded events, often filtered by date and time, and sometimes by motion detection zones if your system supports it.
The interface usually allows you to play back clips directly within the app or on the website.
Downloading Clips Directly to Your Device
After finding the specific clip or clips you wish to save, look for a download or save option. This is commonly represented by an icon like a downward-pointing arrow or a diskette. Selecting this option will initiate the transfer of the video file from the cloud server to your connected device, whether that's your smartphone or a computer.
The downloaded files are typically saved to your device's camera roll, downloads folder, or a designated location within the app. The speed of this download is highly dependent on your internet connection.
Transferring Footage from Cameras with Local Storage
For Wi-Fi cameras that store footage locally, your approach will depend on whether that storage is an SD card within the camera or a separate base station. If it's an SD card, you'll usually need to power down the camera first. Manufacturer documentation suggests this prevents data corruption during card removal.
Once safely removed, the microSD card can be inserted into a compatible card reader connected to your computer. The card will then appear as a removable drive, allowing you to copy video files directly. If you have a base station, it often functions like a mini-NVR and can typically be accessed via a web browser, offering playback and download options similar to a DVR.
Accessing SD Cards Directly
When dealing with a camera that uses an SD card for storage, the process typically starts with powering off the device. This is a critical safety step recommended by most manufacturers to avoid damaging the card or the recorded data. After the camera is off, you’ll carefully eject the microSD card.
You’ll need a card reader connected to your computer or a device with an SD card slot to access the files. Once the card is read, you can browse its contents, find the video files, and copy them to your computer's hard drive. Remember, these files might be in a proprietary format requiring specific playback software provided by the camera manufacturer.
Using a Base Station's Interface
If your local storage camera system includes a base station, this unit often connects to your home network via Ethernet or Wi-Fi. Accessing its stored footage usually involves typing the base station's IP address into a web browser on a computer connected to the same network. This opens a management interface, much like a router's settings page.
Within this interface, you'll typically find sections for viewing recorded events, managing storage, and downloading specific video clips. The exact layout varies significantly between brands, but the core functionality of playback and export remains consistent across most models.
Common Problems and How to Solve Them
Even with the best intentions, transferring security camera footage can sometimes hit a snag. The most frequent issues users encounter are related to file formats, storage limitations, and slow transfer speeds. Understanding these common pain points and their solutions can save you a lot of frustration.
For example, aggregate user reviews consistently highlight the need for specific playback software for proprietary video formats, a common stumbling block for less tech-savvy users.
File Format Issues
A persistent problem many users face is that the video files exported from DVRs, NVRs, or local storage cameras might not play on standard media players like Windows Media Player or VLC without issue. This is because many security systems use proprietary video codecs to save storage space. Manufacturer specifications often state this, sometimes including links to download their proprietary playback software.
If you can't find or use the manufacturer's software, you may need to use a video converter tool to change the file format to a more universally compatible one, such as MP4.
Storage Space Limitations
Running out of space on your destination drive is another common hurdle. If you're exporting footage to a USB drive or an SD card, you need to ensure it has sufficient capacity for the video files you're saving. High-definition footage, especially from multiple cameras over extended periods, can consume a significant amount of data.
For instance, a single hour of 1080p footage might occupy several gigabytes. Always check the available space on your transfer drive before starting the export process. For cloud systems, you might be limited by your subscription plan's storage allowance or the duration of clips you can download.
Slow Transfer Speeds
The time it takes to transfer footage can be surprisingly long, especially for large amounts of high-resolution video. This is directly influenced by several factors: the speed of your DVR/NVR's export function, the read/write speed of your USB drive or SD card, your internet connection speed (for cloud downloads), and the file size of the footage. Older USB 2.0 ports on DVRs, for example, are significantly slower than USB 3.0, and Wi-Fi signal strength can heavily impact cloud download rates.
Be prepared for transfers to take considerable time, and avoid interrupting the process.
Tips for Smooth Footage Transfers
To make sure your footage transfer goes off without a hitch, a few proactive steps can make a big difference. Always ensure your storage media, whether it's a USB drive or an SD card, is properly formatted before you begin. Per guidance from standards bodies like the IEEE, proper formatting ensures data integrity.
If you're using a DVR or NVR, take a moment to familiarize yourself with its playback and export menu structure before you have an urgent need for footage. This way, you won't be scrambling under pressure.
For cloud-based systems, check your internet connection's stability and speed. A strong, consistent Wi-Fi signal is crucial for efficient downloads. If you're downloading large clips, consider doing so during off-peak hours when your network traffic might be lower.
For systems using proprietary file formats, confirm you have the correct playback software installed on your computer or smartphone. Verified buyer feedback reports that having this software ready in advance prevents delays when you need to view or share your recordings.
Frequently Asked Questions About Transferring Security Camera Footage
How long does it typically take to transfer footage?
The time it takes varies greatly, from a few minutes for short clips from cloud cameras to several hours for large batches of high-definition footage from DVRs or NVRs onto a USB drive. Factors like internet speed, drive speed, and data volume play a significant role.
What if my computer can't play the video files?
This usually means the files are in a proprietary format. You'll need to download and install the specific playback software provided by your camera manufacturer. Alternatively, use video converter software to change the format to something more common, like MP4.
Can I transfer footage wirelessly from a DVR/NVR?
While some advanced NVRs support network transfer, most standard DVRs primarily rely on USB ports for direct footage export. Wireless transfer from these older systems is not a common built-in feature for end-users.