Where Should Security Cameras Be Placed
So, you're wondering where should security cameras be placed to actually do their job? It’s a smart question, because scattering cameras randomly won't give you the peace of mind you're looking for. The right placement means seeing what matters most, whether that's a package on your porch or someone approaching your back door.
We've analyzed common setups and manufacturer recommendations to give you a clear plan. Getting this right means understanding your property's vulnerabilities and how different camera types cover specific zones. Let's break down the strategy, starting with the most crucial areas.
Quick Answer: Prioritize Entry Points and Vulnerable Spots
Place cameras at main doors, ground-floor windows, driveways, and secluded areas. Ensure a clear view of all access points. Aim for a height of 8-10 feet for optimal visibility and tamper resistance.
The Decision Tree: Building Your Camera Placement Plan
Figuring out where to put your security cameras isn't about guesswork; it's about strategic planning. We’ve put together a step-by-step approach that acts like a decision tree, guiding you through the process based on your property's unique layout and your security concerns. Think of it as a flowchart for your surveillance.
Here's how we'll tackle it:
- First, we'll identify your most critical "entry points."
- Then, we'll look at securing your property's perimeter.
- Next, we’ll pinpoint any vulnerable spots that need extra attention.
- Finally, we'll cover the practical stuff like power and potential obstructions.
This method ensures you’re not just placing cameras, but creating a comprehensive surveillance network that actually protects what matters most.
Step 1: Securing Your Entry Points (Doors & Windows)
Your primary goal is to see who is coming and going, and to catch anyone trying to get in where they shouldn't be. These are your most critical zones.
- Main Doors (Front & Back): These are non-negotiable. You need a clear view of your front and back doors to identify visitors, delivery people, or anyone attempting unauthorized entry. A doorbell camera is often ideal for the front door, while a camera mounted above or to the side of the back door provides excellent coverage.
- Side Doors & Garage Doors: Don't overlook these access points. Many intruders will look for less obvious ways to enter a property. A camera covering a side door or your garage can prevent a break-in before it happens.
- Ground-Floor Windows: Any windows on the ground floor, especially those that are secluded or face away from the street, are potential entry points. Consider placing cameras to cover these windows, particularly if they are in your yard or near landscaping that could offer cover to an intruder.
Key Considerations for Entry Points:
- Height: Mount cameras between 8 and 10 feet off the ground. This is high enough to deter tampering or vandalism but low enough to still capture recognizable details like faces.
- Angle: Position cameras to avoid direct angles that create blind spots directly beneath or beside them. A slight angle can capture more of the approach.
- Field of View: Ensure the camera's field of view encompasses the entire door or window area you want to monitor.
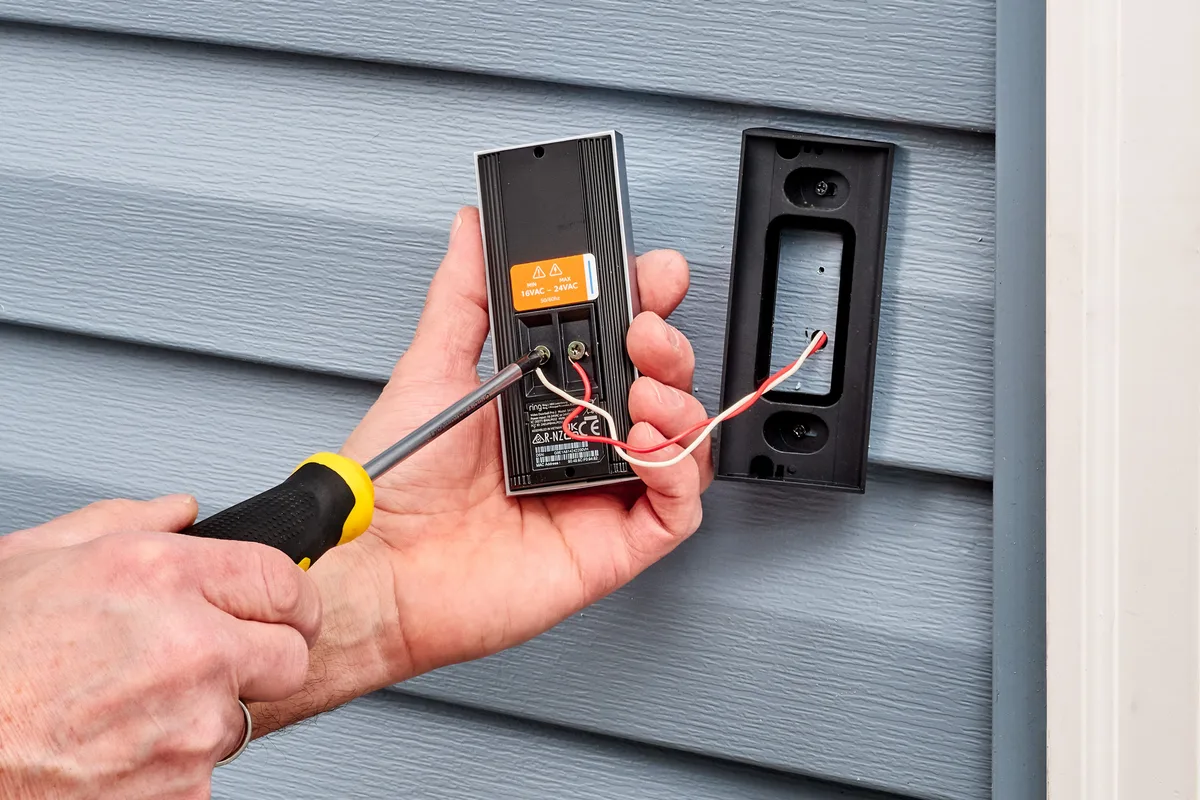
Image source: Web (Bing) / surveillanceguides.com (Web image (fair-use with source credit))
Step 2: Covering Your Perimeter (Driveways & Walkways)
Once your entry points are secured, the next step is to monitor the approaches to your home or business. This creates a layered defense, deterring potential threats before they even reach your doors or windows.
- Driveway: A camera overlooking your driveway is invaluable. It allows you to see vehicles arriving and departing, capture license plates if needed, and observe anyone approaching your property from the street. This is especially useful if your driveway is long or somewhat secluded.
- Main Walkways: Any significant pathways leading to your doors should be monitored. This includes sidewalks, garden paths, or any routes people would typically use to approach your house. This helps you see who is approaching from a distance.
- Yard Edges and Property Lines: For larger properties, consider cameras that can monitor the edges of your yard or property lines. This is particularly useful if your property is bordered by woods, alleys, or areas that could be used for covert approaches.
Strategic Placement for Perimeter Coverage:
- Deterrence: Visible cameras mounted along driveways and walkways act as a strong deterrent.
- Early Detection: Monitoring these areas provides early warning if someone is approaching your property with suspicious intent.
- Coverage Range: For driveways, a wider-angle lens might be necessary to cover the entire width. Consider the camera's night vision capabilities, as these areas are often less lit than your main entryways.
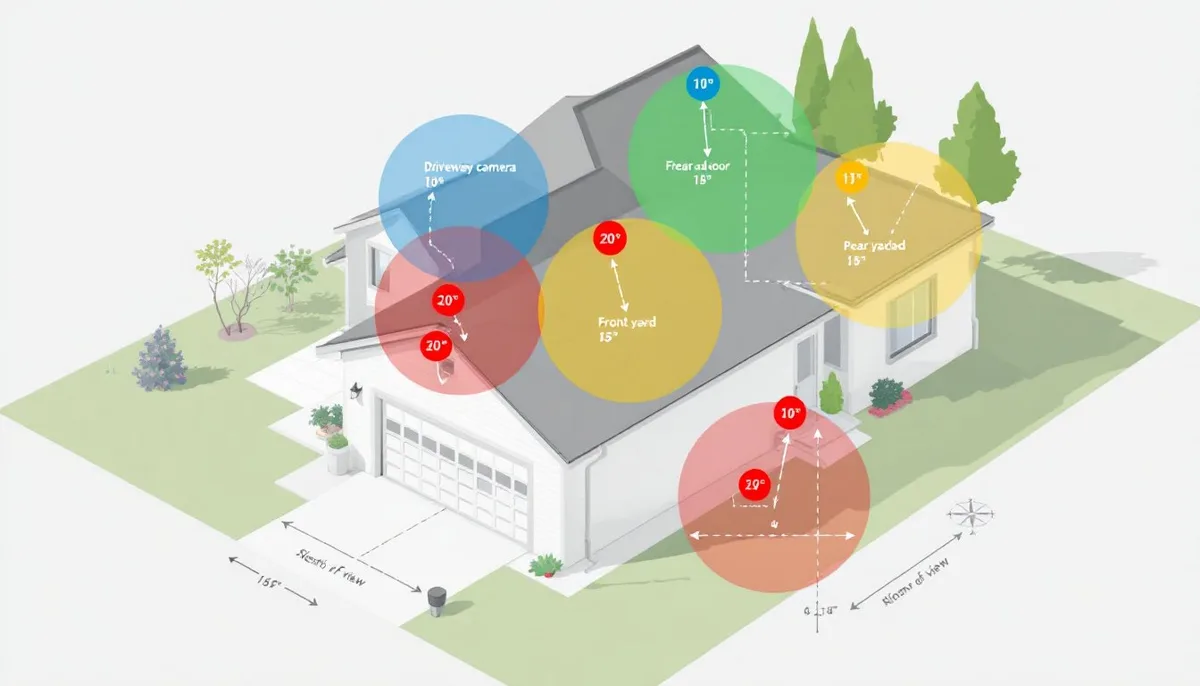
Image source: Bing (Web (fair-use with source credit))
Step 3: Identifying and Protecting Vulnerable Areas
Beyond the obvious entry points and main thoroughfares, your property likely has areas that are more secluded, less visible, or might be targets for specific types of crime. Identifying and covering these "blind spots" is crucial for a complete security strategy.
- Secluded Zones: Think about areas of your property that are not easily seen from the street or from your main living areas. This could include:
- Backyards.
- Side yards.
- Patios and decks.
- Areas Where Valuables Are Stored: If you have detached garages, sheds, or other outbuildings where you keep tools, equipment, or recreational vehicles, these are prime targets for theft. Cameras placed to monitor these structures are essential.
- Poorly Lit Areas: Dark corners of your yard or property can provide cover for intruders. Cameras with strong night vision or those equipped with motion-activated lights can significantly enhance security in these zones.
How to Find and Cover Vulnerable Spots:
- Walk Your Property: Do a thorough walk-around, both day and night, to identify areas that feel exposed or hidden.
- Consider Typical Crime Patterns: Think about what types of crime might be a concern in your area and how an intruder might exploit unmonitored spaces.
- Use Multi-Angle Views: For larger or more complex vulnerable areas, you might need more than one camera to ensure complete coverage.
Step 4: Practical Considerations: Power, Connectivity, and Obstructions
Even the best-placed camera is useless if it can't operate, transmit footage, or is constantly blocked. These practical aspects are critical to a successful installation.
Power Source:
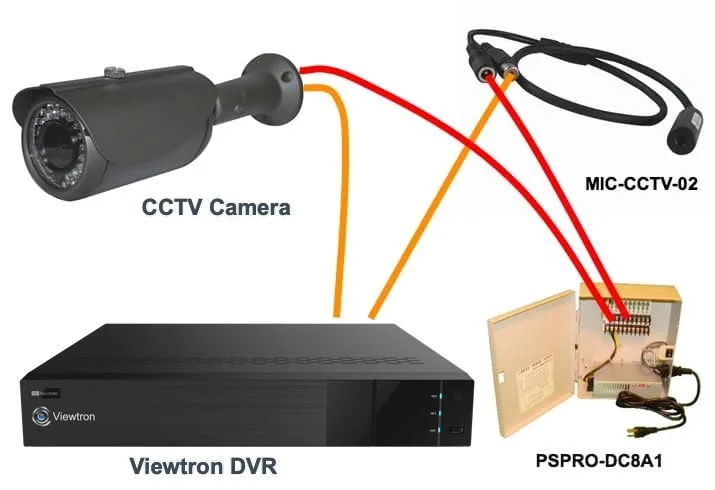
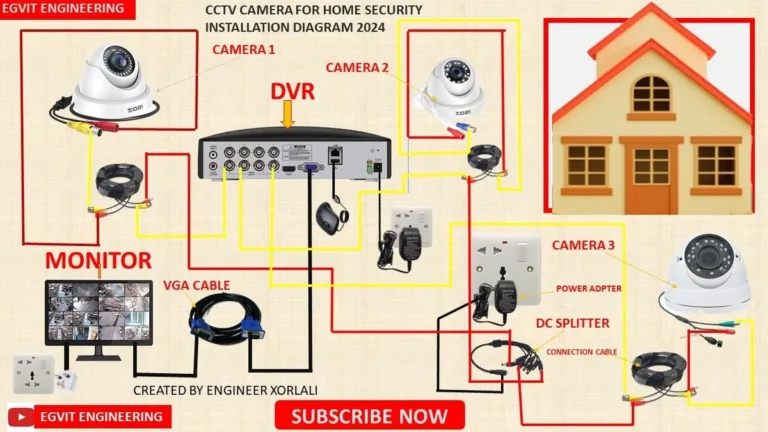
- Wired Cameras: Require a nearby electrical outlet or the installation of a power cable run from an outlet. This is the most reliable option but can involve more complex installation.
- Battery-Powered Cameras: Offer flexibility in placement as they don't need a direct power connection, but require periodic recharging or battery replacement. Manufacturer specifications indicate most battery-powered models need recharging every 1-6 months, depending on usage and settings.
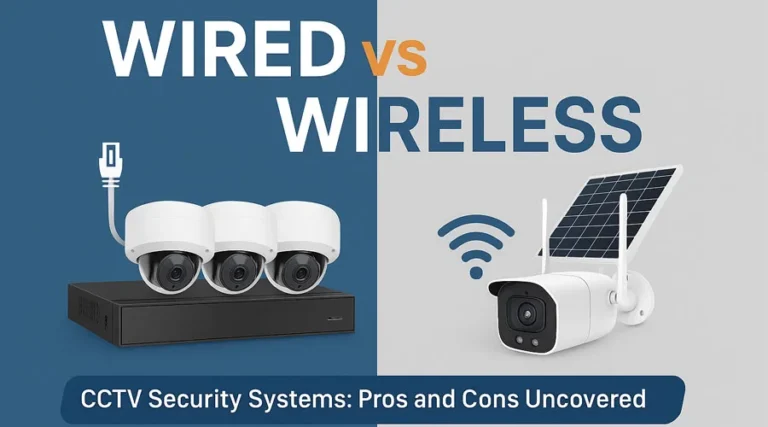
- Solar-Powered Cameras: Use solar panels to keep internal batteries charged, offering a low-maintenance, wire-free solution for outdoor placements, though performance can vary with sunlight availability.
Connectivity:
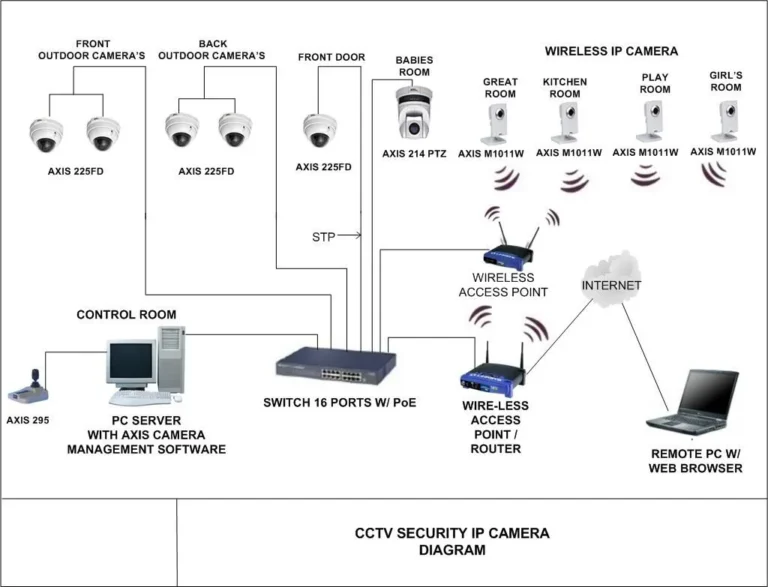
- Wi-Fi Cameras: Rely on a strong, stable Wi-Fi signal. Before mounting, test your Wi-Fi strength at the intended location. You might need a Wi-Fi extender or a mesh network system for remote areas.
- Ethernet Cameras (PoE, Power over Ethernet): Connect directly to your router or network switch via an Ethernet cable, which also provides power. This offers a more robust and reliable connection but requires running cables.
Obstructions:
- Foliage: Trees, bushes, and vines can grow and eventually block a camera’s view. Plan placements where vegetation can be managed or is unlikely to grow into the lens. Regularly trim any potential obstructions.
- Structures: Overhanging eaves, porch roofs, or nearby objects can create blind spots or obscure the view. Ensure the camera's angle isn't compromised.
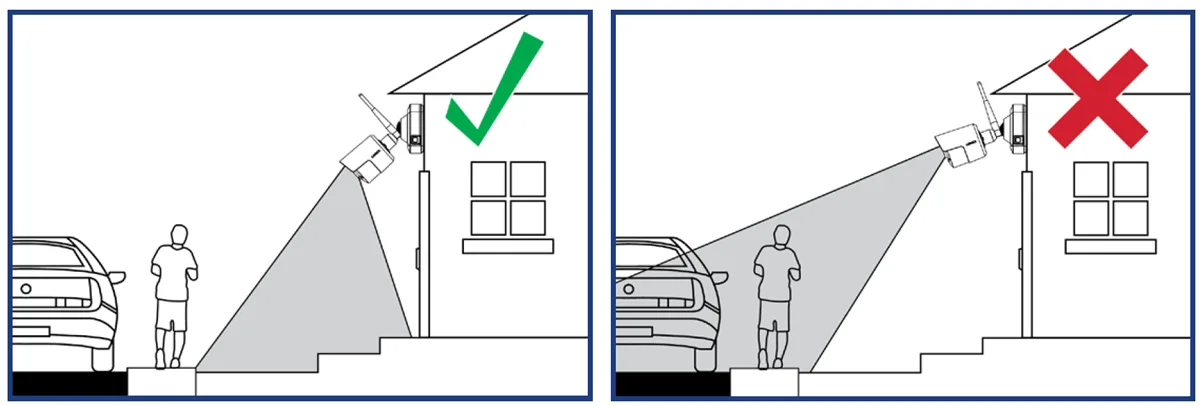
Image source: Bing (Web (fair-use with source credit))
Step 5: Mistakes to Avoid: Common Camera Placement Errors
Getting camera placement wrong can render them ineffective, or worse, give you a false sense of security. Avoiding these common pitfalls is key to a functional surveillance system.
- Mounting Too Low: Placing cameras within easy reach makes them vulnerable to tampering, vandalism, or simple removal. As mentioned, 8-10 feet is generally recommended.
- Pointing Directly into the Sun: This will wash out video footage, especially during sunrise and sunset, making it impossible to identify anything. Position cameras to avoid direct sunlight when possible, or use cameras with Wide Dynamic Range (WDR) technology, which helps balance bright and dark areas.
- Ignoring Blind Spots: Simply placing a camera in a general area without ensuring it covers the specific zone you need to monitor creates a blind spot. This is common when cameras are too far away or angled incorrectly.
- Overlooking Power and Wi-Fi: Installing a camera in a perfect spot only to find you can't get power or a stable Wi-Fi signal there is a frustrating and costly mistake. Always test these elements before permanent mounting.
- Not Considering Night Vision Limitations: While most modern cameras have night vision, its effectiveness can be reduced by ambient light or obstructions. If you need to see detail in complete darkness, ensure your camera's IR (infrared) range is sufficient for the area. Aggregate reviews indicate that for basic identification in low light, cameras with at least 30 feet of IR range are often recommended.
- Forgetting About Neighboring Properties: Pointing cameras directly into a neighbor's windows or private yard can lead to privacy issues and potential complaints. Be mindful of where your camera's view extends.