What Is a DIY Home Security System
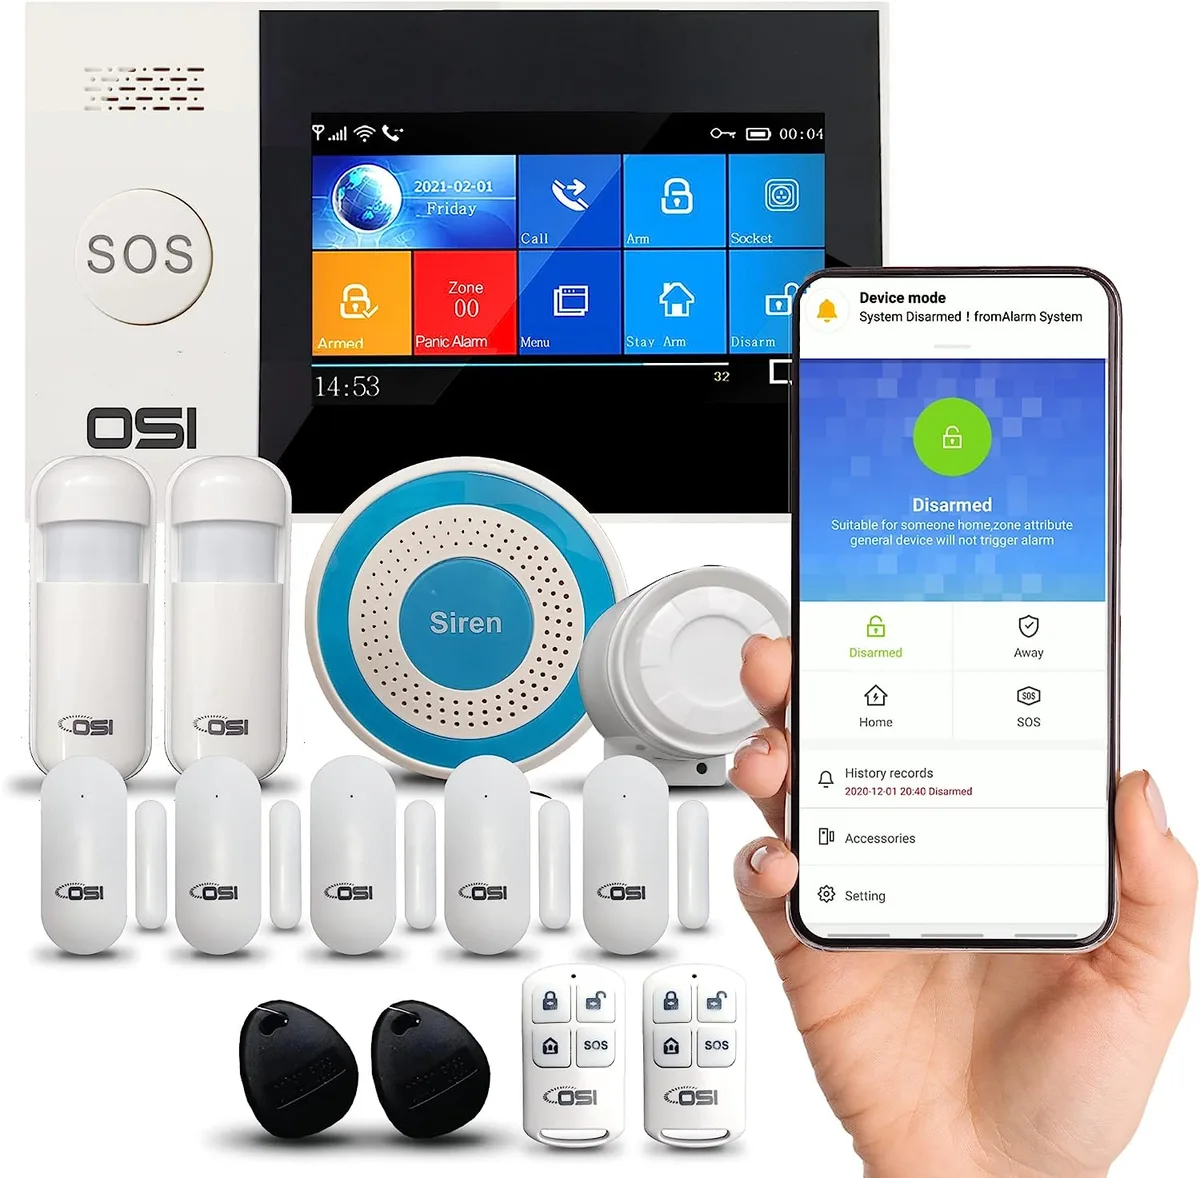
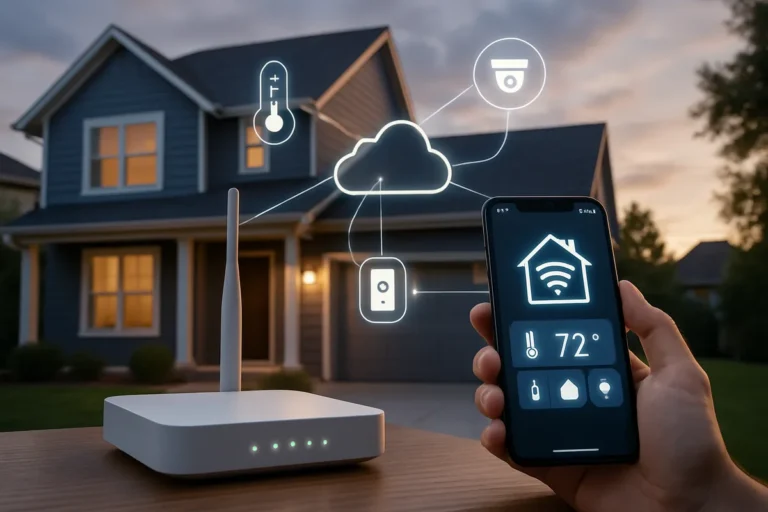
Image source: Web (Bing) / smarthomedvs.com (Web image (fair-use with source credit))
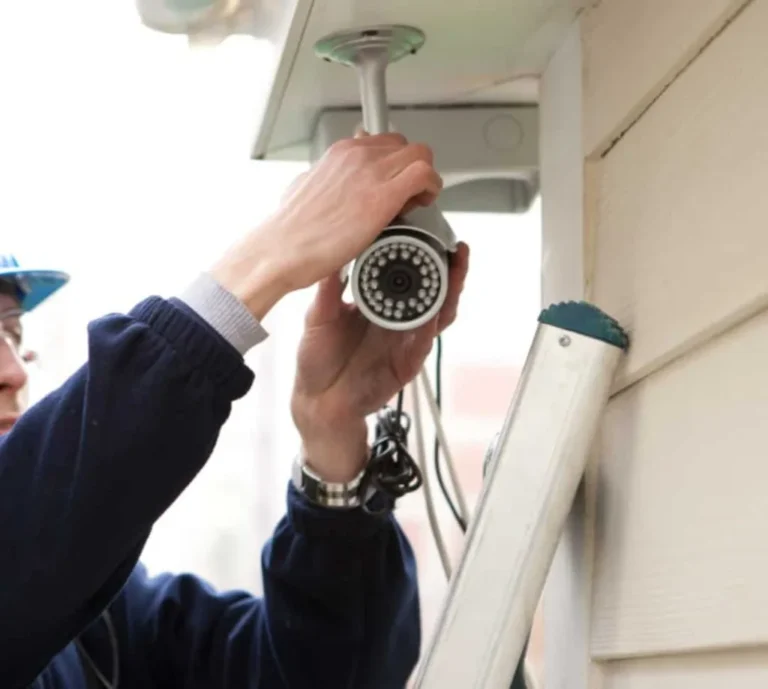
Planning to secure your home doesn't have to mean confusing contracts or expensive installations. You've probably wondered, "What is a DIY home security system?" and if it's the right fit for your needs and budget. These systems empower you to take control of your home's safety with components you install yourself.
Our research shows that these systems offer a flexible and often more affordable way to deter intruders and monitor your property, typically connecting wirelessly to your smartphone. They range from simple door sensors to sophisticated camera setups, often integrating with other smart home devices. Manufacturer specifications for many popular DIY systems highlight wireless ranges exceeding 100 feet, though actual performance can vary.
Let's break down what makes a DIY home security system tick and whether it's your best path to peace of mind.
Quick Answer
A DIY home security system is a self-installed and often self-monitored collection of devices designed to protect your home. These systems typically include sensors, cameras, and a central hub, all controlled via a mobile app. They offer flexibility, affordability, and the ability to customize security to your specific needs without professional installation or long-term contracts.
Many systems allow for optional professional monitoring services for added security.
Core Components of a DIY Security System: What's Inside the Box?
When you look into a DIY home security system, you'll find a few key pieces that work together to keep an eye on your home. Think of it like building blocks for your safety. The brain of the operation is usually a smart hub or base station.
This central unit connects to your home's Wi-Fi network and wirelessly communicates with all your other devices.
Here's a rundown of the most common components you'll encounter:
- Sensors: These are the eyes and ears of your system.
- Door/Window Sensors (Entry Sensors): These consist of two parts, a magnet and a sensor. When the door or window is opened, the magnet separates from the sensor, triggering an alert.
- Motion Sensors: These detect movement within a specific area. Many are designed to ignore pets below a certain weight to reduce false alarms.
- Glass Break Sensors: These listen for the specific frequency of breaking glass, alerting you if a window is smashed.
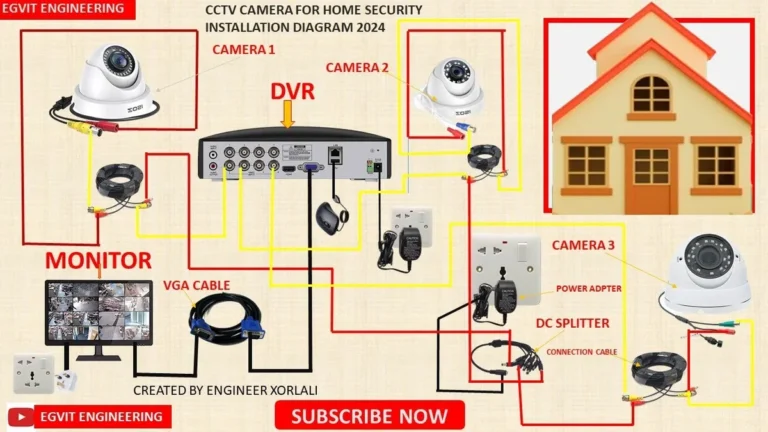
- Cameras: From basic indoor cameras to advanced doorbell cameras, these provide visual monitoring.
- Security Cameras: Placed inside or outside, they capture video and often offer features like night vision and two-way audio.
- Doorbell Cameras: These replace your existing doorbell and allow you to see and speak to visitors remotely, as well as record activity at your front door.
- Keypad: While many systems are controlled entirely via an app, some include a physical keypad for arming and disarming the system.
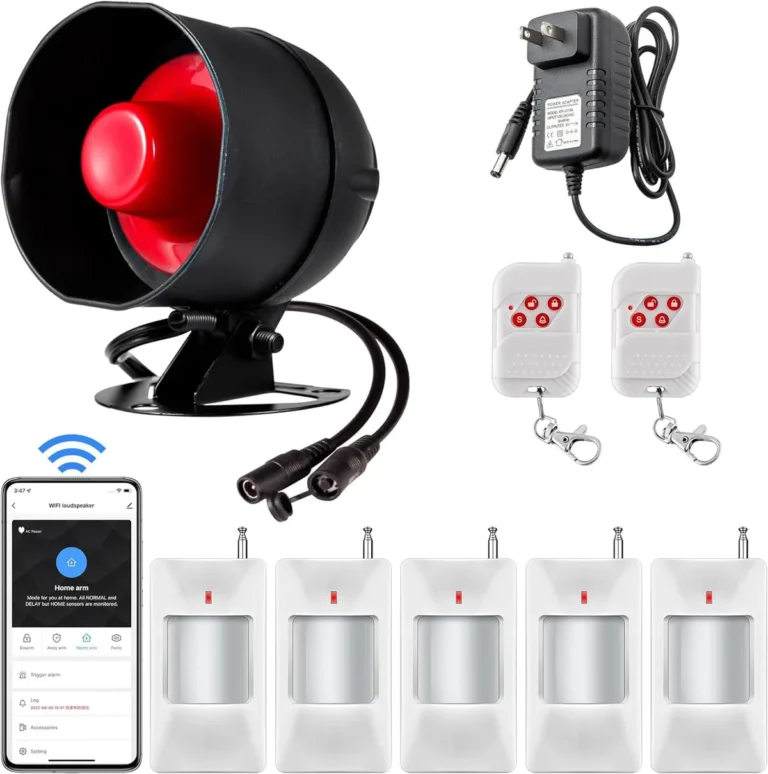
- Siren: A loud siren, either built into the hub or a separate device, is crucial for deterring intruders and alerting neighbors.
- Yard Sign & Window Decals: These are simple but effective visual deterrents, letting potential troublemakers know your home is protected.
Most DIY systems rely on wireless communication protocols like Wi-Fi, Z-Wave, or Zigbee, which allow these components to talk to each other without extensive wiring. Manufacturer specifications often confirm that Z-Wave devices, for instance, can operate reliably within a 100-foot radius indoors.
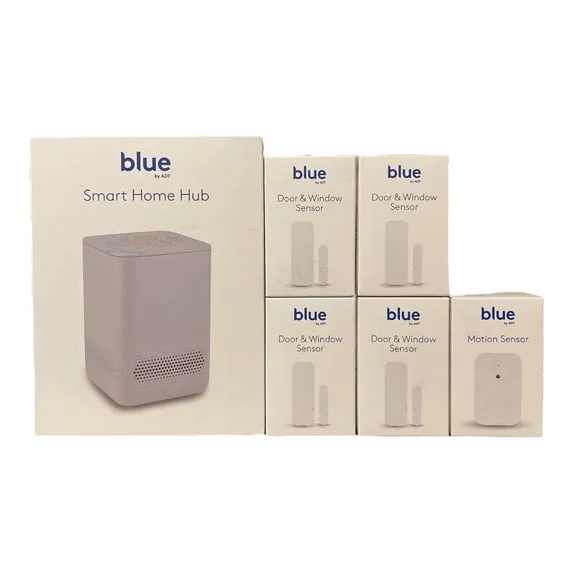
Image source: Bing (Web (fair-use with source credit))
Benefits and Drawbacks: Is a DIY System Right for You?
Deciding on a home security system often comes down to weighing what you gain against potential downsides. DIY systems really shine in a few key areas, making them a popular choice for many homeowners and renters. The biggest draw for most people is the cost.
- Lower Upfront Costs: You're not paying for a professional installer, which significantly cuts down the initial price tag. Equipment can range from under $100 for a basic starter kit to several hundred dollars for a more comprehensive setup with multiple cameras.
- No Long-Term Contracts: This is a huge advantage. You buy the equipment, and you're done. There are no monthly fees unless you choose to opt into a professional monitoring service, which is often less expensive than with traditional systems. For example, optional professional monitoring might cost between $10-$30 per month, compared to $30-$60+ for professionally installed systems.
- Flexibility and Scalability: You can start small and add more sensors or cameras as your budget allows or your needs change. Moving? You can usually take your system with you.
- Easy Installation: Designed for the average person, most systems require minimal tools and can be set up in under an hour.
However, it's not all sunshine and roses. There are trade-offs to consider:
- Self-Monitoring Responsibility: If you opt out of professional monitoring, it's on you to respond to alerts. This means checking your app, verifying the situation, and calling emergency services if necessary.
- Potential for False Alarms: Improper setup or placement of sensors can lead to unwanted alerts. For example, a motion sensor pointed directly at a heating vent might trigger during a temperature change.
- Troubleshooting Falls on You: If a device stops working or connectivity is an issue, you'll be the one troubleshooting. This can be frustrating if you're not tech-savvy.
- Reliance on Your Wi-Fi: Most DIY systems depend heavily on a stable Wi-Fi connection. If your internet goes down, so does your remote monitoring capability.
Setting Up Your DIY System: A Step-by-Step Guide
Getting your DIY home security system up and running is designed to be straightforward, usually taking less time than you might think. The process generally involves setting up the main hub and then pairing each individual sensor and camera. Think of it like a guided process, with the manufacturer's app walking you through each step.
Here’s a typical setup flow:
- Unpack and Inspect: Lay out all your components. Check that everything listed on the box is present and appears undamaged.
- Install the Hub/Base Station:
- Find a central location in your home, ideally near your Wi-Fi router.
- Plug in the power adapter and connect the hub to your router using an Ethernet cable (if required; some are Wi-Fi only).
- Download the system’s mobile app on your smartphone or tablet.
- Follow the app's instructions to connect the hub to your Wi-Fi network. This often involves scanning a QR code on the hub.
- Pair Sensors and Devices:
- The app will usually guide you through pairing each device one by one.
- For door/window sensors, you’ll typically peel off a battery tab or press a button on the sensor, and then the app will detect it.
- For cameras, you'll often connect them to power, and then use the app to get them onto your Wi-Fi network.
- Mount the sensors and cameras in their desired locations using the provided adhesive strips or screws. Ensure sensors are aligned correctly on doors and windows. For motion sensors, consider placement to cover entry points without pointing directly at heat sources or windows that might trigger false alarms.
- Configure Settings:
- Once all devices are paired, you'll set up your system preferences within the app. This includes naming your sensors (e.g., "Living Room Window," "Front Door"), setting entry and exit delays, and configuring notification preferences.
- Decide whether you want to enable optional professional monitoring.
- Test Your System:
- This is a crucial step! Arm the system and intentionally trigger each sensor to ensure it’s working correctly and that you receive an alert on your phone. Open doors, walk in front of motion detectors, and test your cameras.
- Verify that any siren or audible alerts function as expected.
Most manufacturers indicate that this entire process can be completed in under two hours for a standard kit, though more complex setups with multiple cameras might take longer.
DIY vs. Professional: Comparing Your Home Security Options
When you're looking at securing your home, you've got two main paths: the DIY route or going with a professionally installed system. Each has its own set of advantages and disadvantages, and the best choice really depends on your personal circumstances, budget, and comfort level with technology. It's not a one-size-fits-all situation.
Let's break down the core differences:
| Feature | DIY Home Security System | Professionally Installed System |
|---|---|---|
| Installation | You install it yourself. Minimal tools and technical skill needed. | A technician installs everything for you. |
| Cost (Upfront) | Lower. You pay for the equipment only. | Higher. Includes equipment and installation fees. |
| Contracts | Typically no long-term contracts required. | Often requires a multi-year monitoring contract. |
| Monthly Fees | Low or none (for self-monitoring). Optional professional monitoring available at a lower cost. | Higher monthly fees, often bundled with equipment financing. |
| Flexibility | High. Easy to add or move components, take it with you when you move. | Limited. Components are usually wired and permanently installed. |
| Monitoring | Primarily self-monitored via app. Optional professional monitoring. | Usually includes 24/7 professional monitoring by default. |
| Customer Support | Primarily online resources, forums, and customer service hotlines. | Dedicated support from installation to ongoing service. |
| System Complexity | Can range from basic to advanced smart home integration. | Often more robust, integrated, and complex hardware. |
| Best For | Renters, budget-conscious homeowners, tech-savvy individuals, those wanting flexibility. | Homeowners who prefer a hands-off approach, larger homes, or those seeking maximum integration and support. |
Consider that professional installers often use wired systems which can be more reliable but are also much harder to change or move. DIY systems, on the other hand, typically use wireless components that are simple to set up and relocate.
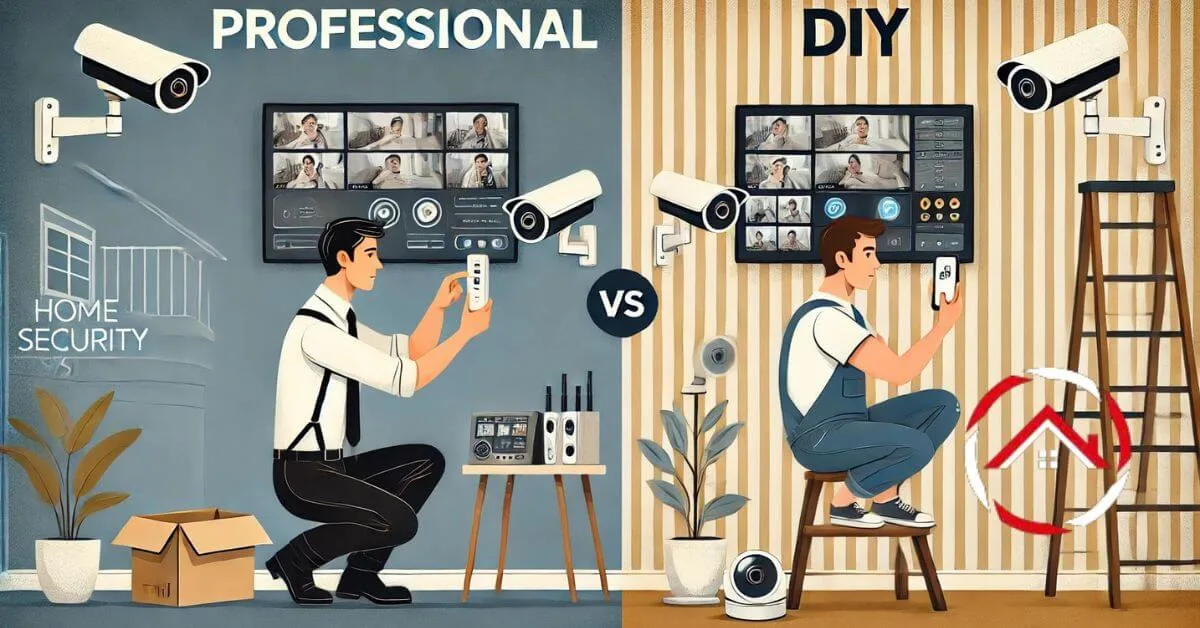
Image source: Bing (Web (fair-use with source credit))
Who Should Consider a DIY Home Security System?
So, who is a DIY home security system really for? Our analysis points to several key groups who find these systems particularly advantageous. If any of these sound like you, a DIY setup might be exactly what you're looking for.
- Renters: This is a big one. Since you can't make permanent alterations to a rental property, a wireless, easy-to-install, and portable DIY system is ideal. You can set it up without drilling holes (often using adhesive mounts) and take it with you when you move out.
- Budget-Conscious Individuals: If you want to enhance your home security without the significant upfront costs and long-term contracts associated with traditional alarm companies, DIY is the way to go. You pay for the equipment, and if you self-monitor, that's often the end of the expense beyond battery replacements.
- Tech-Savvy Homeowners: People who are comfortable with smartphones, apps, and basic troubleshooting often find DIY systems a perfect fit. They appreciate the control and customization these systems offer through mobile apps.
- Those Seeking Flexibility: Your security needs might change. Maybe you start with just a few door sensors and a camera, but later decide you need more coverage. DIY systems allow you to easily add components to your existing setup.
- DIY Enthusiasts: If you enjoy setting up and configuring your own smart home devices, a DIY security system offers a rewarding project that also provides tangible safety benefits.
If you're looking for a system that you can install yourself, control from your phone, and scale as needed without being locked into a long-term contract, a DIY home security system is definitely worth exploring.
Common Pitfalls and How to Avoid Them
Even with systems designed for easy setup, it's possible to run into a few snags. Avoiding these common mistakes can save you a lot of frustration and ensure your DIY system works reliably. The most frequent issues often stem from placement, connectivity, or misunderstanding the system's capabilities.
Here are some pitfalls to watch out for:
- Poor Sensor Placement: This is a huge one, especially for motion sensors.
- Mistake: Placing a motion sensor where it can "see" a heating vent, a busy window, or a pet's favorite napping spot.
- Solution: Mount motion sensors facing entry points, away from direct heat sources, and ensure they're at an appropriate height for your home's layout. Check manufacturer specs for optimal range and angle. For door/window sensors, ensure the two pieces are aligned and close enough when closed (usually within 1 inch).
- Wi-Fi Signal Issues: Many DIY systems rely heavily on a strong, stable Wi-Fi connection to communicate with your phone and the cloud.
- Mistake: Installing the hub or cameras in a "dead zone" where your Wi-Fi signal is weak or intermittent.
- Solution: Before installing permanently, test the Wi-Fi strength at your desired hub location using your smartphone. If it's weak, consider a Wi-Fi extender or a mesh network system. Manufacturer documentation often suggests a minimum signal strength for reliable operation.
- Ignoring System Testing: After installation, it's tempting to just assume everything is working perfectly.
- Mistake: Never thoroughly testing all sensors and the central alarm function.
- Solution: Arm the system in test mode (if available) or with a delayed alert. Trigger each sensor individually and confirm you receive notifications on your app. Test the siren and any remote monitoring connection. Do this periodically, not just after initial setup.
- Over-reliance on Adhesive Mounts: While convenient, these can fail over time, especially in fluctuating temperatures.
- Mistake: Relying solely on the sticky backing for critical components like outdoor cameras or heavy sensors.
- Solution: For key devices, especially outdoors, use screws for a more secure installation. Check manufacturer instructions; some systems provide mounting hardware for better reliability.
By being mindful of these common issues during setup and routine checks, you can significantly improve your DIY security system's effectiveness and avoid those frustrating false alarms or missed alerts.
Costs and Pricing: What to Expect with a DIY System
When we talk about DIY home security, a major part of the appeal is often the cost savings. Compared to traditional, professionally installed systems that can run into thousands of dollars upfront and carry hefty monthly fees, DIY solutions are generally much more accessible. The pricing structure is usually pretty straightforward: you buy the equipment, and then you decide on monitoring.
Here’s a breakdown of what influences the cost:
Equipment Cost: This is your main upfront expense.
- Starter Kits: These usually include a hub, a few door/window sensors, and maybe a motion detector. Prices can range from around $100 to $300, depending on the brand and number of components.
- Individual Components: Cameras are a significant cost driver. Standalone indoor cameras might be $30-$100 each, while outdoor or doorbell cameras can range from $80-$250. Additional sensors are typically $15-$40 each.
- Subscription Services (Optional): While you can self-monitor for free, many systems offer optional monthly subscriptions for enhanced features. These can include:
- Cloud Video Storage: If you want to store recorded camera footage, plans often start around $5-$10 per month for one camera and go up for multiple cameras.
- Professional Monitoring: For around $10-$30 per month, you can have a professional monitoring center receive your alerts and dispatch emergency services if needed. This is a fraction of what traditional systems charge for the same service.
- Advanced Features: Some plans might offer extended warranties, cellular backup (if your Wi-Fi goes down), or advanced smart home integrations.
Battery Replacement: Most wireless sensors run on small batteries (like CR2032 or AA/AAA) that need replacing every 1-3 years, depending on usage. This is a minor ongoing cost, typically just a few dollars per battery.
Our research indicates that for a moderately equipped DIY system (hub, 4 door/window sensors, 2 motion detectors, 1 indoor camera), the upfront equipment cost might fall between $200 and $500. Adding an outdoor camera and cloud storage could push that to $400-$700. The key benefit remains the ability to avoid long-term contracts and opt for minimal or no monthly fees if self-monitoring meets your needs.
Frequently Asked Questions
What's the difference between DIY and professionally installed systems?
DIY systems are designed for self-installation and often self-monitoring, offering flexibility and lower upfront costs without long-term contracts. Professionally installed systems require expert setup, usually come with mandatory monitoring contracts, and typically have higher initial and monthly expenses.
Do I need a strong Wi-Fi signal for a DIY system?
Yes, a strong and stable Wi-Fi connection is crucial for most DIY security systems. The hub and cameras rely on it to communicate with your smartphone and the cloud for alerts and remote access. Weak Wi-Fi can lead to missed notifications or system downtime.
Can I take my DIY security system with me if I move?
Absolutely. Because most DIY systems use wireless components and are designed for easy installation, they are highly portable. You can simply uninstall them and set them up again in your new home, making them ideal for renters or frequent movers.
How often do I need to replace batteries in DIY security devices?
Battery life varies by device and manufacturer, but most wireless sensors and cameras require battery replacement every 1 to 3 years. Some systems will send alerts through the mobile app when a battery is running low.
4 Comments