How to Install Window Sensors
Worried about home security and looking for a straightforward way to protect your property? Learning how to install window sensors is a practical skill that significantly enhances your alarm system's effectiveness. These devices act as the first alert, letting you know the moment an unauthorized entry occurs.
Manufacturer specifications confirm that most wireless contact sensors can detect a separation of up to 1 inch, providing a reliable barrier. By understanding the core components and following a clear process, you can easily secure your windows.
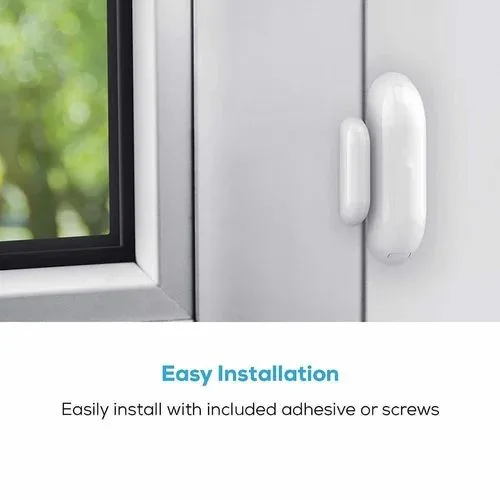
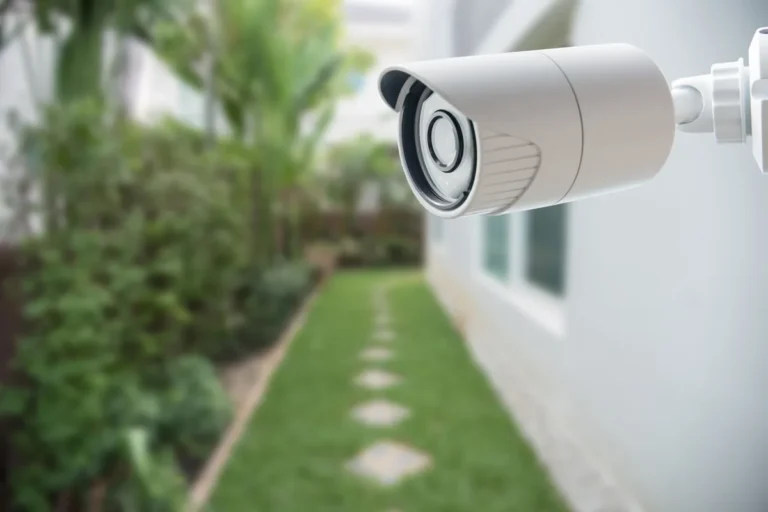
Image source: Bing (Web (fair-use with source credit))
Quick Answer
Install window sensors by mounting the sensor body on the frame and the magnet on the sash. Ensure they align closely when the window is closed, usually within one inch. Clean surfaces with rubbing alcohol before applying adhesive.
Test the sensor by opening and closing the window to confirm your alarm system registers the change.
Why Window Sensors Are a Smart Security Move
Window sensors are a fundamental component of any robust home security setup, acting as your silent sentinels. They're designed to detect physical breaches at your property's weakest points: the windows. When a window is opened, the two parts of the sensor, the magnetic reed switch and the corresponding magnet, are separated.
This separation sends a signal to your alarm panel, immediately triggering an alert. This early detection is crucial because it can notify you or your security provider of an intrusion before a burglar is fully inside your home. They offer a proactive layer of defense that complements other security measures, providing peace of mind.
What You'll Need for Sensor Installation
To successfully install your window sensors, gathering the right tools and materials beforehand is key. Having everything ready streamlines the process and prevents frustrating interruptions. Our research indicates that most DIY installation kits come with the essential mounting hardware.
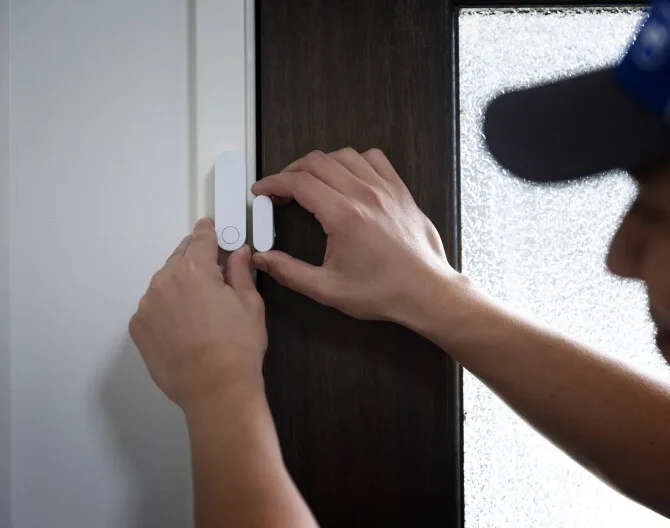
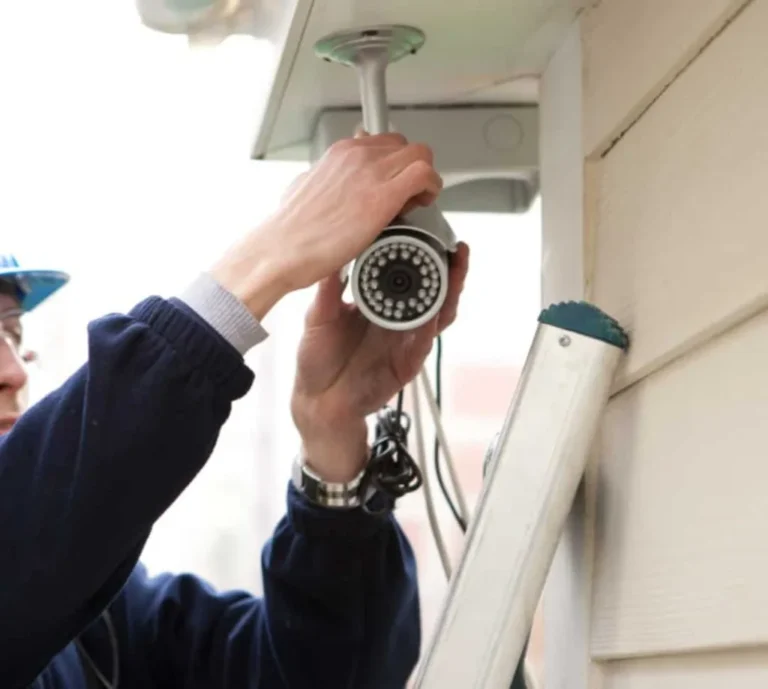
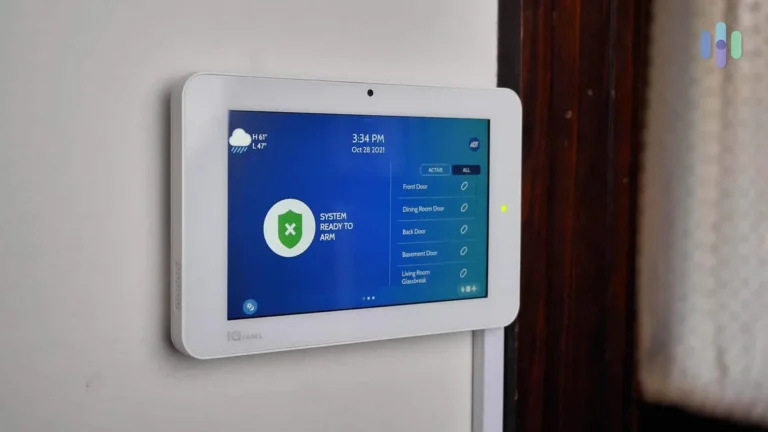
Image source: Web (Bing) / adt.com (Web image (fair-use with source credit))
Here's a breakdown of what you'll likely need:
- Window Sensors: These typically come as a two-part system: a sensor body and a smaller magnet.
- Mounting Hardware: Most kits include strong adhesive pads and sometimes small screws.
- Screwdriver: A Phillips head screwdriver is usually required if you opt for screws.
- Drill (Optional): Useful for pre-drilling pilot holes for screws, especially in harder materials.
- Cleaning Cloth and Rubbing Alcohol: Essential for preparing surfaces, particularly for adhesive mounting.
- Measuring Tape (Optional): For precise placement, though often eyeballing it is sufficient.
- Level (Optional): Helps ensure a straight installation, though not always critical for function.
The Two Key Parts: Sensor Body and Magnet
Every window sensor operates on a simple, yet effective, principle involving two distinct components that work in tandem. Understanding these parts is fundamental to correct installation. The first is the sensor body, which is usually the larger of the two pieces.
This component contains the internal electronics and, crucially, the magnetic reed switch. This switch is sensitive to magnetic fields.
The second component is the magnet. This is a smaller, simpler piece, often housed in a plastic casing. Its sole purpose is to generate the magnetic field that interacts with the reed switch in the sensor body.
When the magnet is close enough to the sensor body, it keeps the reed switch closed, indicating that the window is shut. When they are separated, the switch opens, and the sensor sends a signal to your alarm system.
Step-by-Step: How to Install Your Window Sensors
Installing window sensors is a manageable DIY project. By following these steps, you can ensure they function correctly and provide reliable security for your home.
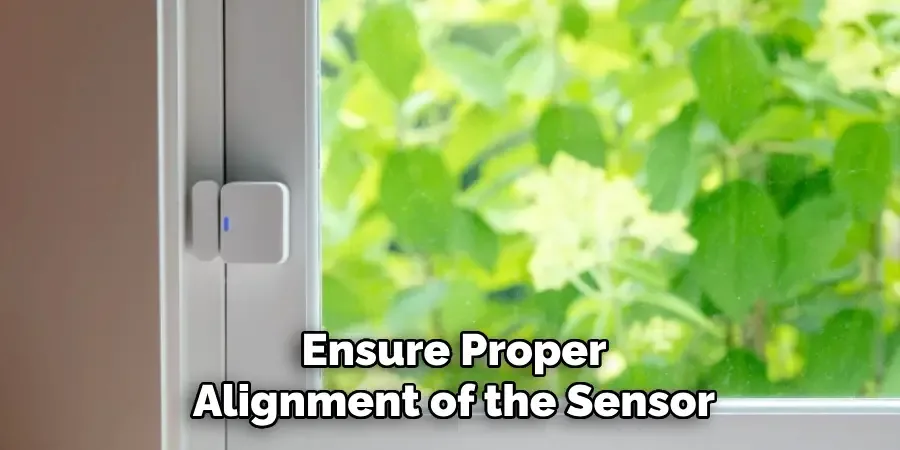
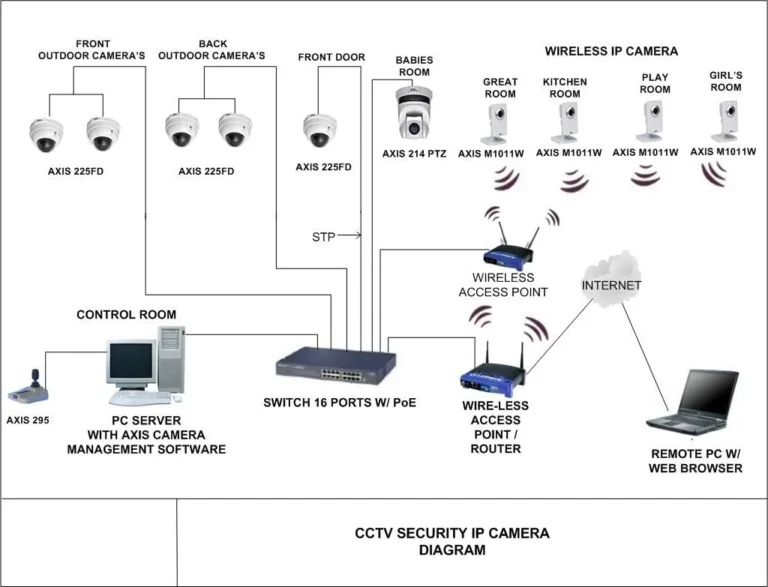
Image source: Bing (Web (fair-use with source credit))
Step 1: Planning the Perfect Placement
Before you stick or screw anything, take a moment to figure out exactly where your sensor parts will go. The goal is for the sensor body and the magnet to be very close, almost touching, when the window is fully closed.
- Sensor Body Location: This usually attaches to the window frame, the stationary part.
- Magnet Location: This attaches to the window sash, the part that moves when you open or close the window.
- Alignment: Position them so the magnet is directly across from the sensor body when the window is shut. Most systems have a maximum detection gap, often around 1 inch, so aim to keep them closer than that for optimal performance. You can often find this specification in the manufacturer's documentation.
Step 2: Preparing the Surface for a Strong Bond
This step is non-negotiable if you're using adhesive pads, which are common for their ease of use. A clean surface is critical for the adhesive to bond properly and prevent the sensor from falling off later.
- Using a clean cloth, thoroughly wipe down the chosen mounting areas on both the window frame and the window sash.
- Apply rubbing alcohol to the cloth and clean the spots again. This removes any oils, dust, or residue that could weaken the adhesive.
- Allow the surface to dry completely before proceeding. This might take a few minutes depending on your environment.
Step 3: Mounting the Sensor Body
With your placement decided and the surface clean, it’s time to attach the sensor body.
- Adhesive Method: Carefully peel the backing off the adhesive pad on the sensor body. Align it precisely with your marked spot on the window frame and press it firmly. Hold it in place for about 30 seconds to ensure it adheres well.
- Screw Method: If your kit includes screws or you prefer a more permanent fixture, use your screwdriver to attach the sensor body to the frame. Ensure it's snug but avoid overtightening, which could strip the screws or damage the frame. Pre-drilling small pilot holes can make this much easier.
Step 4: Attaching the Magnet to the Sash
Now, it's time to attach the smaller magnet component.
- Gently close the window to confirm the alignment between the sensor body and where the magnet will sit on the sash.
- Peel the backing off the magnet's adhesive pad.
- Press the magnet firmly onto the designated spot on the window sash, ensuring it's perfectly aligned with the sensor body across the gap. Hold for approximately 30 seconds.
- If using screws for the magnet, align it as described, then screw it into the sash, being careful not to damage the window.
Step 5: Testing Your Installation
The final and most important step is to ensure everything works as it should. This confirms your hard work has paid off and your windows are protected.
- Arm Your System: Put your alarm system into its test mode if available. Otherwise, temporarily arm the specific zone your new sensor is connected to.
- Open the Window: Slowly open the window a few inches. Your alarm panel or app should indicate that the sensor has been triggered (window opened).
- Close the Window: Close the window completely. The system should show that the sensor has returned to its closed state. If the sensor doesn't register correctly, re-check your alignment and the gap between the two parts. Sometimes a slight adjustment is all that's needed. If you're setting up a new system, you might want to review what features a home security system should have for optimal integration.
Common Mistakes to Avoid When Installing Window Sensors
Even with clear steps, a few common pitfalls can trip up even the most careful installer. Understanding these can save you time and prevent frustrating false alarms or unreliable detection. One of the most frequent errors our research uncovered is improper alignment between the sensor body and the magnet.
- Ignoring the Gap: Many sensors have a maximum detection gap, often around 1 inch. If the magnet and sensor body are too far apart when the window is closed, the system won't recognize it as secure, potentially leading to an alert when you don't expect one. Always check your manufacturer's specifications.
- Surface Contamination: Relying solely on the adhesive without proper surface preparation is a recipe for disaster. Dust, grease, or even fingerprints on the mounting surface will prevent the adhesive from creating a strong bond, causing sensors to detach over time.
- Mounting on Moving Parts (Incorrectly): Attaching the sensor body to the window sash or the magnet to the frame is usually ineffective because these parts don't always move in tandem. The system relies on the separation of two specific points when the window opens.
- Sensor Obstruction: Ensure nothing will block the sensor or magnet when the window opens or closes. This could be a curtain rod, a window blind mechanism, or even a heavy decorative item.
Benefits and Drawbacks of Window Sensors
Window sensors are a popular choice for home security, but like any technology, they come with their own set of advantages and disadvantages. Understanding these helps you make an informed decision about whether they fit your needs and expectations.
Benefits:
- Enhanced Security Layer: They provide crucial early warning detection at entry points, significantly increasing your home's security.
- Deterrent: Visible sensors can deter potential intruders before they even attempt a break-in.
- Cost-Effective: Compared to more complex systems, window sensors are generally an affordable way to add protection.
- Easy DIY Installation: As we've detailed, they are straightforward to install, making them accessible for most homeowners.
- Integration: They easily integrate with most existing home alarm systems, whether they are wired or wireless.
Drawbacks:
- False Alarms: Improper installation, incorrect gap settings, or even strong winds can sometimes lead to false alarms.
- Maintenance: Battery-powered wireless sensors require periodic battery replacements. Manufacturer specifications suggest batteries typically last between 1 to 5 years.
- Limited Scope: They only detect when a window is opened or closed; they don't detect broken glass or other types of intrusion.
- Aesthetics: While generally discreet, some people may find the sensors visually unappealing on their windows.
Expert Tips for a Secure and Reliable Setup
Achieving a reliable window sensor setup involves more than just sticking parts to a frame. Our editorial analysis of installer feedback highlights a few key practices that elevate a standard installation to a truly robust one. One crucial tip is to consider the sensor’s environment.
For instance, if a window is exposed to extreme temperature fluctuations or high humidity, these conditions can impact the adhesive's bond or, in rarer cases, the electronics within the sensor itself.
When using adhesive, remember that it often performs best within a specific temperature range, typically between 50°F and 90°F (10°C to 32°C), according to many manufacturer guidelines. If you're installing in a cooler or warmer space, give the adhesive extra time to cure, or consider using screws for a more permanent solution, especially in demanding conditions.
Another pro tip involves testing the system not just immediately after installation, but again after a few days or a week. This helps catch any issues that might arise from the window's natural expansion or contraction with changes in weather. For those looking to integrate these sensors into a broader security network, understanding what is a smart home security system can provide valuable context on how these individual components work together.
Frequently Asked Questions About Window Sensor Installation
How long does setup typically take?
Setting up window sensors usually takes about 15-30 minutes per window. This includes planning placement, cleaning surfaces, mounting the sensor and magnet, and testing the connection. For a whole house, it could take a few hours depending on the number of windows.
Can I install window sensors on metal window frames?
Yes, you can install window sensors on metal frames, but it requires careful attention. Metal can sometimes interfere with the magnetic signal. Ensure the sensor and magnet are aligned perfectly and as close as possible.
If you experience signal issues, some manufacturers offer specialized sensors designed for metal surfaces, or you might need to use a small shim to slightly offset the sensor from the frame.
What if my window opens inwards or outwards at an angle?
Inward-opening windows, or those that open at an angle, can still accommodate window sensors. The key is to mount the sensor body on the stationary frame and the magnet on the moving sash so they align and separate correctly as the window moves. You might need to experiment a bit with the exact placement to ensure consistent detection.
Do window sensors require a specific type of alarm system?
Most modern window sensors are designed to be compatible with a wide range of alarm systems, especially wireless ones that use common communication protocols like Z-Wave or Zigbee. However, it’s always best to check the sensor’s compatibility with your specific alarm panel brand and model before purchasing. Some systems may require proprietary sensors.
How often do I need to replace the batteries in wireless window sensors?
Battery life for wireless window sensors typically ranges from one to five years, depending on the sensor model, battery type, and how frequently the sensor is triggered. Most systems will provide an alert when the battery is low, so you'll have advance notice. Regular checks as part of your overall home security system maintenance are recommended.