How to Replace Home Security System Batteries
When your home security system flashes a "low battery" warning, it's easy to feel a flutter of panic. This isn't just an inconvenience; it's a critical signal that a sensor might soon fail, leaving a gap in your home's protection. Knowing precisely how to replace home security system batteries ensures your system remains a reliable guardian.
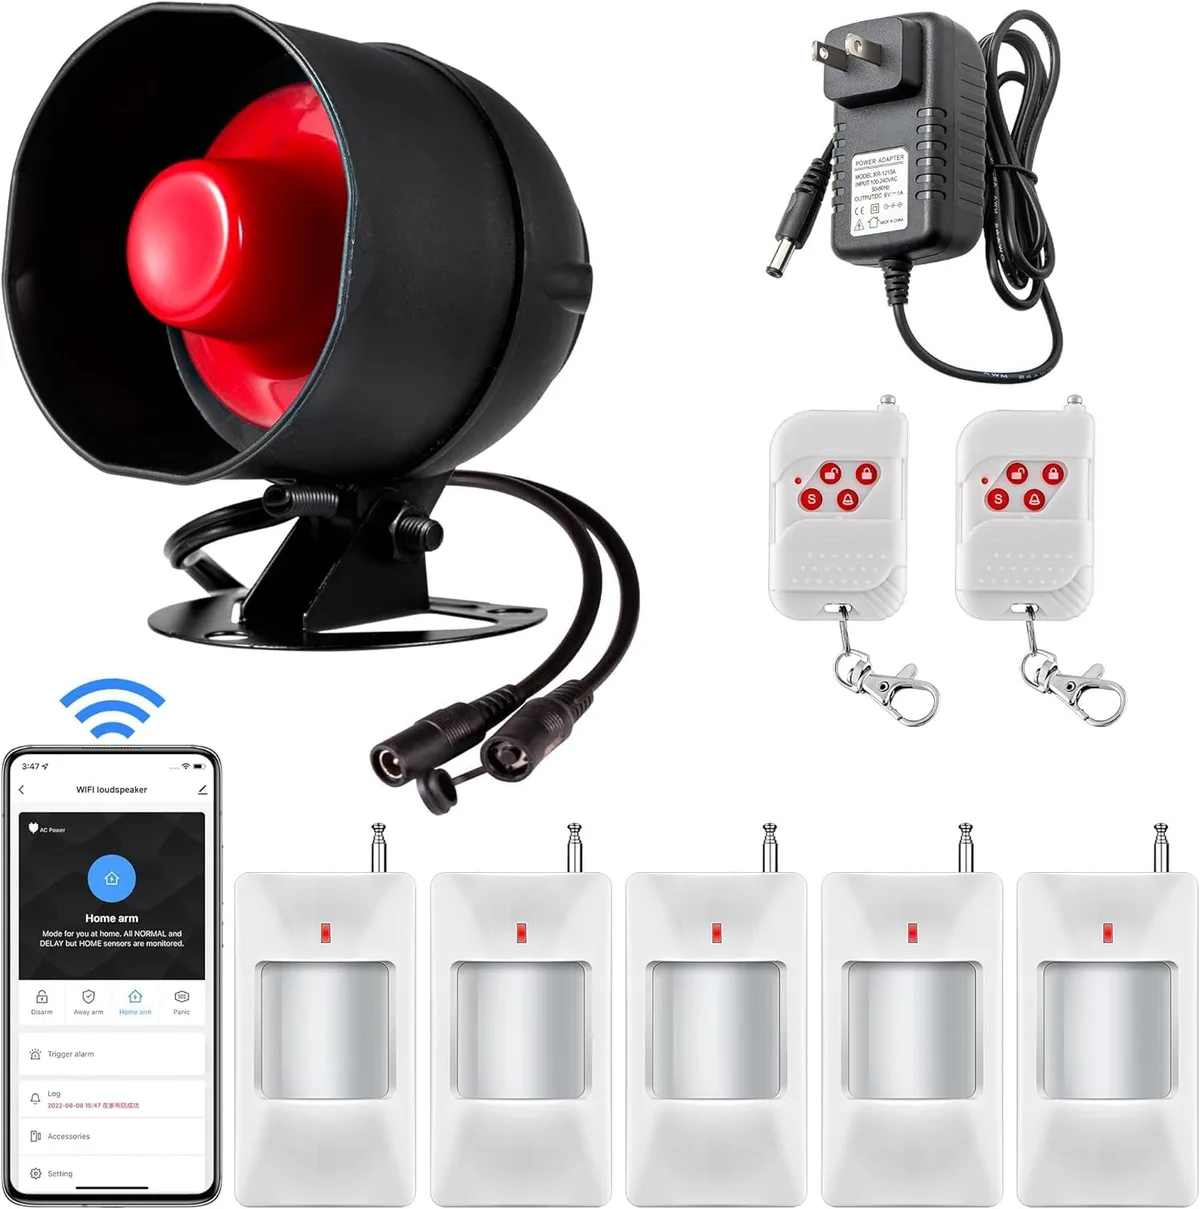
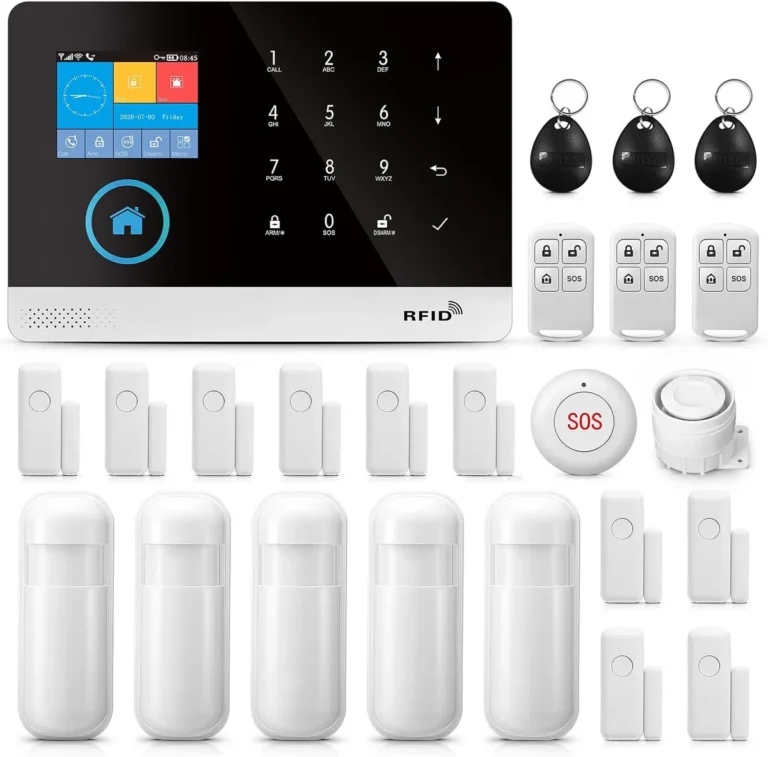
Image source: Web (Bing) / amazon.com (Web image (fair-use with source credit))
Manufacturer specifications indicate many wireless security sensors, like common door/window contacts, use standard coin cell batteries rated for 3 to 5 years of typical use. Changing these proactively is key to uninterrupted security.
Quick Answer
Replace home security system batteries by identifying the low-battery sensor, opening its housing, removing the old battery, inserting a new one of the correct type and orientation, closing the housing, and testing the sensor. Always use the exact battery model specified by the manufacturer to ensure proper function.
The "Low Battery" Alert: What It Really Means
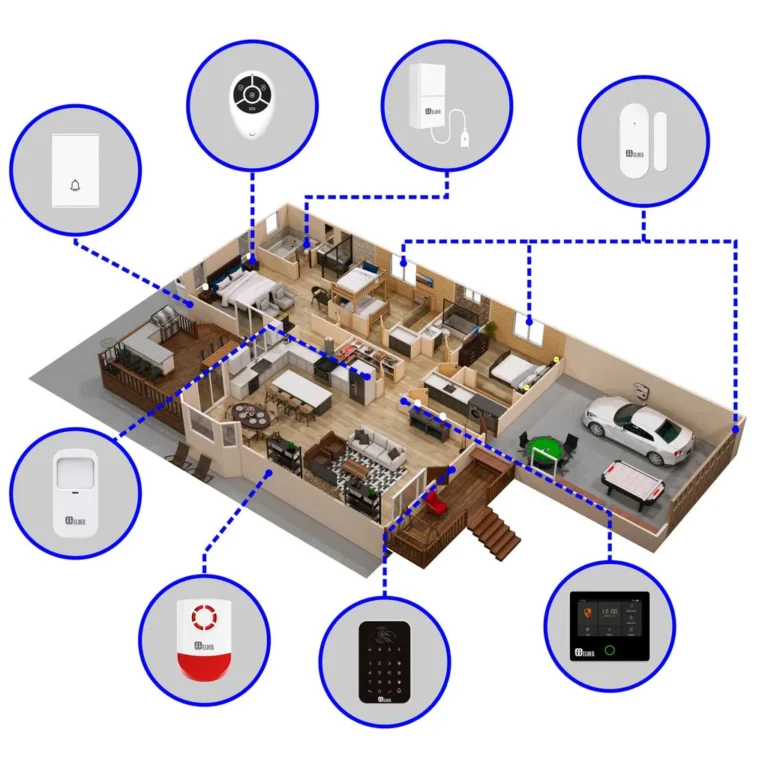
That blinking light or digital message isn't just a suggestion; it's your security system's direct communication that a vital component is losing power. For wireless sensors, whether they're door/window contacts, motion detectors, or even smoke/CO detectors integrated into your system, the battery is their sole power source. When it gets low, the sensor’s ability to communicate with the main control panel is compromised.
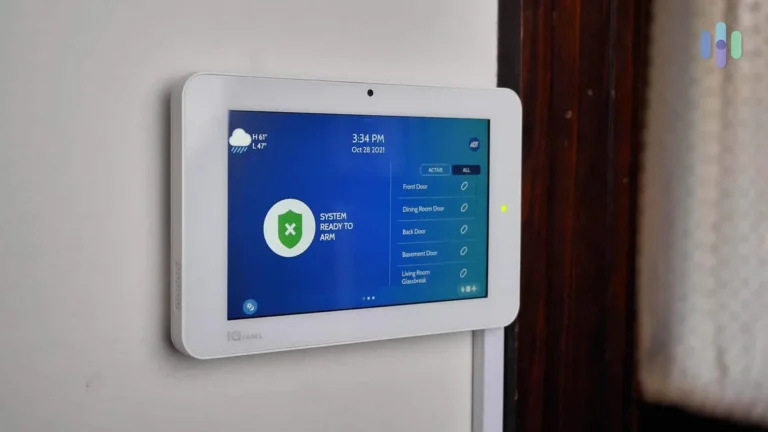
This means it might stop sending signals, which could leave you vulnerable. Some systems, like smart home security systems, will send these alerts directly to your smartphone app. As of 2026, industry standards still rely heavily on these battery-powered components for ease of installation and flexibility, making battery health a continuous concern.
Your Essential Battery Replacement Toolkit
Having the right tools on hand makes a world of difference when it’s time to swap out batteries. You don’t need a specialized electrician’s kit, but a few key items will prevent fumbling and potential damage.
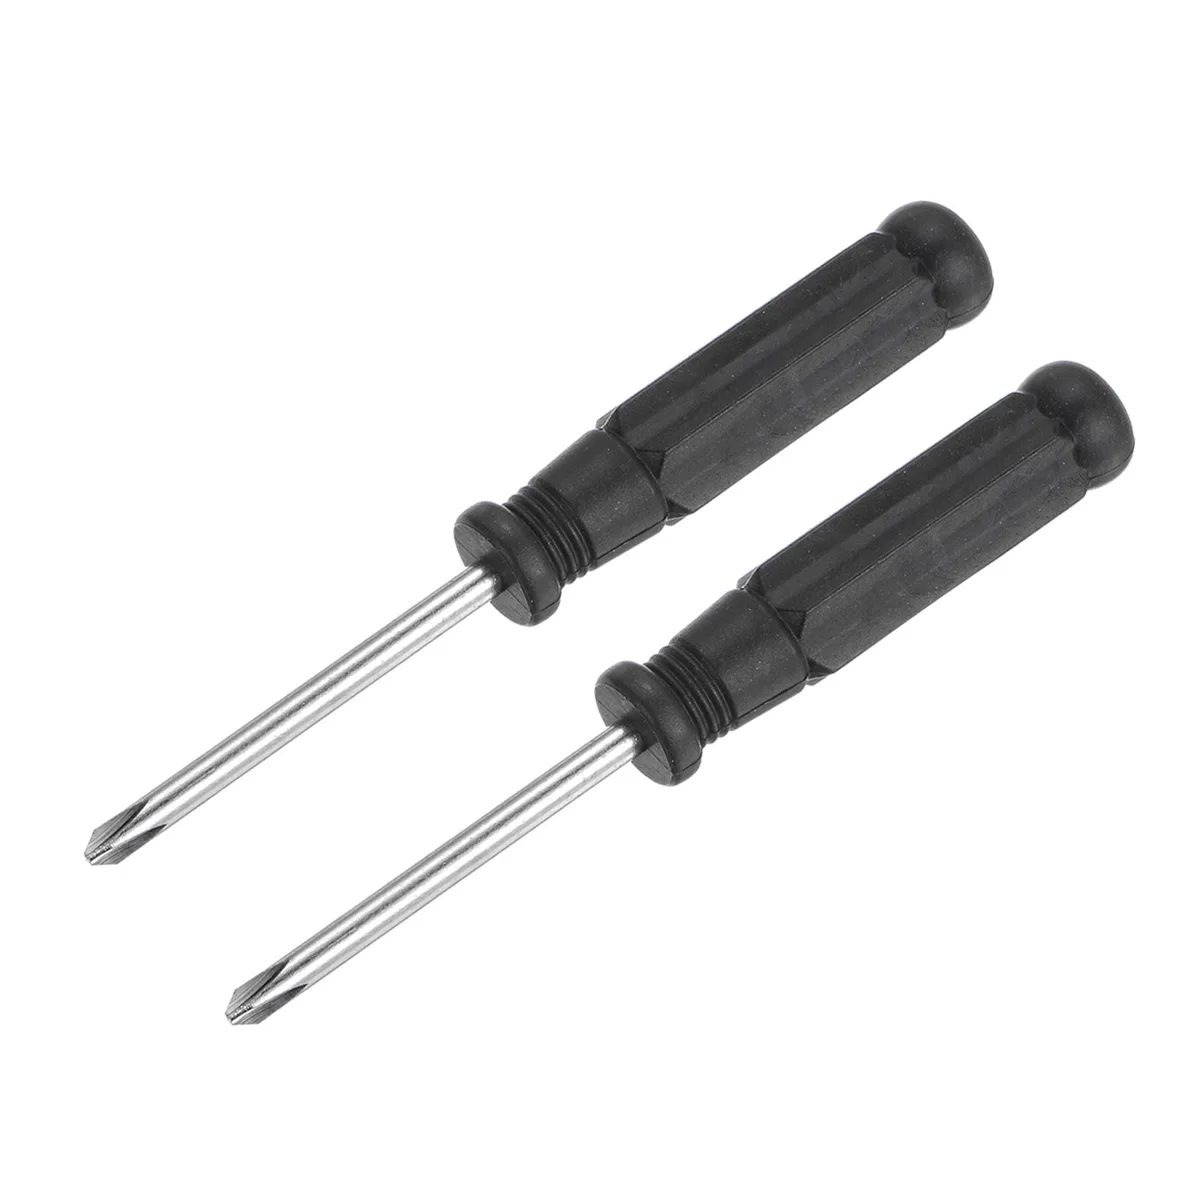
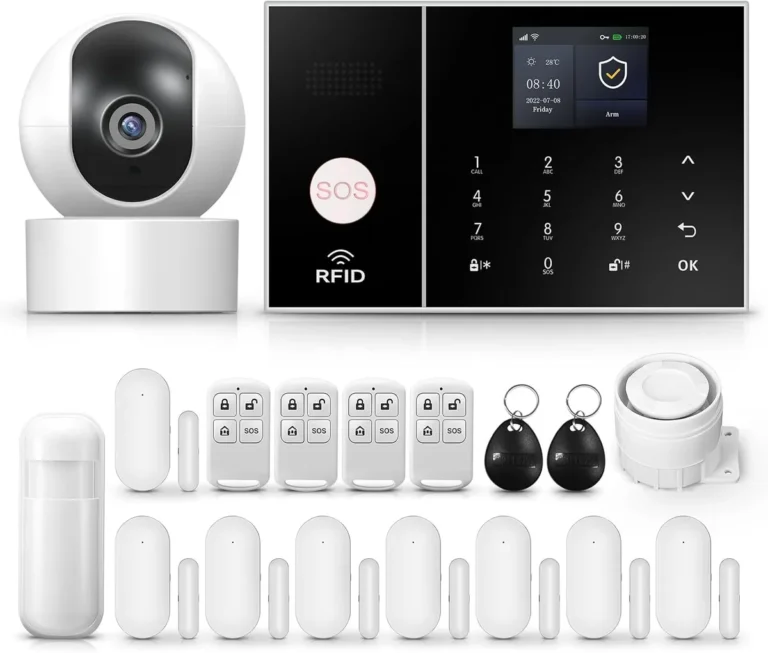
Image source: Web (Bing) / walmart.com (Web image (fair-use with source credit))
Here’s a breakdown of what you'll want to gather before you start:
- New Batteries: This is non-negotiable. You absolutely must use the specific battery type your sensor requires. Common types include CR2032 lithium coin cells, AA, or AAA alkaline or lithium batteries. Consult your sensor's manual or look at the old battery for the exact model number. Using the wrong type can prevent the sensor from working or even damage it.
- Small Screwdriver Set: Many sensor housings are secured with tiny Phillips or flathead screws. A precision screwdriver set, often found in electronics repair kits, is ideal.
- Plastic Pry Tool or Spudger: For sensors that snap together instead of using screws, a thin, non-metallic tool like a plastic spudger, guitar pick, or even a flathead screwdriver used very carefully can help you gently separate the housing pieces without scratching or breaking them.
- Small Container: A small bowl, tray, or even an egg carton works perfectly to hold onto those tiny screws so they don't get lost.
- Clean, Lint-Free Cloth: A microfiber cloth is great for wiping away dust from the sensor’s interior or exterior before reassembly.
How to Open and Replace a Security Sensor Battery: A Step-by-Step Walkthrough
Replacing batteries in most wireless security sensors follows a predictable pattern. While the exact design can vary between manufacturers, and it’s always best to consult your system's specific documentation, the core steps remain consistent. If you're unsure about your specific model, referring to the official product documentation from the manufacturer is your best bet.
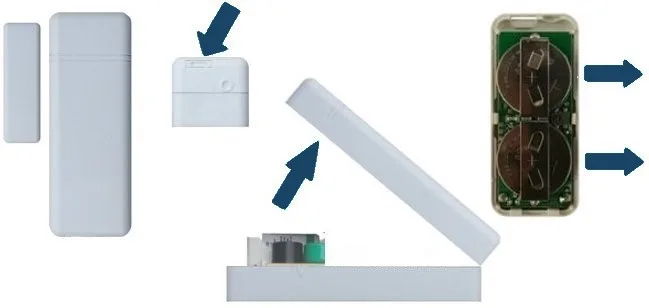
Image source: Bing (Web (fair-use with source credit))
Finding the Right Battery
First things first: identify the correct battery. Check your sensor's manual or the old battery itself. For example, many door/window sensors use a CR2032 lithium coin cell battery.
Using the specified battery type and voltage ensures optimal performance and longevity. Trying to use a different size or type could lead to the sensor not working or even causing internal damage.
Gently Opening the Sensor Housing
Most sensors are designed for easy access. Look for small screws on the edges or back of the unit. If you find them, remove them carefully with your precision screwdriver and place them in your small container.
If there are no visible screws, the housing likely snaps together. You'll typically find a small notch or seam along the edge. Gently insert your plastic pry tool into this notch and twist slightly, or work your way around the seam, applying light pressure.
The housing should pop open. Never force it, as this can break the plastic clips.
Inserting the New Battery and Closing Up
Once the housing is open, you'll see the old battery. Note its orientation, which side is positive (+) and which is negative (-). This is critical.
Most sensors have clear markings. Remove the old battery; it might slide out or require a gentle nudge with your pry tool. Insert the new battery, ensuring the positive and negative terminals align correctly with the markings inside the sensor.
Once the new battery is in place, align the two halves of the sensor housing and gently press them together until they snap or click securely. If you removed screws, reinsert them now, tightening them just enough to be snug.
Testing Your Work
After reassembling the sensor, it's essential to confirm it's working. Your security system's main panel or mobile app should now recognize the new battery and clear the "low battery" alert. For added certainty, you can manually test the sensor.
For instance, open and close the door or window the sensor is attached to, and listen for a click or check your app to see if the system registers the change. If the system doesn't update or the sensor still shows as inactive, double-check the battery orientation and ensure all connections are secure.
Common Battery Replacement Blunders and How to Dodge Them
Even though replacing security sensor batteries is a straightforward task, a few common mistakes can trip you up. Being aware of these pitfalls can save you time and frustration.
- Using the Wrong Battery Type: This is the most frequent error. Your sensor is designed for a specific battery, often indicated by a model number like "CR2032" or "AA." Using a battery with a different voltage or size can lead to immediate failure or damage to the sensor's circuitry. Always verify the exact battery model before you buy replacements.
- Incorrect Battery Orientation: The positive (+) and negative (-) terminals must align precisely as they were in the old battery. Putting it in backward means it won't power the device, and in some cases, it could cause damage or even a short circuit. Look for the +/- symbols inside the battery compartment.
- Forcing the Housing Open: Sensors are often made of plastic and can be brittle. If a housing is difficult to open, don't use excessive force. There might be a hidden screw or a specific pressure point to release. Check your manual or look for subtle seams that indicate where to pry gently with a plastic tool.
- Losing Small Screws: Those tiny screws that hold sensor covers in place have a habit of vanishing. Always use a small bowl or tray to collect them as soon as you remove them. A magnetic parts tray can also be a lifesaver.
- Not Testing After Replacement: It’s tempting to just close it up and assume it’s fixed. However, not testing the sensor afterward means you might not realize it's still not working until it’s too late, perhaps during an actual security event. Always perform a manual test or check system status.
Expert Tips for Smooth Battery Swaps
Making battery replacement a seamless part of your home maintenance routine is simple if you follow a few best practices. These tips are based on feedback from users and manufacturer guidelines.
- Create a Battery Inventory: Keep a small, labeled container with spare batteries for all your security sensors. Knowing you have the correct types on hand means you can act immediately when an alert appears.
- Schedule Regular Checks: While most systems alert you, it’s wise to pencil in a yearly check of all your sensor batteries. This is especially true for less frequently used sensors, like those on spare rooms or basement windows. Many manufacturers recommend battery replacement every 3, 5 years, but actual life varies with usage and environmental factors.
- Note the Battery Location: When you remove a battery, consider taking a quick photo with your phone of the sensor and its location. This helps if you have many sensors and forget which one you just serviced.
- Use High-Quality Batteries: Opt for reputable brands known for reliability, especially for lithium batteries which tend to last longer and perform better in varying temperatures. While they might cost a little more upfront, they can prevent premature failures.
- Understand Battery Drain: Sensors that are triggered frequently (like a heavily used front door contact) will drain batteries faster than those on seldom-used windows. Adjust your expectations for battery life based on actual usage.
When to Call the Pros for Battery Help
While most users can handle security system battery replacements themselves, there are scenarios where calling a professional installer or your security provider makes more sense. If you’re not comfortable with small electronics, or if your system is particularly complex, professional help is a sensible choice.
Consider reaching out to a pro if:
- You Have a Complex System: Some integrated systems, especially those with many specialized sensors (like glass break detectors or environmental sensors), might require specific tools or knowledge to access and replace batteries without disrupting system calibration. If you're unsure how your particular device works, a professional installer has access to the right documentation and experience.
- The Sensor Won't Open: If you've tried gentle prying and unscrewing and the sensor housing remains stubbornly shut, it’s better to stop than risk breaking it. A professional may have specialized tools or techniques to open it safely.
- The System Isn't Responding: After replacing a battery, if the sensor still doesn’t work or the system shows an error, there might be a deeper issue. It could be a faulty new battery, a problem with the sensor itself, or a communication issue with the control panel. A technician can diagnose these complex problems.
- You Lack the Right Tools or Batteries: If you discover you’re missing a specific screwdriver size or don’t have the correct battery on hand, it’s often quicker and less frustrating to schedule a service visit.
- You're Under a Monitoring Contract: Some professional monitoring services might include routine maintenance, or they may offer battery replacement as part of their service package. Checking your contract details could save you money and hassle. For systems like those from professionally installed security system providers, a service call ensures everything stays under warranty and correctly configured.