How to Install Outdoor Security Cameras
Getting outdoor security cameras installed is one of the most effective ways to boost your home's safety. Understanding how to install outdoor security cameras properly ensures they function as intended, providing a clear view of your property. Proper setup means fewer blind spots and a more reliable system for monitoring your home.
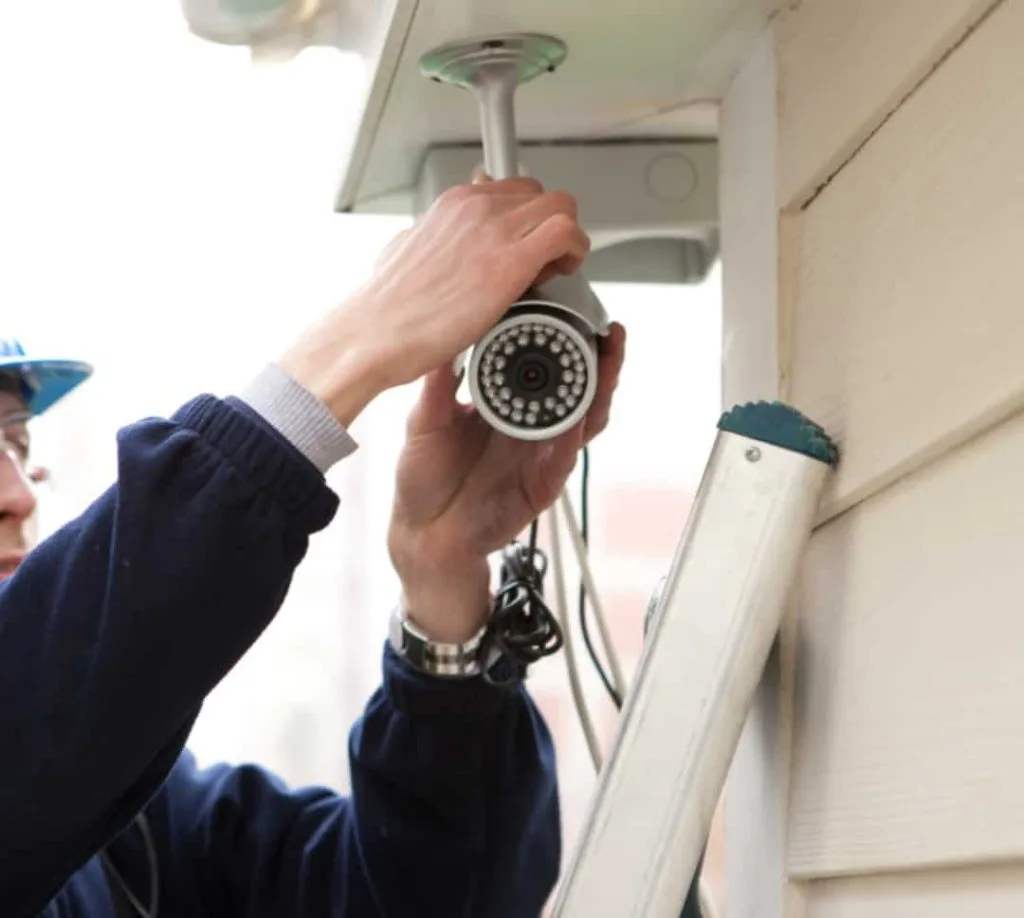
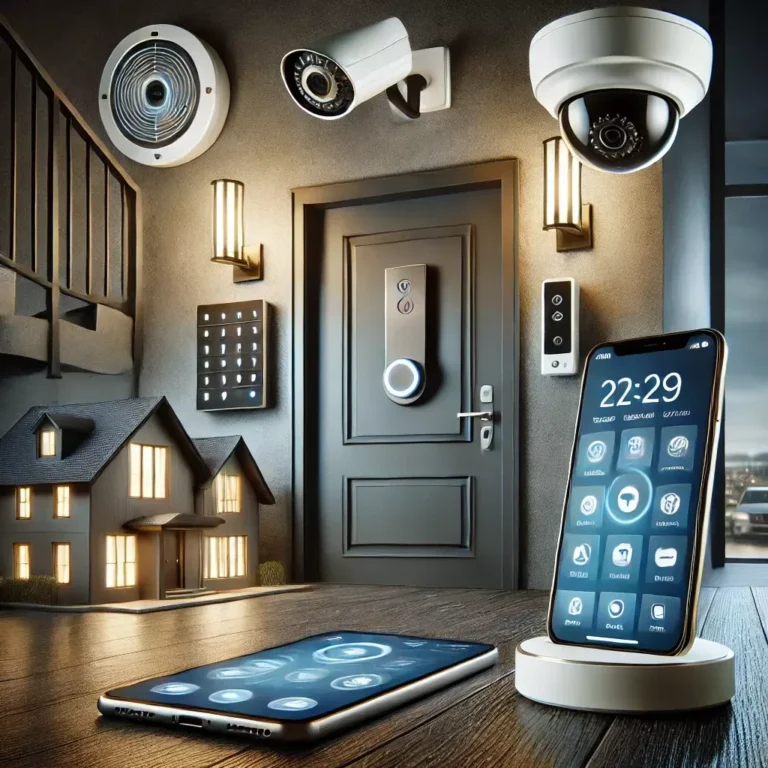
Image source: Bing (Web (fair-use with source credit))
Quick Answer
To install outdoor security cameras, first plan your camera placement focusing on entry points and vulnerable areas. Gather necessary tools like a drill and level. Mount the bracket securely, then attach the camera, running power and network cables neatly.
Connect to your Wi-Fi or network, and use the manufacturer's app to configure settings and test coverage. Ensure all holes are weatherproofed.
Why Visuals Matter for Camera Installation
When you’re figuring out how to install outdoor security cameras, seeing is really believing. It’s not just about following written steps; it’s about understanding the physical reality of mounting, wiring, and aiming. Think about it: a diagram showing the best angle to mount a camera to avoid glare, or a photo illustrating how to properly seal a cable entry point against rain, these visual cues make a huge difference.
Without them, you’re just guessing at what looks right.
Manufacturer specifications often include diagrams showing ideal mounting heights and coverage angles, which are crucial for effective placement. For instance, aiming a camera too low might make it easy to tamper with, while pointing it too high could miss important facial details. Seeing how cables are routed cleanly along a wall or how a bracket attaches to different surfaces demystifies the process significantly.
Planning Your Camera Spots: What to Look For
This is where you lay the groundwork for effective surveillance. Getting your camera placement right from the start saves you a ton of headaches down the line. You want to cover the most critical areas without creating unnecessary blind spots or relying on connections that are too weak to be reliable.
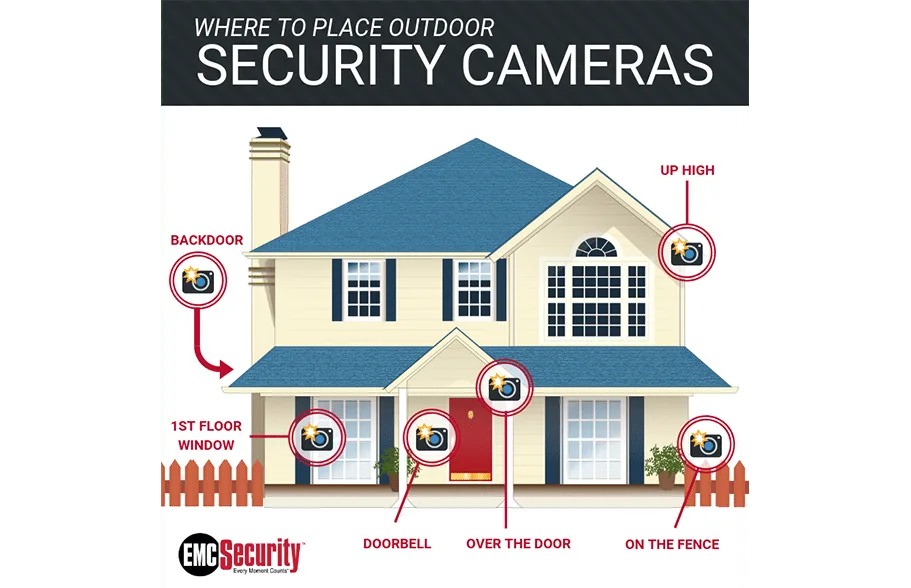
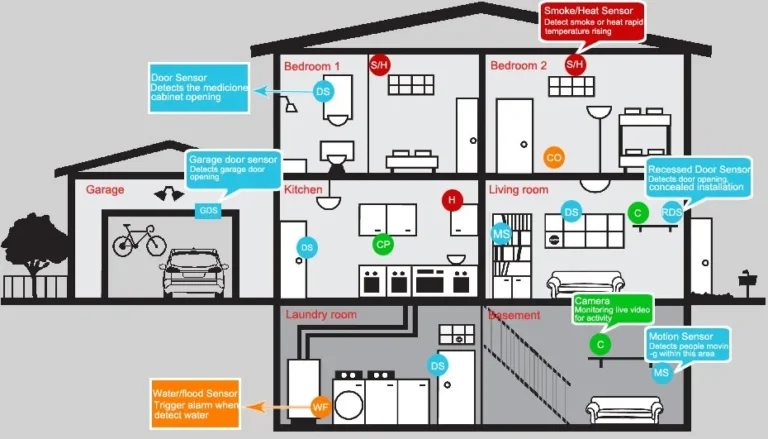
Image source: Web (Bing) / exploramagma.com (Web image (fair-use with source credit))
Choosing the Best Camera Locations
When deciding where to mount your outdoor security cameras, think like a burglar. What are the easiest ways to access your property? These are the primary spots you'll want to cover.
- Entry Points: Your front door, back door, and garage doors are obvious targets. Placing cameras here gives you a clear view of anyone approaching or leaving.
- Vulnerable Areas: This includes side yards, gates, detached garages, or any less-visible access points to your property.
- Driveways and Sidewalks: Monitoring these areas can help catch activity before it reaches your home itself, and can record license plates.
- High Traffic Zones: Think about pathways people frequently use to approach your home.
You'll also want to consider the camera's field of view (FOV). Most cameras offer a wide-angle lens, but understanding its exact coverage helps you place it optimally to capture the widest area without distortion at the edges. Aim for a height of about 8 to 10 feet off the ground.
This is high enough to deter tampering but low enough to capture usable detail, like facial features. Avoid pointing cameras directly at the sun, as this can wash out the image, especially during sunrise or sunset.
Powering Your Cameras: Wired vs. Wireless
Your choice between wired and wireless cameras significantly impacts installation complexity and where you can place them. The decision hinges on factors like ease of installation, signal reliability, and your home’s infrastructure. For example, if your home has older wiring or limited exterior power outlets, wireless might be more appealing, but you'll need to factor in battery charging.
| Feature | Wired Cameras | Wireless Cameras |
|---|---|---|
| Power Source | Requires direct connection to AC power or Power over Ethernet (PoE). | Relies on internal rechargeable or replaceable batteries. |
| Connection | Typically uses an Ethernet cable for both data and power (PoE) or a separate power cable and network cable. | Connects to your home Wi-Fi network wirelessly. |
| Reliability | Generally more stable connection, unaffected by Wi-Fi interference. | Can be subject to Wi-Fi signal fluctuations or dropouts. |
| Installation | Can be more complex due to the need to run cables through walls, attics, or conduits. | Simpler installation as no power or network cables need to be run to the camera location. |
| Maintenance | Minimal maintenance once installed; occasional cleaning. | Batteries need regular charging or replacement; Wi-Fi signal needs to be consistent. |
| Use Case | Best for permanent installations where consistent power and data are priorities. | Ideal for renters or situations where drilling extensive cable runs is impractical. |
If you're looking at a more permanent, robust setup, wired cameras offer unparalleled reliability. However, running cables can be a significant undertaking. For a simpler setup, especially if you’re not comfortable with extensive wiring, wireless cameras are a compelling option.
Just be mindful of the battery life; some devices require charging every few months, while others last up to a year. This decision impacts not only installation but also long-term maintenance. You can learn more about the differences between these systems at wired vs wireless home security system.
Step-by-Step Installation: From Bracket to Live Feed
Getting your cameras mounted and working involves a series of physical and digital steps. This process, while straightforward, requires attention to detail to ensure your cameras are secure, powered, and connected. Following these steps will help you achieve a professional-looking and functional setup.
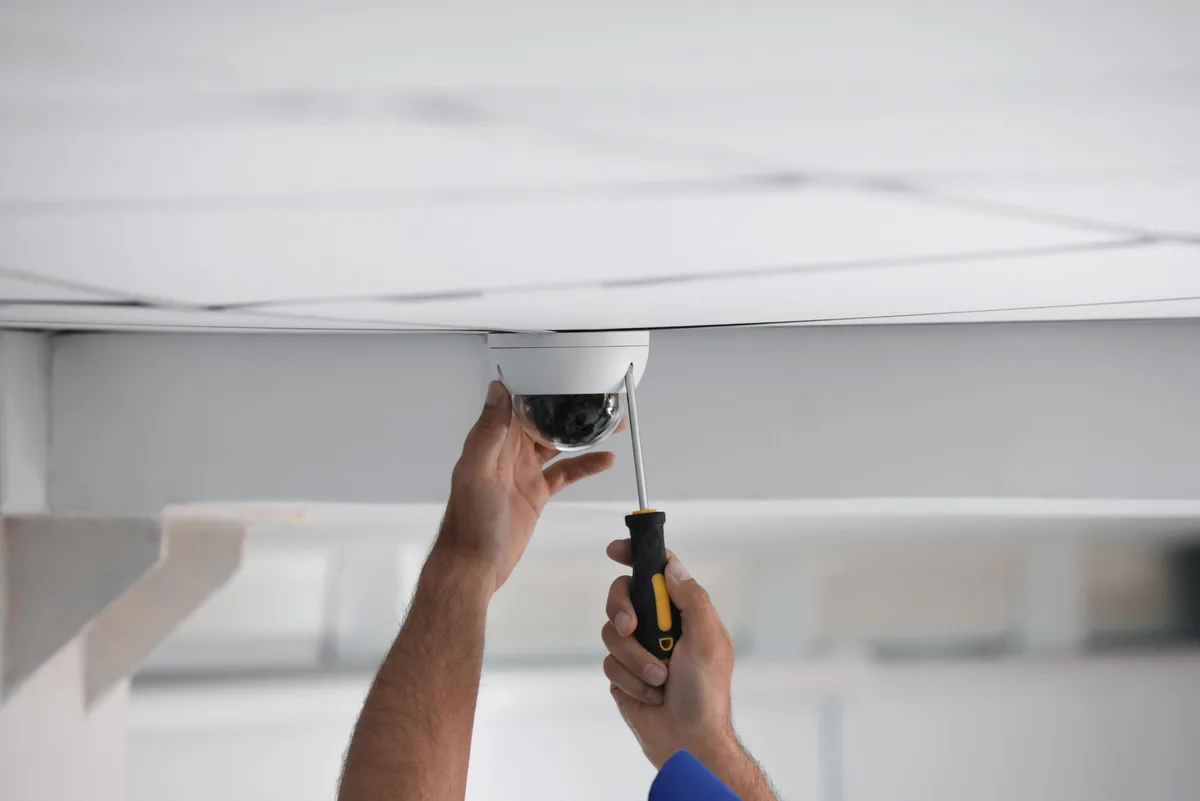
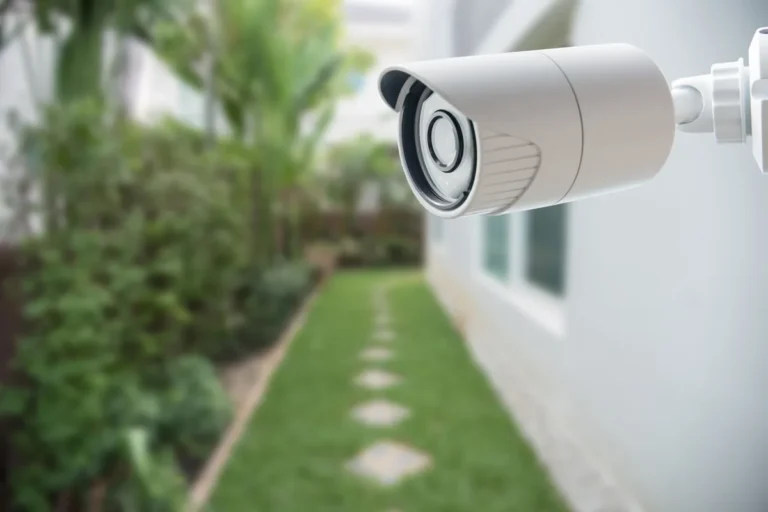
Image source: Web (Bing) / worldstarsecuritycameras.com (Web image (fair-use with source credit))
Gathering Your Tools and Supplies
Before you start drilling, make sure you have everything you need within reach. Having all your tools ready minimizes downtime and prevents frustrating trips back inside. A well-prepared workspace ensures a smoother installation.
- Drill and Drill Bits: For pilot holes and mounting screws. Ensure you have bits suitable for wood, masonry, or metal depending on your mounting surface.
- Screwdriver Set: For attaching brackets and securing cameras.
- Ladder: A sturdy, stable ladder is essential for reaching higher mounting points safely.
- Level: To ensure your cameras are mounted straight and capture the intended field of view without tilting.
- Wire Strippers/Cutters: If you need to prepare any electrical or network cables.
- Cable Clips or Conduit: For neat and protected routing of any visible wires along exterior walls.
- Caulk/Sealant: Exterior-grade caulk is crucial for weatherproofing any holes drilled through walls.
- Stud Finder: If mounting to drywall, this helps locate studs for a secure attachment.
- Safety Glasses: Always protect your eyes when drilling or working overhead.
Mounting the Camera Bracket
The bracket is the foundation for your camera. Its stability directly affects the camera's security and aim. Manufacturers usually provide specific mounting hardware, but it’s good practice to ensure it’s appropriate for your chosen location.
- Positioning: Hold the mounting bracket against the wall or surface where you intend to install the camera. Use a pencil to mark the screw hole locations precisely.
- Drilling Pilot Holes: For wood or vinyl siding, drill pilot holes slightly smaller than the screws. If mounting to brick or concrete, you'll need masonry drill bits and wall anchors for a secure fit. Always check the camera’s manual for recommended pilot hole sizes.
- Securing the Bracket: Use the provided screws to firmly attach the bracket to the surface. If using wall anchors, ensure they are seated correctly. The bracket should feel solid and not wobble when you tug on it. This step is critical for the longevity and performance of your camera system.
Connecting and Attaching the Camera
Once the bracket is secure, you can attach the camera itself. This part is generally straightforward, but it's where you’ll make the physical connections for power and data.
- For Wired Cameras: If your camera uses a separate Ethernet cable for data and/or power (PoE), connect these cables to the camera’s port now, before fully mounting it. Then, route these cables back to your router, switch, or power source. If it's a camera with a single power adapter, connect that adapter to the camera and route the power cable to the nearest suitable outlet.
- For Wireless Cameras: Ensure the battery is fully charged and inserted into the camera. Many wireless cameras have a quick-release mechanism for battery access.
- Attaching the Camera: Most cameras screw onto their mounting bracket or click into place. Align the camera with the bracket and secure it according to the manufacturer's instructions. Ensure it’s snug, as you’ll be adjusting its angle later.
Running and Securing Cables (If Needed)
For wired installations, or even for the power cables of some wireless cameras, neat cable management is key for both aesthetics and protection. Exposed cables can be unsightly, a tripping hazard, or an easy target for damage. Proper routing ensures your system looks professional and lasts longer.
- Interior Routing: The neatest method involves running cables through walls, attics, or crawl spaces. This often requires drilling larger holes and using tools like fish tape to pull cables through. Be mindful of electrical wiring and plumbing within walls.
- Exterior Routing: Use UV-resistant cable clips or outdoor-rated conduit to secure cables along the exterior of your home. Drill small holes through exterior walls only where necessary to bring cables inside. Use a generous amount of exterior-grade caulk to seal these holes from moisture and pests. Manufacturer documentation often details best practices for external cable runs, adhering to standards that ensure durability.
- Cable Ties: Use zip ties or Velcro straps to bundle cables together neatly where they run in exposed areas, like near the camera itself or along a conduit.
Connecting to Your Network and App
This is where your camera comes to life digitally. Your security cameras need to communicate with your home network and a mobile app or software to be useful. The process varies slightly between wired and wireless systems.
- Wired (Ethernet/PoE): For cameras connected via Ethernet cable, plug the cable directly into an available port on your router or a network switch. If it’s a PoE camera, it receives both data and power through this single cable. The camera should then be recognized by your network automatically.
- Wireless (Wi-Fi): For wireless cameras, you'll typically need to download the manufacturer's dedicated app on your smartphone or tablet. Follow the app's prompts to connect the camera to your Wi-Fi network. This often involves scanning a QR code displayed on your phone with the camera, or putting the camera into a pairing mode. You'll need your Wi-Fi network name (SSID) and password.
- App Configuration: Once connected, the app will guide you through initial setup. This includes naming your cameras (e.g., "Front Door Camera"), setting up an account, and configuring basic settings like recording quality and notification preferences. As of 2026, most systems offer sophisticated app controls for remote viewing and management. You can learn more about what features a home security system should have at what features should a home security system have.
Adjusting Your View
Once everything is physically connected, the crucial final step is aiming your cameras for optimal coverage. This isn't a one-and-done task; you'll likely need to fine-tune the angle to get the clearest possible view of your desired area. After all, a misaligned camera is about as useful as no camera at all.
- Live View is Your Friend: Use your camera’s app to view the live feed while you’re adjusting the camera’s position. This allows you to see exactly what the camera sees in real-time.
- Check for Glare and Obstructions: Make sure the camera isn't pointed directly at a bright light source that will cause glare. Also, ensure no tree branches, gutters, or other fixtures are blocking the view. You might need to adjust the camera angle or its mounting position slightly to compensate.
- Confirm Field of View: Pan and tilt the camera to confirm you are capturing the intended area. For example, if it’s your front door camera, ensure it covers the entire entryway and the approach to it. If you’re covering a driveway, make sure it captures vehicles entering and leaving.
- Tighten Everything Down: Once you're satisfied with the angle and view, securely tighten all adjustment screws or locking mechanisms on the camera mount. This prevents the camera from shifting due to wind or vibrations.
Common Installation Mistakes to Avoid
Even with the best intentions, a few common missteps can derail your outdoor security camera installation. Being aware of these potential pitfalls can save you time, money, and frustration. Most of these errors stem from rushing the planning or execution phases.
- Ignoring Wi-Fi Signal Strength: For wireless cameras, failing to check your Wi-Fi signal at the intended mounting location is a major mistake. A weak signal leads to dropped connections, poor video quality, and unreliable performance. Before drilling any holes, use your smartphone to check the Wi-Fi signal strength in your chosen spot. If it's consistently low, consider repositioning the camera, upgrading your router, or using a Wi-Fi extender. You can learn more about factors affecting wireless networks at what is a wireless home security system.
- Improper Weatherproofing: This is critical for outdoor electronics. If you drill holes for cables, failing to seal them properly with exterior-grade caulk or sealant can allow moisture to seep in, damaging the camera, wiring, or even your home's structure. Always use a reliable sealant designed for outdoor use and apply it generously around cable entry points.
- Mounting Too Low or Too High: Mounting cameras too low makes them an easy target for vandals or thieves. Mounting them too high, however, might obscure important details like faces or license plates. The generally recommended height is 8-10 feet for optimal coverage and security.
- Overlooking Power Source Accessibility: For wired cameras, simply assuming there's a convenient power outlet nearby can lead to complications. You might need to hire an electrician to install new outlets, which adds significant cost and complexity. Similarly, for wireless cameras, consider how often you'll need to access them to charge batteries. Is the location easily reachable with a ladder?
- Not Testing Before Finalizing: It’s tempting to mount everything and assume it works. However, always test the camera’s view, motion detection, and network connection before making permanent cable runs or sealing holes. You might discover a blind spot or a connection issue that requires repositioning. This final check is vital.
Frequently Asked Questions About Outdoor Camera Setup
How long does setup typically take?
For a DIY installation, expect anywhere from 1 to 4 hours per camera, depending on whether it's wired or wireless and how complex your home's exterior is. Wireless setups are generally faster, often under an hour per camera, while running wires for multiple wired cameras can take significantly longer.
What’s the difference between a wired and wireless camera installation?
Wired camera installation involves running cables for both power and data (or using PoE), which can be time-consuming and may require drilling through walls. Wireless camera installation is simpler as it only requires a good Wi-Fi signal at the mounting point and relies on battery power, meaning no extensive cabling.
Can I install security cameras myself?
Yes, absolutely. Many outdoor security cameras are designed for DIY installation. The process involves planning placement, mounting brackets, connecting power and network (wired or wireless), and configuring the system via a mobile app.
If you're comfortable with basic tools and following instructions, you can likely install them yourself. You can learn more about DIY systems at what is a diy home security system.
What are the risks of improper installation?
Improper installation can lead to security vulnerabilities, such as cameras being easily disabled or having blind spots. It can also result in equipment damage from weather, electrical shorts, or physical impact. Poorly sealed holes can also compromise your home's weatherproofing.
Do I need special tools for outdoor camera installation?
You'll typically need a drill, drill bits suitable for your mounting surface (wood, masonry), a screwdriver set, a ladder, and possibly cable clips and exterior-grade caulk. A stud finder is helpful for drywall mounting. While not always mandatory, a level ensures professional-looking, accurately aimed cameras.
How far can wireless security cameras be from my Wi-Fi router?
This varies greatly depending on your router's strength, your home's construction materials (like concrete or metal), and any potential obstructions. Generally, you want a strong, stable Wi-Fi signal at the camera's location. Some systems can transmit effectively up to 200-300 feet in open areas, but this can be reduced to 50-100 feet or less with significant obstructions.
Using Wi-Fi extenders or mesh network systems can significantly improve reach.