How to Test a Home Security System
Making sure your home security system is actually protecting your home is more than just installing it and hoping for the best. Regular testing ensures every component is working correctly, from the smallest door sensor to the central hub. Without a proper test, you might have a critical failure you don't discover until it's too late.
In our research, we found that most homeowners misunderstand how to properly verify their system's readiness. For instance, manufacturer specifications often indicate a battery life of 1 to 3 years for wireless sensors, but if they're not tested, you won't know if one is already failing. Let's walk through how to make sure your system is truly on the job.
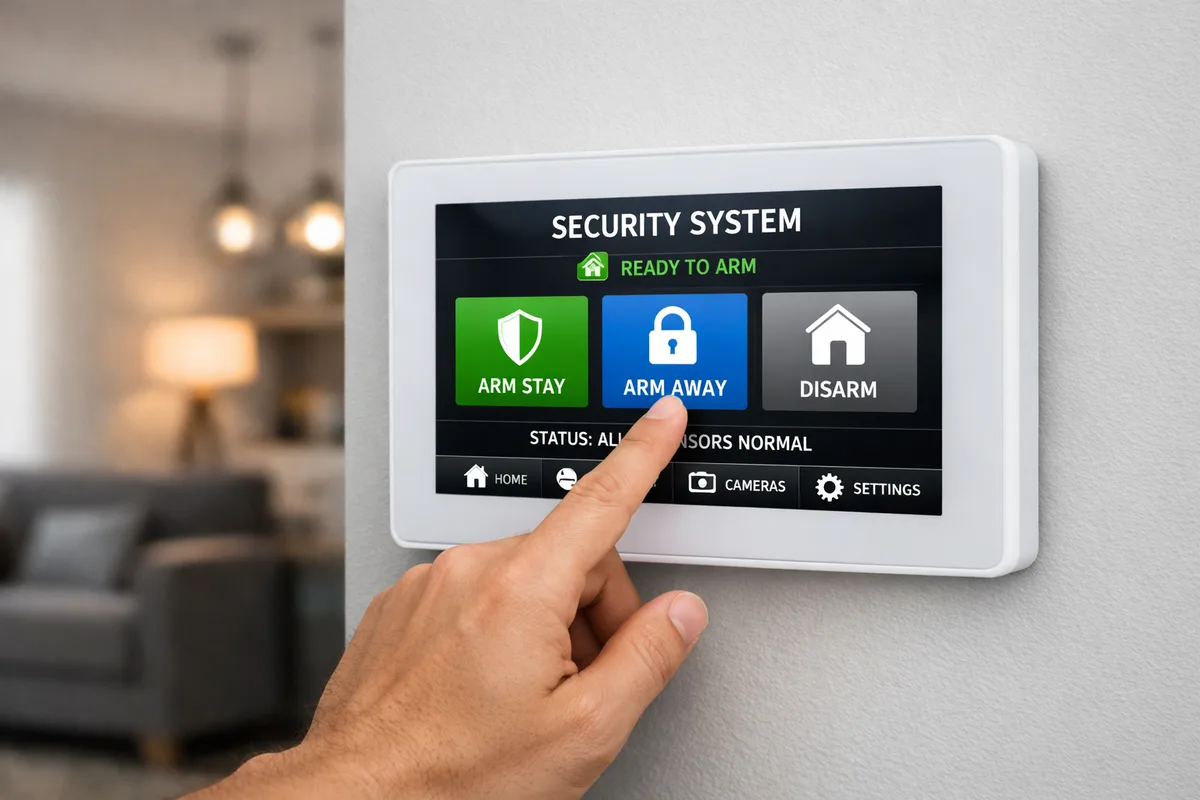
Image source: Bing (Web (fair-use with source credit))
Quick Answer
To test a home security system, you first need to know your system's type and components. Then, you'll typically contact your monitoring service to put your system in test mode, followed by individually triggering each sensor to confirm they communicate with the panel. Test your cameras, life safety devices, and backup communication next.
Finally, verify your mobile app functions correctly for remote checks.
Why Testing Your Home Security System Isn't Optional
We've all heard about systems that failed when needed most, and often, a lack of regular testing is the culprit. Think of it like an emergency kit, it’s useless if the batteries are dead or something has expired. For home security, that means sensors not triggering, cameras not recording, or the alarm not sounding.
According to Underwriters Laboratories (UL) standards for alarm systems, regular functional testing is crucial for maintaining certification and ensuring reliability.
This isn't just about deterring potential intruders. It's also about ensuring your smoke detectors, carbon monoxide monitors, and any water leak sensors are operational. A system that’s supposed to alert you to a fire but doesn't is worse than having no system at all.
Making sure your system is ready means peace of mind, knowing that in an emergency, it will do what it’s designed to do.
Before You Test: What Kind of System Do You Have?
Before you even think about triggering an alarm, you need to know what you're working with. The testing process can differ significantly based on a few key factors. Grasping these fundamentals makes the actual testing much smoother and more effective.
DIY vs. Professionally Installed
The biggest difference here is who set it up and who you call for support.
- DIY Systems: These are typically wireless and designed for easy self-installation. You'll be doing all the testing yourself and usually troubleshoot via a mobile app or the control panel. Manufacturer websites and user manuals are your primary resources. For example, a DIY home security system often has built-in diagnostic tools.
- Professionally Installed Systems: These are often harder-wired or more complex, with professional installers handling initial setup and configuration. When testing, you'll definitely want to coordinate with your installation company or monitoring service, as they have specific procedures. Understanding what a professionally installed security system entails helps you know who to contact.
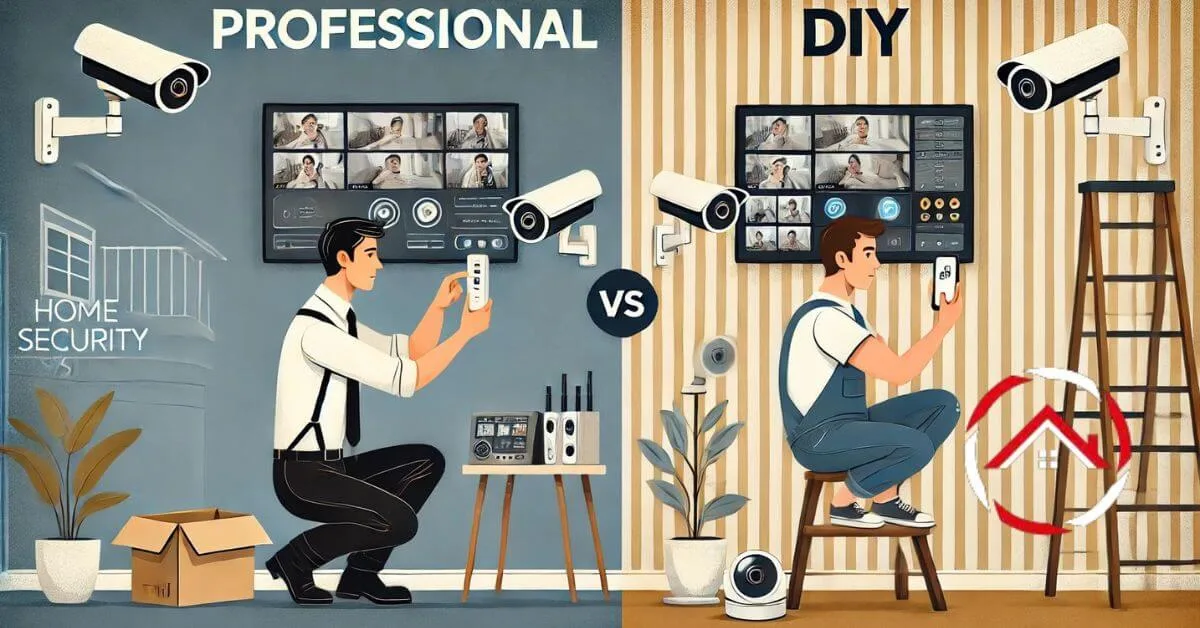
Image source: Web (Bing) / hometechnerves.com (Web image (fair-use with source credit))
Components Included (Sensors, Cameras, etc.)
Your system is only as good as its parts. What specific devices are you protecting?
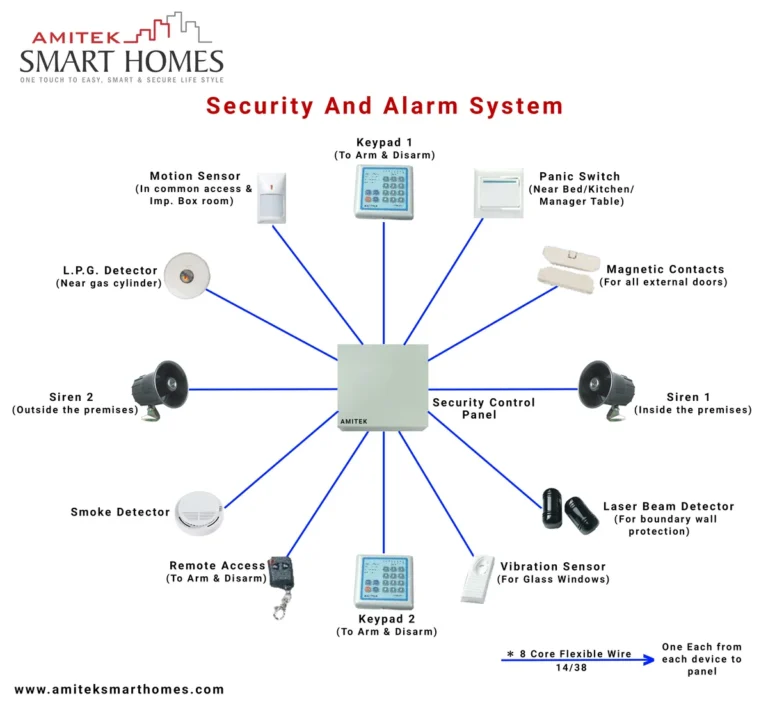
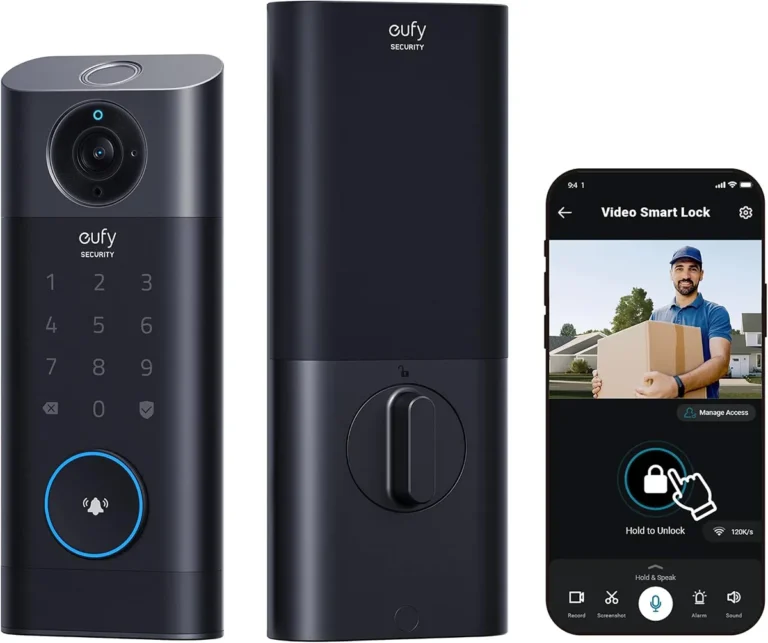
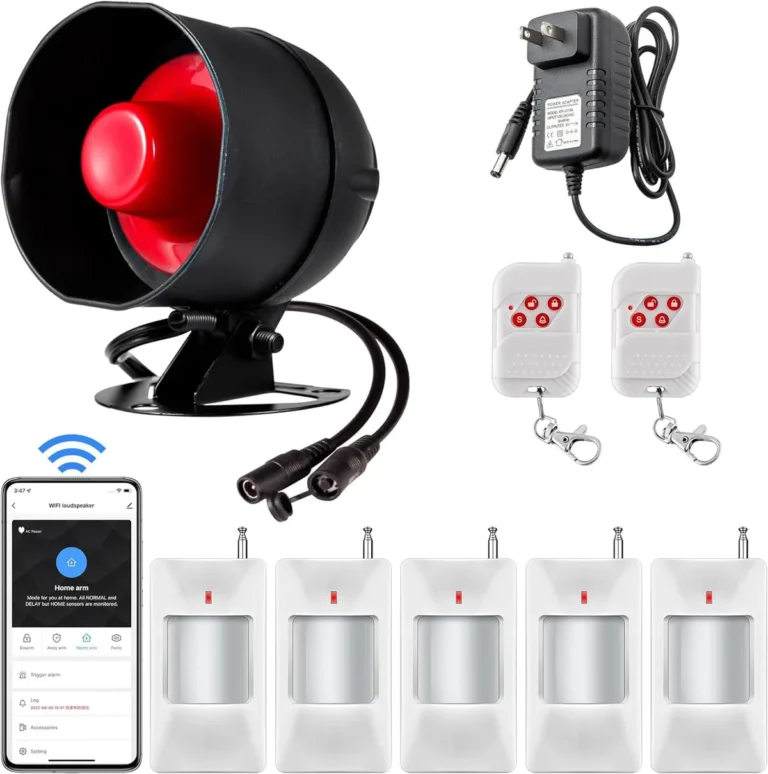
- Sensors: These include door/window contact sensors, motion detectors (PIR, dual-tech), glass break detectors, and environmental sensors like smoke, CO, and water leak detectors. Each type needs a specific test.
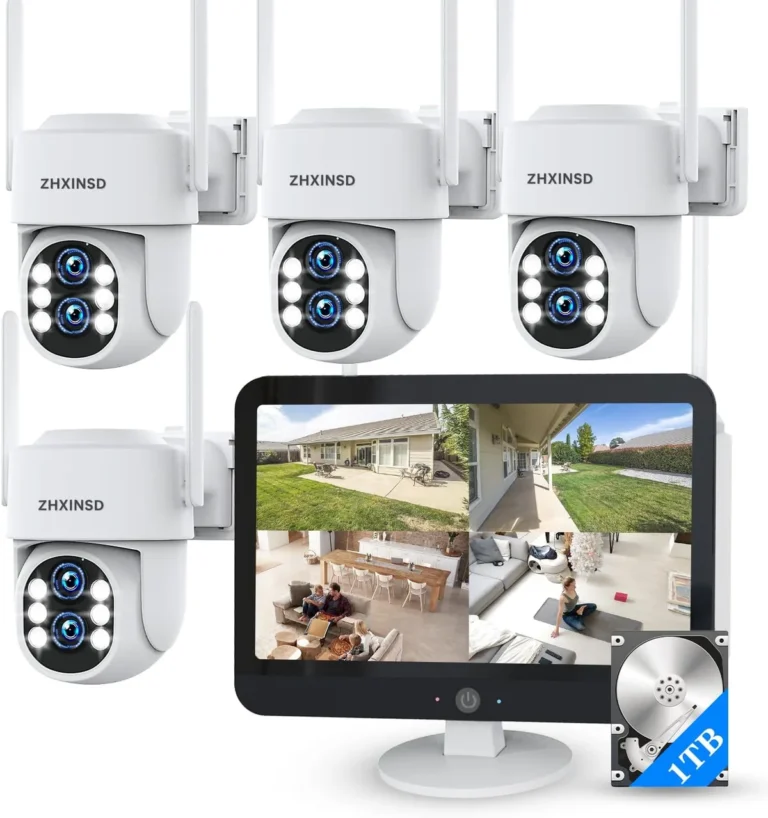
- Cameras & Doorbells: Video components require testing for clear live feeds, recording functionality, and motion detection alerts.
- Control Panel/Hub: This is the brain. You'll test its responsiveness, battery backup, and communication method.
- Siren: The audible alarm itself needs to be tested to ensure it's loud enough.
Knowing what a home security system includes is the first step to testing it thoroughly.
Monitoring Type (Self vs. Professional)
This is crucial for how you execute tests, especially those involving emergency dispatch.
- Self-Monitored: You receive alerts directly via a mobile app or notifications. Testing involves confirming you get these alerts and can view camera feeds remotely. You’re responsible for contacting emergency services.
- Professionally Monitored: A monitoring center receives alerts and contacts you or emergency services. For these systems, it is essential to put your system in "test mode" with the monitoring company before triggering alarms. Failing to do so can result in unnecessary dispatch of police or fire services, which may incur fines. Understanding what a professionally monitored security system is will guide your testing.
The Core Testing Workflow: A Step-by-Step Guide
This workflow is designed to be adaptable, whether you have a simple DIY setup or a more complex professionally installed system. Always refer to your specific system's manual for precise instructions.
Step 1: Prepare for the Test (Contacting Monitoring)
This is the most critical step for systems with professional monitoring. Skipping it can lead to unwanted emergency service dispatches and potential fines.
For Professionally Monitored Systems:
- Find the contact number for your security company or monitoring center. This is often on your control panel, in your manual, or on your monthly bill.
- Call them and clearly state you wish to place your system in "test mode." They will usually ask for your account password or a specific verbal code for verification.
- Ask how long test mode will last, or if you need to call back to end it.
- Confirm with them that you are now testing your system and that no alarms will be dispatched.
For Self-Monitored Systems:
- You generally don't need to contact anyone unless you want to temporarily disable notifications during testing to avoid clutter.
- However, familiarize yourself with how you receive alerts (app notifications, texts, emails) so you know what to look for.
Step 2: Test Each Sensor Individually (Doors, Windows, Motion)
Now it's time to make sure the individual components are talking to the main panel and, if applicable, the monitoring center.
- Door/Window Sensors:
- Ensure your system is disarmed.
- Go to each door and window equipped with a sensor. Open it slowly.
- Listen for a chime or beep from your control panel, or check your mobile app for an alert. The sensor should register as "open."
- Close the door or window. The system should register it as "closed."
- Repeat for every door and window sensor. Don't assume if one works, they all do.
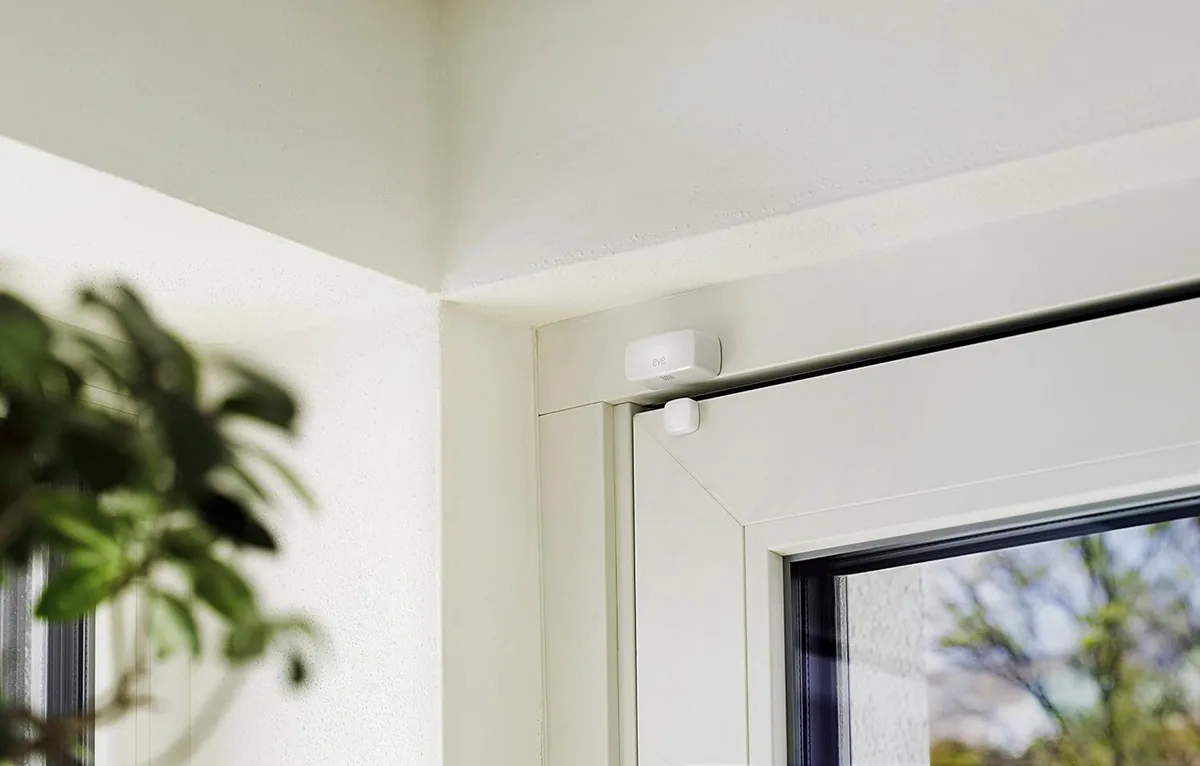
Image source: Bing (Web (fair-use with source credit))
Motion Detectors:
- Most motion detectors have a brief "walk-test" or "night-time" mode to conserve battery. Check your manual for the specific procedure to activate this.
- Typically, you'll arm the system in a "Stay" or "Home" mode where perimeter sensors are active, but interior motion detectors are not.
- Walk into the protected area. The motion detector should trigger the alarm or chime.
- If you have multiple motion detectors, test each one. Be aware that some pets can trigger these, so consider that if testing in a pet-occupied area.
Glass Break Detectors:
- These are a bit trickier. You can purchase inexpensive test tools designed to mimic the sound of breaking glass, or in some cases, you can tap on glass nearby (gently!) while the detector is in test mode.
- Always consult your manual for the recommended testing method.
Step 3: Test Your Cameras and Video Doorbell
Visual confirmation is key for many modern systems.
- Live Feed Check: Access your system’s mobile app or web portal and check the live feed from each camera and your video doorbell. Ensure the picture is clear and the field of view is as expected.
- Recording Function: Manually trigger a motion event (walk in front of a camera or doorbell) and verify that a recording is initiated and saved. Check the playback quality.
- Motion Detection Zones: If your cameras allow for custom motion detection zones, test them to ensure they trigger alerts and recordings only when motion occurs in those specific areas.
- Night Vision: Test cameras in low-light conditions to confirm their night vision capabilities are functioning correctly.
Step 4: Test Life Safety Devices (Smoke, CO, Leak Sensors)
These devices are critical for preventing property damage and protecting lives.
Smoke/CO Detectors:
- Most detectors have a "Test" button. Press and hold it for a few seconds.
- The detector should emit a loud, distinct alarm sound.
- If your system integrates these into the alarm panel, verify that the central panel also registers the alarm event.
- Caution: Ensure your monitoring service is aware you are testing these, especially if they have direct dispatch capabilities for fire events. Some services may require a separate test for these devices.
Water Leak Sensors:
- If possible, place a small amount of water (e.g., a few tablespoons) onto the sensor's contact points.
- Verify that your system registers the leak alert, either through a chime, app notification, or a call from your monitoring service.
- Immediately dry the sensor and the surrounding area thoroughly.
Step 5: Test System Connectivity & Backup
Your system needs to communicate effectively, especially if the primary connection fails.
- Wi-Fi/Primary Connection: If your system primarily uses Wi-Fi, simulate an outage by turning off your router. Then, attempt to arm/disarm the system and trigger a sensor. If you have a cellular backup, it should now take over. Check your app or panel for confirmation of cellular connection.
- Cellular Backup: If you have cellular backup, test it by disabling your home Wi-Fi. Arm and disarm your system. Your monitoring company should still receive the signals. After testing, remember to re-enable your Wi-Fi.
- Backup Battery: Most control panels have a backup battery that kicks in during a power outage. To test this, unplug your control panel from the wall (after ensuring it’s not actively alarming). Your system should continue to function on battery power. Many systems will show a "power loss" or "backup battery" alert, which is normal. Once reconnected, it should indicate "AC power restored." Check your system's manual for specific battery test procedures if available. How much power does a home security system use can give you an idea of battery drain over time.
Common Mistakes That Undermine Your Security Test
Even with the best intentions, homeowners often miss crucial steps when testing their security systems, leading to a false sense of security. Identifying these common pitfalls before you begin can save you a lot of trouble down the line.
Skipping Component Checks
It’s tempting to just test the main doors and maybe one window sensor. However, every single sensor, whether it’s on a back shed door, a high upstairs window, or a basement motion detector, needs its own verification. Many systems have a list of all installed sensors accessible via the control panel or app; use this as your checklist.
Overlooking even one component means you have a potential blind spot.
Forgetting Monitoring Service Notifications
If your system is professionally monitored, this is a big one. Many users arm the system, trigger it, and see the siren go off, assuming everything is fine. What they forget is that the monitoring center needs to receive that signal and potentially verify it.
If you didn't call to put the system in test mode, you might trigger a real dispatch. Always confirm with your service provider that you are testing, not triggering a false alarm.
Relying Solely on Visual Checks
Seeing a camera is online or a sensor’s indicator light is on doesn't guarantee it's fully functional. The sensor might be connected but unable to transmit its trigger signal, or the camera might be online but not recording. Active testing, triggering the sensor, verifying the recording, checking the app notification, is non-negotiable.
A system might look ready, but its actual performance is only confirmed by testing its core functions.
Ignoring Battery Life and Connectivity
Wireless sensors run on batteries, and their lifespan varies. Aggregated user feedback suggests that while manufacturers often cite 1-3 years of battery life, actual duration depends on usage and environmental factors. A battery that's low might still send a signal, but it could fail completely during an actual event.
Similarly, a weak Wi-Fi signal or intermittent cellular service can cause communication dropouts. Regularly checking battery status in your app and testing the system during different times of day or after network changes helps catch these issues. How often should a security system be replaced often ties into component lifespan and reliability.
What to Do When a Test Fails (Troubleshooting Basics)
When a test doesn't go as planned, don't panic. Most issues are fixable with a little patience and by following a logical troubleshooting process.
Sensor Not Responding
If a door/window sensor doesn't register, or a motion detector doesn't trigger an alert:
- Check Battery: The most common culprit is a dead or low battery. Replace it with a fresh, high-quality battery of the correct type.
- Check Placement: Ensure the sensor halves (for doors/windows) are still aligned correctly and within the manufacturer's specified gap distance. Is the motion detector obstructed?
- Check Pairing: The sensor may have lost its connection to the main panel. You might need to re-pair it using your system's instructions. Consult your manual or the manufacturer's support site.
- Check System Status: Is the main panel receiving power? Is it connected to your network? If the panel is offline, individual sensors won't communicate.
Connectivity Issues
If your system isn't communicating with the monitoring center or your app:
- Verify Network: For Wi-Fi systems, check your home internet connection. Is your router working? Is the Wi-Fi network broadcasting? Restart your router if necessary.
- Check Cellular Signal: For systems with cellular backup, ensure the control panel has a good signal. Some panels have a signal strength indicator. Is there a SIM card issue?
- Reboot System: Sometimes, a simple reboot of the main control panel can resolve communication glitches. Unplug it, wait 30 seconds, and plug it back in.
- Contact Support: If you’ve tried the basics and still have no connection, it’s time to contact your security provider.
False Alarm Triggers
If a sensor triggers an alarm unexpectedly during a test or normal operation:
- Review Placement: Motion detectors might be too close to heat sources, vents, or windows with direct sunlight. Door/window sensors might be misaligned or mounted on doors that sag.
- Check Sensitivity Settings: Some motion detectors and glass break sensors have adjustable sensitivity. Your system's app or panel might allow you to tweak these settings.
- Inspect for Damage: Is the sensor physically damaged, or are its wires frayed (for wired systems)?
- Environmental Factors: Extreme temperature changes or strong drafts can sometimes affect motion detectors.
Frequently Asked Questions About Security System Testing
### How often should I test my home security system?
Experts recommend testing your system at least every three months. For critical components like smoke and CO detectors, testing monthly is often advised. More frequent testing is a good idea if you live in an area prone to power outages or network disruptions, or after significant system changes.
### What happens if I trigger the alarm during a test without putting it in test mode?
You will likely trigger a response from your professional monitoring service. They will attempt to contact you to verify the alarm. If they cannot reach you or confirm it's a false alarm, they may dispatch emergency services, which could result in a fine from your local municipality for a false alarm.
Always call ahead.
### Can I test my system if I have a smart home hub like Alexa or Google Home?
Yes, but the testing process usually needs to be done through the security system's own app or control panel. While smart home hubs can arm/disarm systems, they typically don't have the diagnostic tools to confirm individual sensor functionality or initiate a monitoring service test. Focus on the security system's native interface for testing.
### How do I test the backup battery in my security system?
The simplest way is to unplug the main control panel from its power source and observe if the system remains operational on battery power, often indicated by a specific alert on the panel. Consult your system's manual for the exact procedure and expected behavior. Most systems will indicate when they are running on battery and when AC power is restored.
### What if my system's manual is lost?
Many manufacturers provide digital copies of their manuals on their websites. Search for your system's model number online. If you have a professionally installed system, your security provider should also be able to supply you with documentation or guide you through testing procedures.
Your Decision Guide: Keeping Your System Reliable
Choosing the right home security system and then ensuring it works flawlessly is a multi-step process. Consistent testing is the linchpin. A system that isn't regularly verified is a liability, not an asset.
DIY vs. Professional Monitoring: Who's Best For You?
The choice between self-monitoring and professional monitoring significantly impacts your testing approach and overall security strategy.
- Self-Monitored Systems are ideal for budget-conscious individuals or those who prefer hands-on control and don't want monthly fees. You're responsible for responding to alerts yourself. Testing focuses on ensuring you receive notifications and that cameras are recording, much like checking a smart doorbell’s functionality. This approach requires you to be diligent and available to respond around the clock.
- Professionally Monitored Systems offer a higher level of security and peace of mind, as a dedicated team is alerted and can dispatch help. However, they come with monthly fees and require a more formal testing protocol, including contacting the monitoring center. These are often preferred for larger homes or those with higher perceived risks. For an overview of system types, see What are the different types of home security systems.
System Longevity and When to Upgrade
How long your system will reliably serve you is also a key consideration, tying directly into how often you should test and when to consider replacement.
- Component Lifespan: While the central hub might last a decade or more, individual sensors, especially wireless ones, have a shorter lifespan, typically 3-7 years depending on usage and battery health. Batteries themselves need replacement much more frequently, usually every 1-3 years. Manufacturers often provide estimated lifespans for their hardware.
- Technology Advancements: As with any tech, security systems evolve. Older systems might lack smart home integration, robust app features, or advanced camera resolution. Keeping your system up-to-date means it can better defend against modern threats and integrate with other smart devices. Consider how often a security system should be replaced based on these factors.