How Do I Connect CCTV to My Phone?
Wanting to connect your CCTV cameras to your phone is a super common goal. It’s all about having that peace of mind and knowing you can check in on your property or loved ones from anywhere. Thankfully, most modern security systems make this pretty straightforward.
We’ll break down exactly how to get your cameras beaming live feeds straight to your smartphone, whether you’re dealing with newer IP cameras or older analog setups. By the end, you'll be ready to monitor your space remotely.
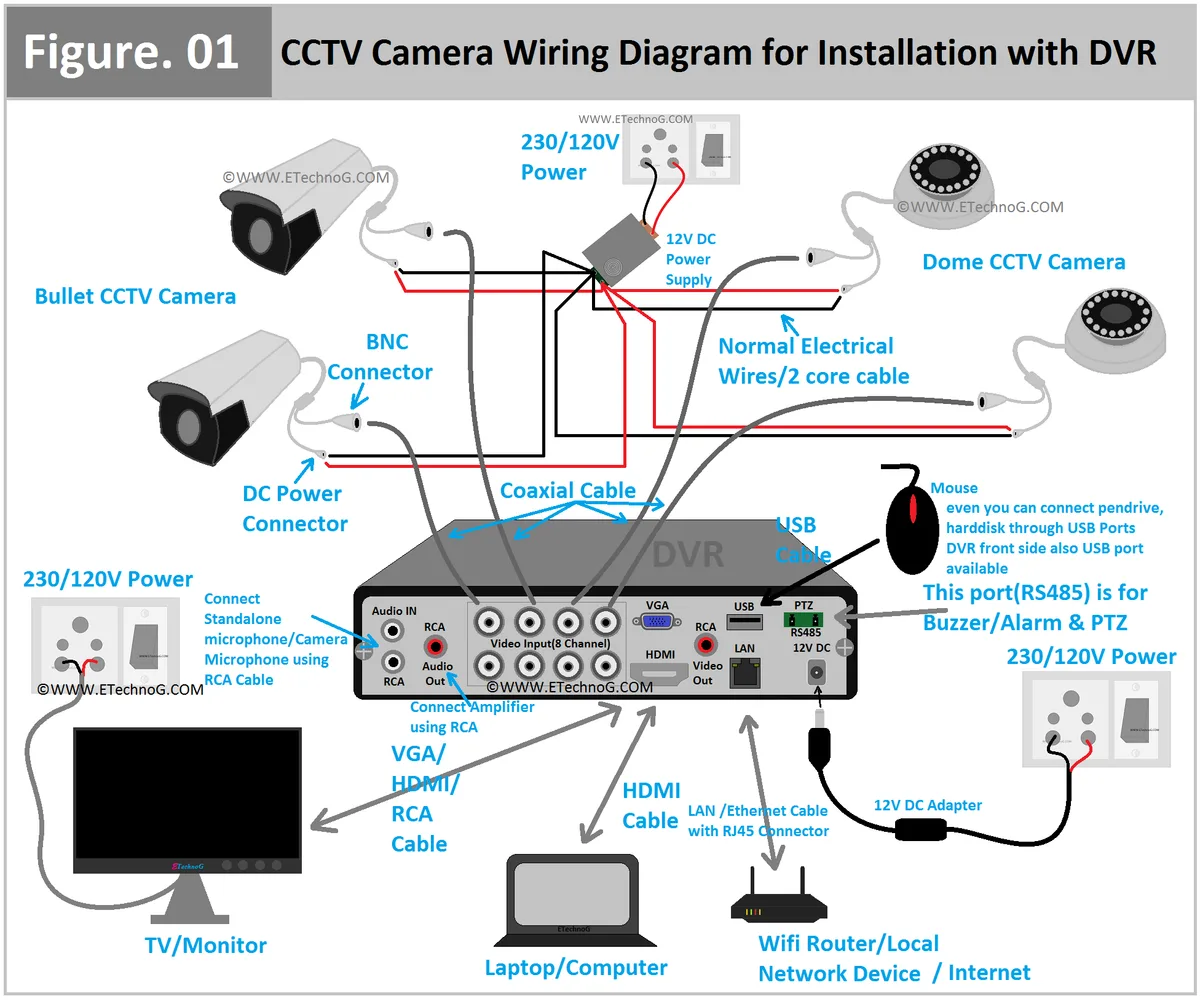
Image source: Web (Bing) / de.pinterest.com (Web image (fair-use with source credit))
Quick Answer
To connect CCTV to your phone, you'll typically use a mobile app provided by the camera's manufacturer. Ensure your CCTV system (NVR or DVR) or individual IP cameras are connected to your home network. Then, download the corresponding app on your smartphone, create an account, and pair your devices, usually by scanning a QR code.
Understanding Your CCTV System Type
Before we dive into the "how-to," it's crucial to know what kind of CCTV system you have. This determines the specific steps you'll follow. Generally, home and small business systems fall into two main categories: IP cameras and analog cameras (which connect to a DVR).
IP Cameras vs. Analog Cameras (DVR)
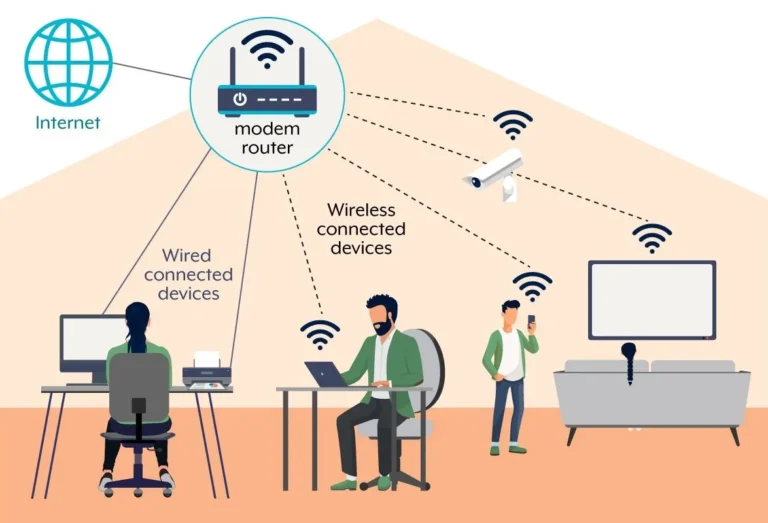
IP (Internet Protocol) cameras are digital. They connect directly to your network, either via Wi-Fi or an Ethernet cable, and send data packets over your network. This makes them highly flexible for remote access.
Analog cameras, on the other hand, use coaxial cables to send raw video signals to a Digital Video Recorder (DVR). The DVR then digitizes, compresses, and records this video. As of 2026, IP systems are the dominant choice for new installations due to their higher resolution and easier network integration.
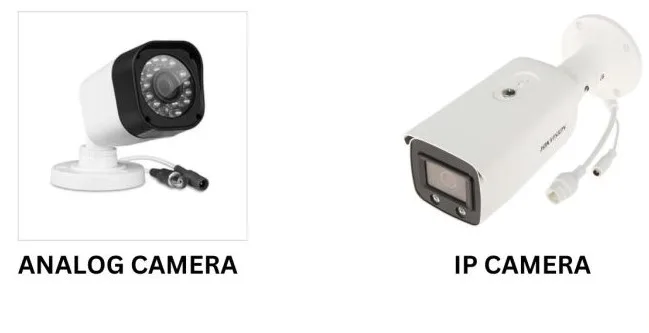
Image source: Web (Bing) / prachisecuritysystem.com (Web image (fair-use with source credit))
- IP Cameras: Digital, network-connected (Wi-Fi/Ethernet), higher resolution, often standalone or NVR-based.
- Analog Cameras: Signal-based, coaxial cable, require a DVR for digitization and recording.
Connecting Standalone IP Cameras to Your Phone
Many individual IP cameras are designed for simple setup and remote viewing right out of the box. These often connect wirelessly or via a single Ethernet cable.
Via Manufacturer's Mobile App
The most common way to connect standalone IP cameras is through a dedicated mobile application provided by the camera's manufacturer. This app acts as your central hub for viewing live feeds, accessing recordings, and managing settings.
- Power On and Network Connection: Plug in your IP camera. Connect it to your home network. For Wi-Fi models, this usually involves using the app to guide the camera to your Wi-Fi credentials. Ethernet-connected cameras simply plug directly into your router. If you're having trouble with the wireless link, you might need to improve your security camera WiFi signal.
- Download the App: Go to your smartphone's app store (Apple App Store or Google Play Store) and search for the brand name of your IP camera. Download the official app.
- Create an Account & Add Device: Open the app and follow the prompts to create a new user account. You'll then be guided to add your camera, typically by scanning a QR code found on the camera itself or its packaging. Some systems might require you to manually enter a device ID.
- Configure Settings: Once the camera is added, you can usually access live views, set up motion detection zones, and adjust notification preferences. If motion detection isn't working as expected, you might need to look into how to fix security camera motion detection.
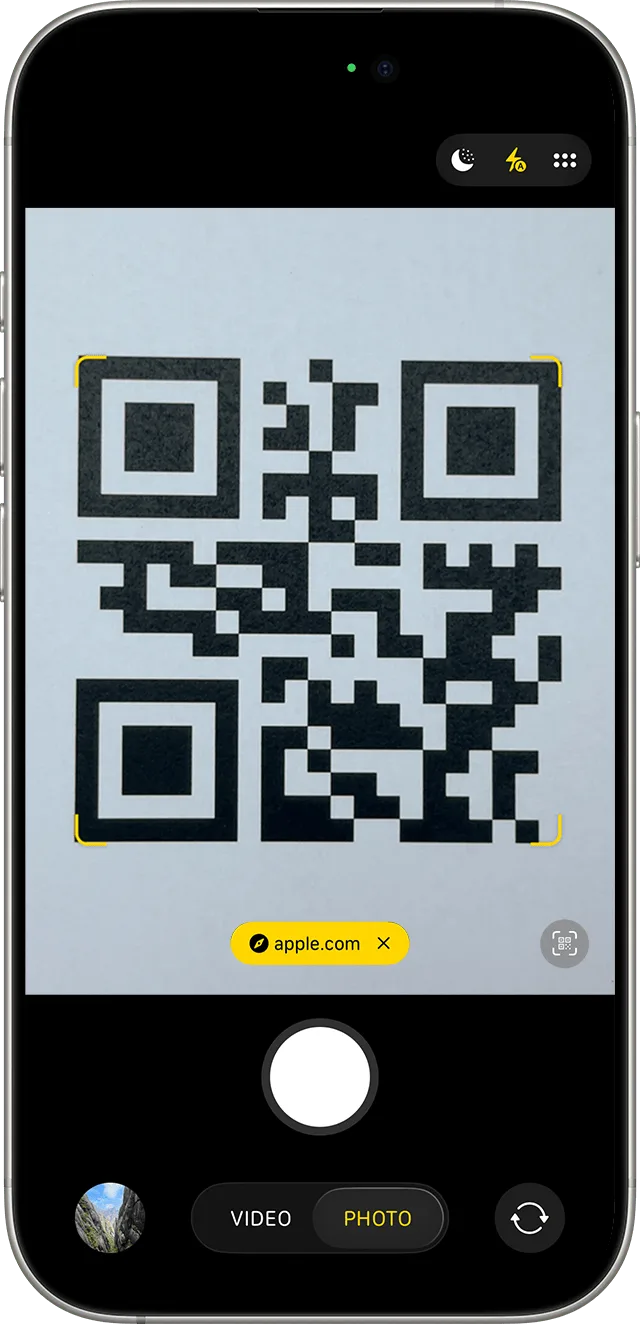
Image source: Web (Bing) / support.apple.com (Web image (fair-use with source credit))
Connecting IP Cameras to Your Phone via NVR
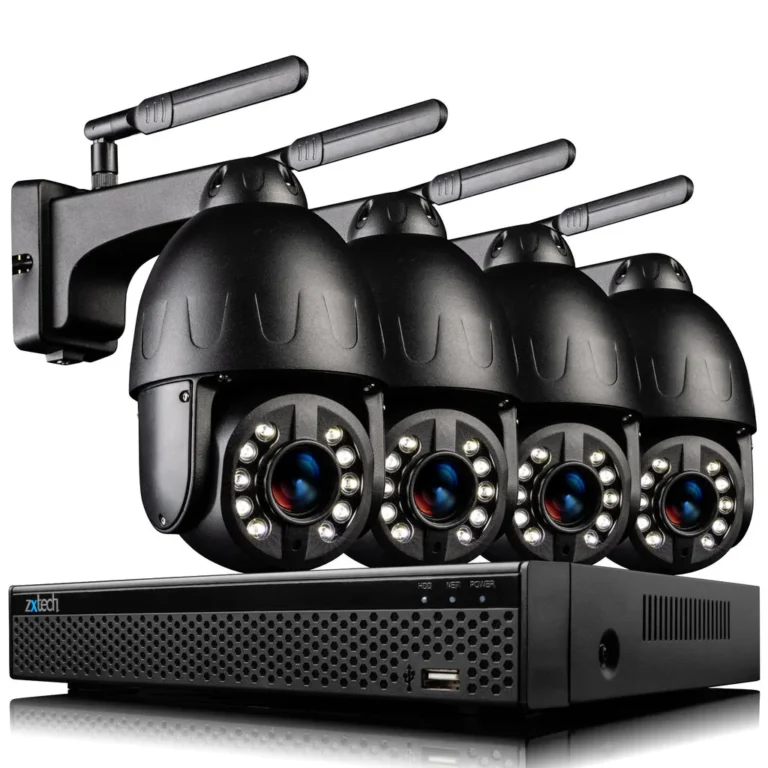
If you have multiple IP cameras, they're likely connected to a Network Video Recorder (NVR). The NVR acts as the central brain, recording footage and managing network access for all connected cameras. Connecting your phone involves linking the NVR to your network.
Using the NVR's Mobile App
Similar to standalone cameras, NVR systems come with their own mobile apps for remote access.
- Connect NVR to Your Network: Ensure your NVR is connected to your home router via an Ethernet cable. Some NVRs also support Wi-Fi, but a wired connection is generally more stable and recommended for consistent performance.
- Download the NVR's App: Search your phone's app store for the mobile application designed for your specific NVR brand.
- Add NVR to Your Account: Open the app, create an account if you don't have one, and then select the option to add a new device. You'll typically scan a QR code on the NVR unit or enter its unique device ID and verification code manually.
- View Live Feeds & Manage Settings: Once successfully added, your phone app will connect to the NVR, allowing you to view live streams from all your connected IP cameras, play back recorded footage, and adjust various system settings remotely. For any video lag issues you might notice, consult guides on how to fix security camera video lag.
Connecting Analog Cameras to Your Phone via DVR
For older systems using analog cameras, the connection process centers around the Digital Video Recorder (DVR). The DVR handles the recording and is the device you'll connect to your network for remote viewing.
Via the DVR's Mobile App and Remote Access
Most modern DVRs are designed to facilitate remote access.
- Connect DVR to Your Network: A wired Ethernet connection from your DVR directly to your home router is the most reliable method. Make sure the DVR is powered on.
- Download the DVR's App: Find the specific mobile app for your DVR brand in your smartphone's app store.
- Add DVR to the App: Launch the app and follow the instructions to add your DVR. This usually involves scanning a QR code on the DVR or entering its device ID. Many systems utilize P2P (Peer-to-Peer) or cloud services, which simplify the connection process by avoiding complex router configurations. These services allow your DVR to communicate with the app over the internet without needing manual port forwarding.
- Access Remote Viewing: Once connected, you can view live camera feeds, review recorded footage, and manage system settings from your phone. If you encounter issues where your camera is showing a black screen, you may need to look into why is my security camera showing a black screen.
Troubleshooting Common Connection Problems
Even with straightforward setups, you might run into snags when trying to connect your CCTV to your phone. Don't worry; most issues are fixable with a bit of systematic checking.
Quick Fixes for Connectivity Issues
- Restart Everything: A simple power cycle often resolves temporary glitches. Unplug your router, NVR/DVR, and any IP cameras. Wait about 30 seconds, then plug them back in, starting with the router.
- Check Physical Connections: Ensure all Ethernet cables are securely plugged into both the devices and your router. Loose connections are a frequent culprit.
- Verify Network Status: Confirm your home internet is active and working correctly. Your phone also needs a good internet connection (Wi-Fi or cellular data) to reach your cameras remotely.
- App and Firmware Updates: Ensure both your mobile app and your NVR/DVR or IP camera firmware are up-to-date. Outdated software can cause compatibility problems. For detailed guidance on this, you can refer to how to update security camera firmware.
- Router Settings: In rare cases, your router's firewall might be too restrictive. Modern P2P systems usually bypass this, but if you're still having trouble, you might need to consult your router's manual or ISP.
- Device Reset: If all else fails, you might need to reset a security camera or your NVR/DVR to factory defaults and start the setup process again.
Experts Tips for a Seamless Remote Viewing Experience
Getting your CCTV connected is just the first step. To make sure your remote viewing experience is smooth and reliable, a few proactive steps can go a long way. This isn't just about initial setup; it's about ongoing performance.
Think about your internet connection, for instance. A shaky Wi-Fi signal can cause video lag or dropped connections, making your surveillance less useful. Our research indicates that consistent bandwidth is key; a minimum upload speed of 1-2 Mbps per camera is often recommended for decent quality streaming, though higher is always better.
For any persistent issues with your wireless connection, check out tips on how to improve security camera WiFi signal.
Beyond network stability, regularly checking your system's firmware is a smart move. Manufacturers often release updates to fix bugs, improve security, and enhance performance. Skipping these updates can lead to compatibility issues or vulnerabilities.
Finally, be mindful of how much data your cameras are using, especially if you have a limited data plan. Understanding how much data does a security camera use can help you avoid unexpected charges.
Frequently Asked Questions (FAQs)
How long does it typically take to connect CCTV to my phone?
The setup time can vary, but for most modern systems using manufacturer apps and QR codes, you can expect to complete the basic connection within 15 to 30 minutes. This includes downloading the app, creating an account, and pairing your device. More complex network configurations or older systems might take longer.
Do I need a static IP address for remote CCTV viewing?
Historically, a static IP address was often required for reliable remote access. However, most contemporary CCTV systems, especially those using P2P or cloud-based services, do not require a static IP address. These technologies manage the connection dynamically, making setup much simpler for the average user.
Can I view multiple CCTV cameras from different locations on one app?
Yes, most manufacturer mobile apps are designed to support multiple devices. As long as all your cameras or recorders (NVRs/DVRs) are from the same brand or compatible with the same app ecosystem, you can typically add and view them all from a single application on your smartphone.
What happens if my internet connection goes down?
If your home internet goes down, you will lose the ability to view your CCTV cameras remotely on your phone. However, most NVRs and DVRs will continue to record footage locally onto their hard drives. Once your internet connection is restored, you should regain remote access to live feeds and recorded data.
You might need to ensure your system is set up for continuous recording to capture all events.
Is there a cost associated with remote CCTV viewing?
The initial cost is for the CCTV hardware itself (cameras, NVR/DVR). Most manufacturer apps for remote viewing are free to download and use. Some advanced cloud storage or premium features might incur a subscription fee, but basic live viewing and recording access are typically included.