How to Connect a Security System to a Phone
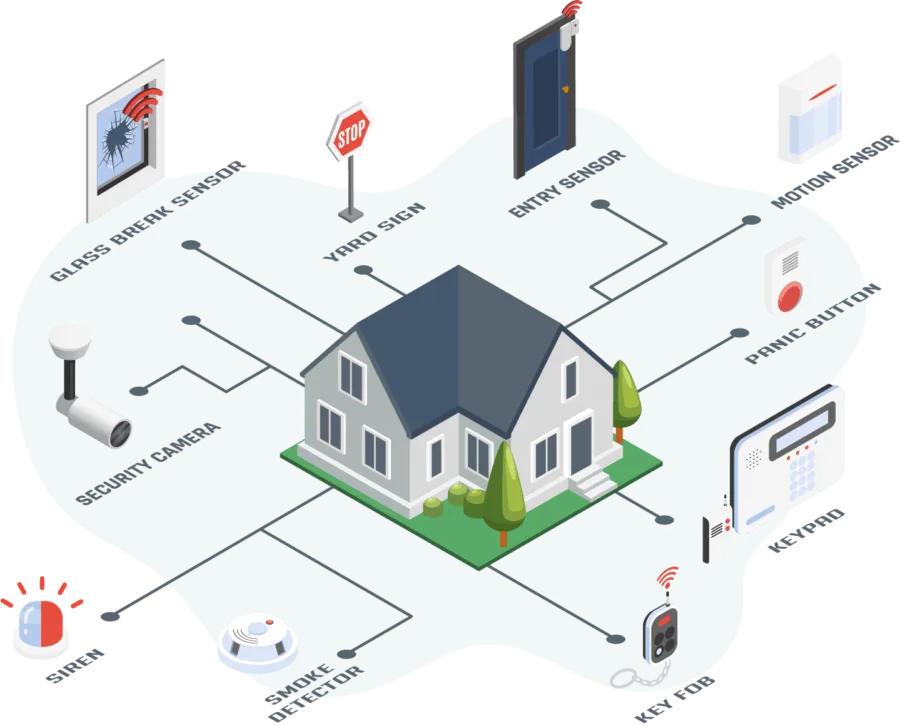
Image source: Web (Bing) / dfsservices.co.in (Web image (fair-use with source credit))
Want to keep an eye on your home from your smartphone? Learning how to connect a security system to a phone is simpler than you might think for most modern setups. It means you can arm, disarm, and get alerts no matter where you are, offering a huge boost to your peace of mind.
We'll break down the process so you can get this essential feature up and running.
Connecting your system often involves downloading a specific mobile app provided by your security system's manufacturer. Manufacturer specifications indicate that these apps typically communicate with your home's Wi-Fi network, which then relays information to and from your security system's base station or hub. This technology is a cornerstone of smart home security, allowing for remote management and instant notifications as of 2026.
Quick Answer
Connect your security system to your phone by downloading its dedicated mobile app. Follow the app's instructions to link your system's base station to your home Wi-Fi. This allows for remote control and instant alerts.
First Things First: What Kind of System Do You Have?
The journey to connecting your security system to your phone really starts with understanding what kind of system you're working with. Not all security systems are created equal, and this distinction dictates the exact steps you'll take. It’s like needing different tools for different jobs; the approach changes based on the equipment.
DIY Systems vs. Professionally Installed Systems
The biggest difference boils down to whether you installed it yourself or had a company do it for you. This impacts how the initial setup and connectivity are handled.
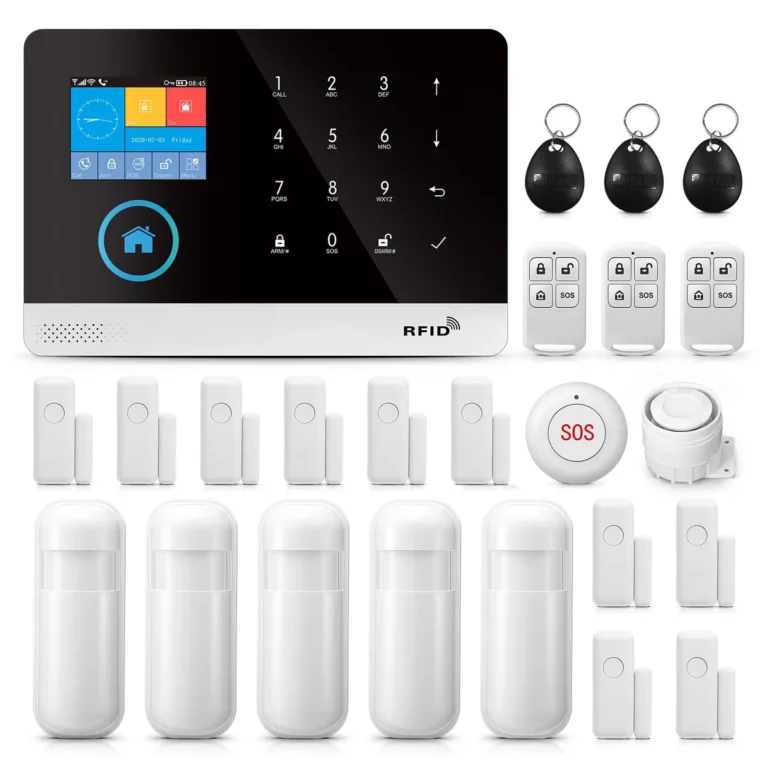
DIY Systems are designed with user-friendliness in mind. When you buy a system like those from Ring Alarm or SimpliSafe, the manufacturer expects you to set it up. Connecting it to your phone is usually a core part of that initial setup, guided by the system's mobile app itself. You'll typically download an app, create an account, and follow on-screen prompts to get your base station online. These systems often offer more flexibility for users comfortable with a little tech. You can learn more about what is a DIY home security system to see if it fits your needs.
Professionally Installed Systems, such as those from ADT or Vivint, are set up by trained technicians. During installation, they almost always handle the phone connection for you. They'll set up the app, create your account, and ensure everything is linked before they leave. If you need to re-establish the connection later or set up a new phone, you'll typically work through the system's specific app or contact customer support. Understanding what is a professionally installed security system helps frame the support you can expect.
IMAGE 3, Place near: "DIY Systems vs. Professionally Installed Systems"
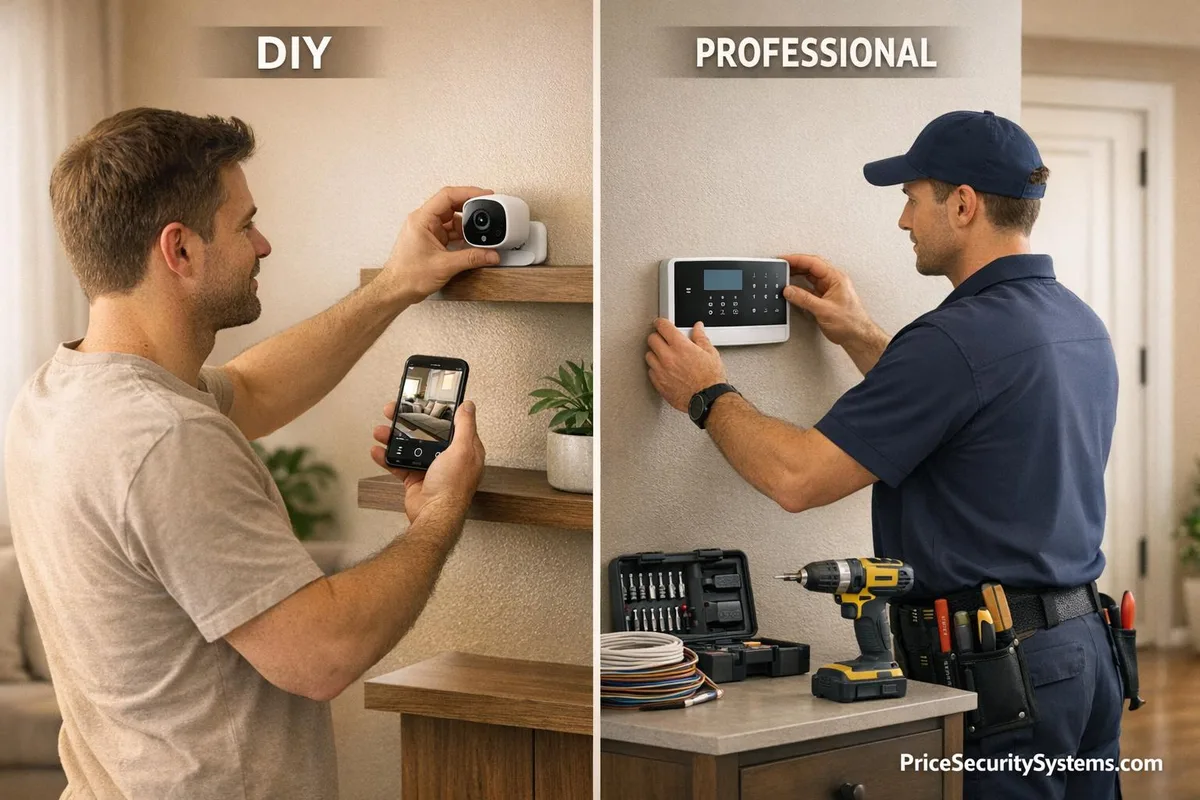
Image source: Bing (Web (fair-use with source credit))
The Usual Suspects: How It Generally Works
Most modern security systems leverage your home's existing internet connection to enable smartphone control. This isn't magic; it's a network of devices communicating through your Wi-Fi. Understanding these components is key to getting your system connected.
Key Components: Base Station, App, and Wi-Fi
At the heart of it are three main things: your system's central unit, the software on your phone, and your home's internet.
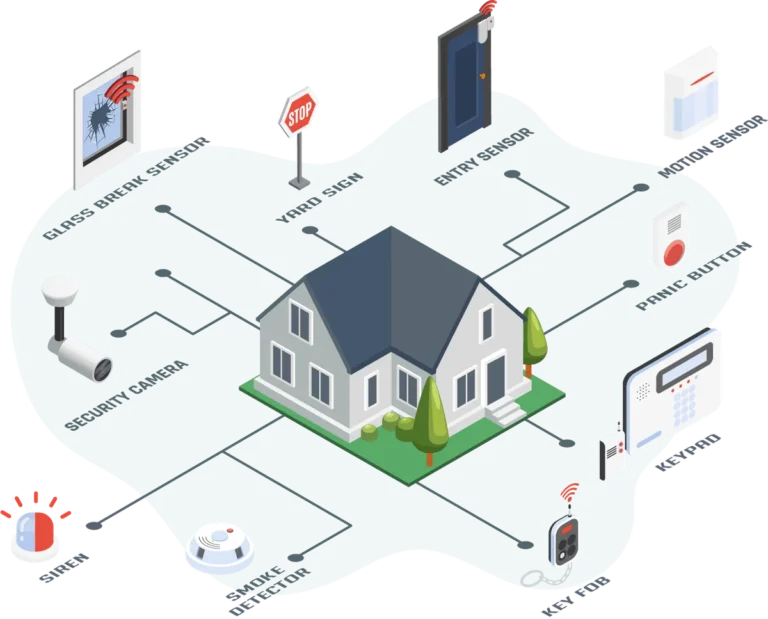
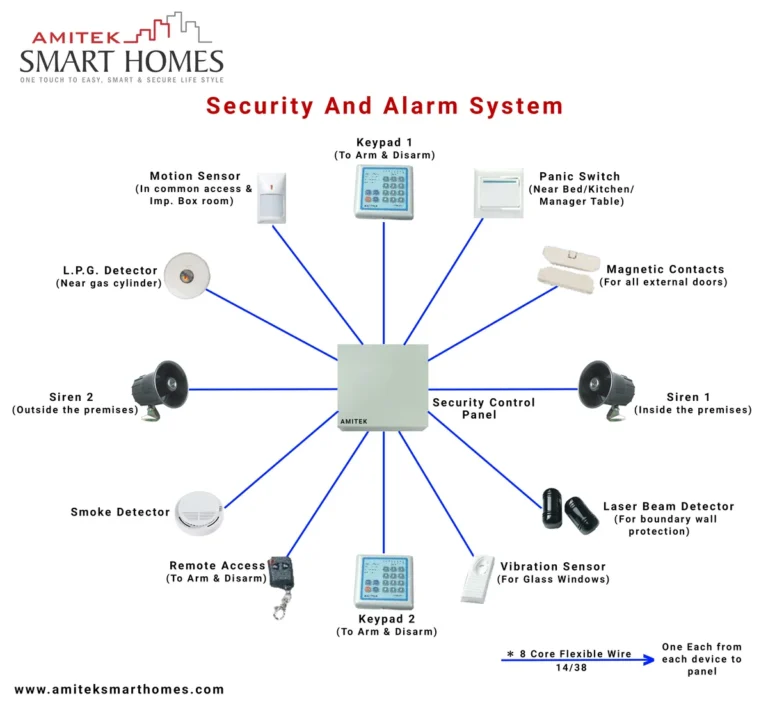
- Base Station/Hub: This is the brain. It’s what your sensors (like door/window sensors and motion detectors) communicate with wirelessly. The base station then connects to your home's Wi-Fi network.
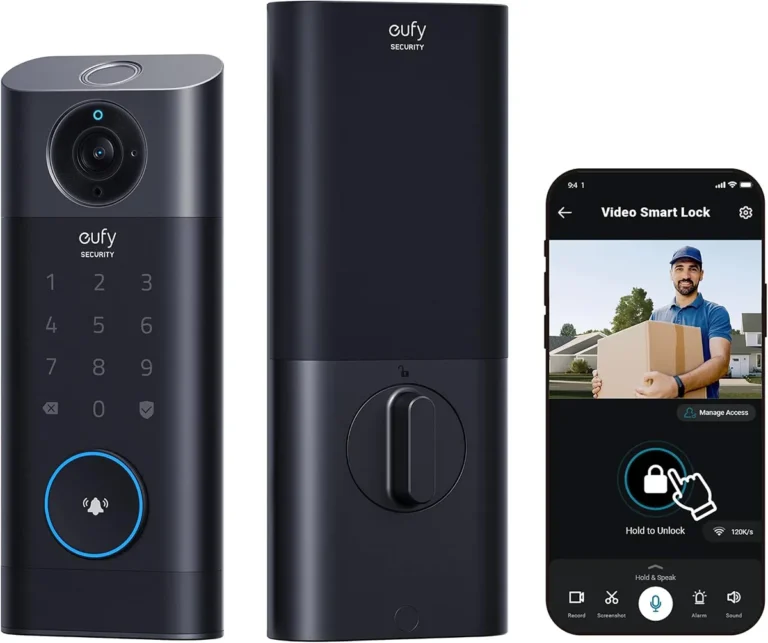
- Mobile App: This is the remote control for your phone. It's an application downloaded from your phone's app store (like the Apple App Store or Google Play Store). Through this app, you can arm or disarm your system, receive alerts, and sometimes even view live camera feeds.
- Home Wi-Fi Network: Your base station needs a stable internet connection to talk to the mobile app. This relies on your home router broadcasting a Wi-Fi signal. Most modern systems require a 2.4 GHz Wi-Fi band, though some newer ones can also use 5 GHz. Ensuring your router is functioning correctly is the first step in any setup. For more on how these systems operate, see how do home alarm systems work.
Step-by-Step: Getting Connected
The exact sequence of steps varies slightly between brands, but the general workflow for connecting your security system to your phone is quite consistent. We’ll outline the most common path, primarily focusing on DIY systems, as they offer the most direct user involvement in this process.
Connecting Your DIY System: The Common Path
If you’ve purchased a DIY security system, the connection to your phone is usually integrated into the initial setup. It’s designed to be straightforward, often taking less than an hour to get everything up and running.
IMAGE 2, Place near: "Connecting Your DIY System: The Common Path"
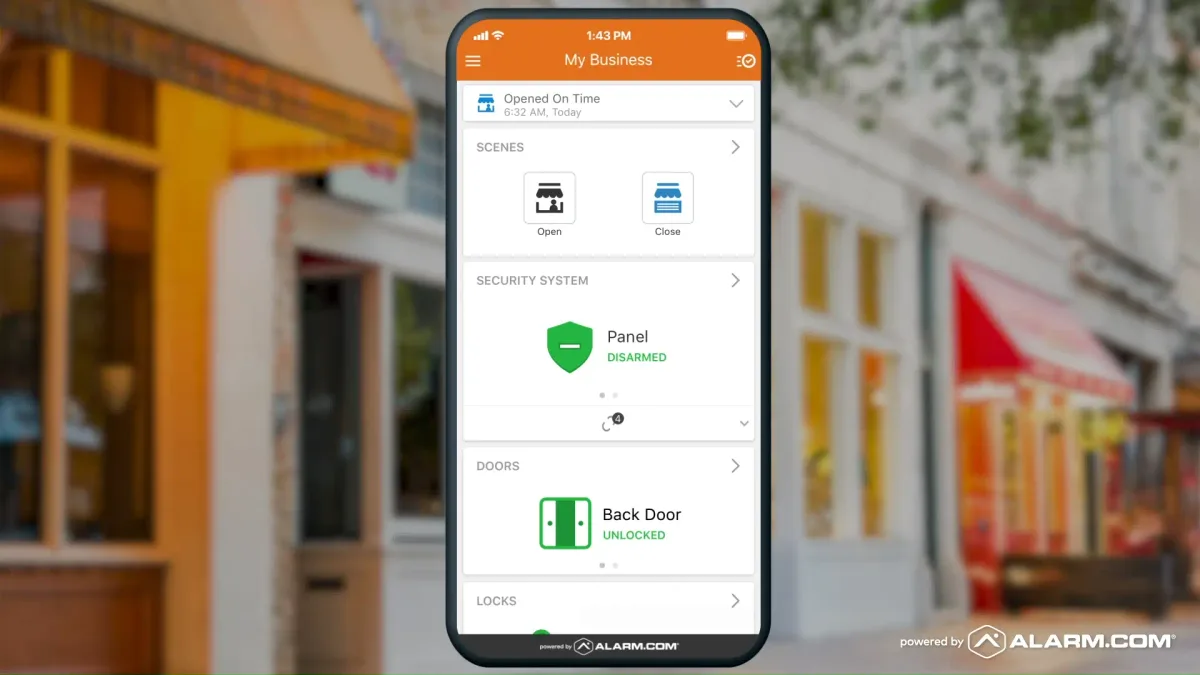
Image source: Web (Bing) / securitybyaps.com (Web image (fair-use with source credit))
Download the App and Create Account
First, grab your smartphone. Head to your phone’s app store, either the Apple App Store for iPhones or the Google Play Store for Android devices. Search for the official mobile app by your security system's brand name (e.g., "Ring," "SimpliSafe," "Abode").
Once found, download and install it. After opening the app, you'll be prompted to create a user account. This typically involves providing an email address and setting a secure password.
Power Up and Connect Base Station to Wi-Fi
Next, take your system's main unit, the base station or hub, and plug it into a power outlet. Many base stations have indicator lights that will show when they are powered on and ready for setup. The app will then guide you through connecting this base station to your home's Wi-Fi network.
This is often the most critical step. You might need to enter your Wi-Fi password directly into the app, or the base station might temporarily broadcast its own Wi-Fi signal that your phone connects to for the initial setup.
Pair Sensors and Devices
Once the base station is successfully connected to your Wi-Fi, the app will guide you in adding your other security devices. This includes door and window sensors, motion detectors, and any security cameras you have. The process usually involves putting the base station into a "pairing mode" via the app and then activating each sensor, often by pressing a small button on the sensor itself.
The system will then detect and register them.
Configure Your Settings
With all devices paired and the system online, the app becomes your command center. You can now customize various settings. This includes setting up user access codes for other family members, defining alarm delay times (how long you have to disarm the system after entry), choosing which types of notifications you want to receive, and setting up any advanced features like geofencing.
This customization ensures the system works precisely how you need it to.
Connecting Your Professionally Installed System
If a security company installed your system, they’ve likely already handled the phone connection. During the installation, the technician typically downloads the system's dedicated app onto your smartphone, walks you through creating an account, and ensures it’s fully functional. They will show you how to arm, disarm, and view alerts remotely.
If you ever need to set up the app on a new phone or if the connection is lost, you'll typically follow the same app-based process as DIY systems, or you can contact your provider's customer support for assistance. Exploring what is a professionally monitored security system can shed light on the services these systems provide.
Troubleshooting Common Connection Issues
Even with user-friendly designs, technology can sometimes be finicky. If you're encountering problems connecting your security system to your phone, don't worry, most issues have straightforward solutions. Our research indicates that the majority of connection hiccups stem from a few common areas.
Wi-Fi Woes and App Glitches
The most frequent roadblocks involve your home's Wi-Fi network or the mobile app itself. A stable internet connection is crucial for your security system to communicate effectively.
Checking Your Wi-Fi Network
First, confirm your home internet is actually working. Try loading a webpage or opening another app on your phone that requires internet access. If your internet is down, your security system won't be able to connect either.
Also, ensure your Wi-Fi network name (SSID) and password are correct. Passwords are case-sensitive, so double-check for any typos. Some older security systems might have compatibility issues with newer WPA3 Wi-Fi security protocols, but this is less common with modern devices that typically support WPA2.
Power Cycling Your Devices
A simple yet often effective troubleshooting step is to power cycle your equipment. This means completely turning off your devices and then turning them back on.
- Turn off your security system's base station.
- Unplug your Wi-Fi router from the power outlet.
- Turn off your smartphone.
- Wait for about 30 seconds to allow the devices to fully discharge.
- Plug your Wi-Fi router back in and wait for it to fully boot up and establish an internet connection.
- Then, plug in your security system's base station.
- Finally, turn your smartphone back on.
This process can help resolve temporary glitches or network conflicts that might be preventing the connection.
Ensuring App Permissions are Set
For the mobile app to function correctly and connect to your system, it needs certain permissions on your smartphone. Most often, the app will request permission to access your location (sometimes needed for geofencing features), manage Wi-Fi connections, or send notifications. If you initially denied these permissions, the app might not be able to establish a connection.
Check your phone's settings under "Apps" or "Privacy" to ensure your security system's app has the necessary permissions enabled. For instance, some systems use location services to automatically arm or disarm when you leave or arrive home.
Why Connect? The Benefits of Phone Integration
Connecting your security system to your phone is more than just a gadgety feature; it's a significant upgrade in how you manage and monitor your home's safety. It puts powerful control right into your pocket, offering convenience and crucial peace of mind. This integration transforms a static alarm into a dynamic, responsive safety net.
Remote Control and Real-Time Alerts
The primary advantage is the ability to control your system from anywhere.
- Arm/Disarm Remotely: Forget if you armed the alarm as you rushed out the door? No problem. Just open the app and arm it. Likewise, you can disarm it before you get home if a family member needs access.
- Instant Notifications: You receive immediate alerts on your phone if a sensor is triggered, motion is detected by a camera, or if there’s a system issue (like a low battery on a sensor). This means you're always informed about what's happening at home, even when you're miles away.
- Live Video Feeds: If your system includes cameras, the app often allows you to view live video streams. This provides visual confirmation of any alerts or a simple way to check in on pets or loved ones.
- Event History: Reviewing logs within the app shows you a timeline of system activity, including when it was armed or disarmed and by whom.
This constant connectivity provides a level of oversight that traditional security systems simply can't match. For more on the advantages, see what are the benefits of a home security system.
Common Mistakes to Avoid When Connecting
While connecting your security system to your phone is generally straightforward, a few common pitfalls can cause frustration. Avoiding these simple errors can save you a lot of time and hassle during setup. Understanding these can prevent you from getting stuck in a troubleshooting loop.
Ignoring Your System's Manual
Perhaps the most common mistake is diving in without consulting the official user manual. While we're providing a guide here, your specific system's manual is the definitive resource. It contains model-specific instructions, diagrams, and troubleshooting tips tailored to your exact hardware.
Skipping this step means you might miss crucial details unique to your system, leading to confusion or incorrect setup. Always have the manual handy, or download its digital version from the manufacturer's website.
Incorrect Wi-Fi Password Entry
This might seem obvious, but it's incredibly common. Your Wi-Fi password is case-sensitive and can be surprisingly complex.
- Case Sensitivity: Ensure you're typing the password with the correct capitalization. "Password123" is different from "password123."
- Typos: A single incorrect character will prevent the connection. Double-check each letter and number.
- Special Characters: If your password includes symbols like "@", "#", or "$", ensure they are entered precisely as they appear.
Many systems won't give you a clear error message for a wrong password; they'll just fail to connect. Trying to connect the base station to your Wi-Fi from your phone's Wi-Fi settings menu first can sometimes help you confirm the password is correct before entering it into the security system app.
Frequently Asked Questions (FAQ)
How long does setup typically take?
For DIY systems, connecting the base station to Wi-Fi and pairing sensors usually takes between 30 minutes to an hour. Professionally installed systems are set up during your appointment.
Can I connect my security system to multiple phones?
Yes, most security system apps allow you to create multiple user accounts or invite other users to access the system from their own smartphones. This is ideal for families.
What if my Wi-Fi password changes?
If you change your Wi-Fi password, you'll need to reconnect your security system's base station to the network using the new password, usually through the system's mobile app.
Do I need a special internet plan for my security system?
Typically, no. As long as you have a standard home internet connection with Wi-Fi, your security system should connect without needing a special plan. It uses a small amount of data.