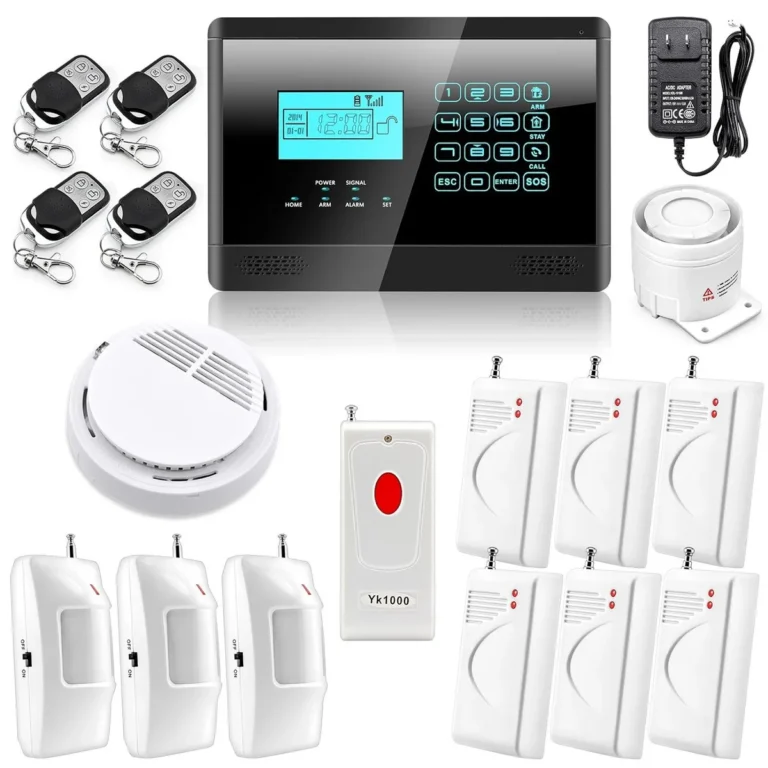
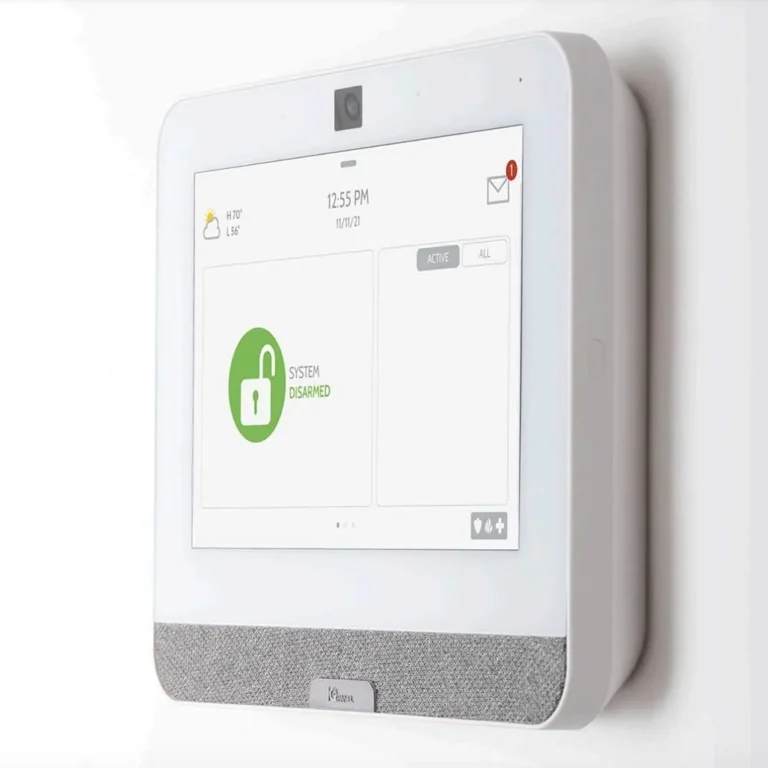
How to Troubleshoot a Home Alarm System
So, your home alarm system is giving you grief. Maybe it's chirping randomly, or perhaps a sensor is reporting an issue when everything looks fine. Don't panic; these systems are designed to be robust, but like any tech, they can run into hiccups that you can often fix yourself.
Our research shows that common issues often stem from simple environmental factors or minor connectivity glitches. For instance, manufacturer specifications indicate that most modern alarm systems require a stable power source of 120V AC, with backup batteries rated for at least 4 hours of operation under typical standby load. Getting your system back online usually involves a systematic approach.
Quick Answer
Troubleshooting a home alarm system involves identifying the specific symptom, then following a logical sequence of checks. Common fixes include verifying all doors and windows are closed, inspecting sensors for alignment and damage, checking power sources like transformers and circuit breakers, and rebooting the control panel by disconnecting AC power and battery. For persistent or complex issues, professional assistance is recommended.
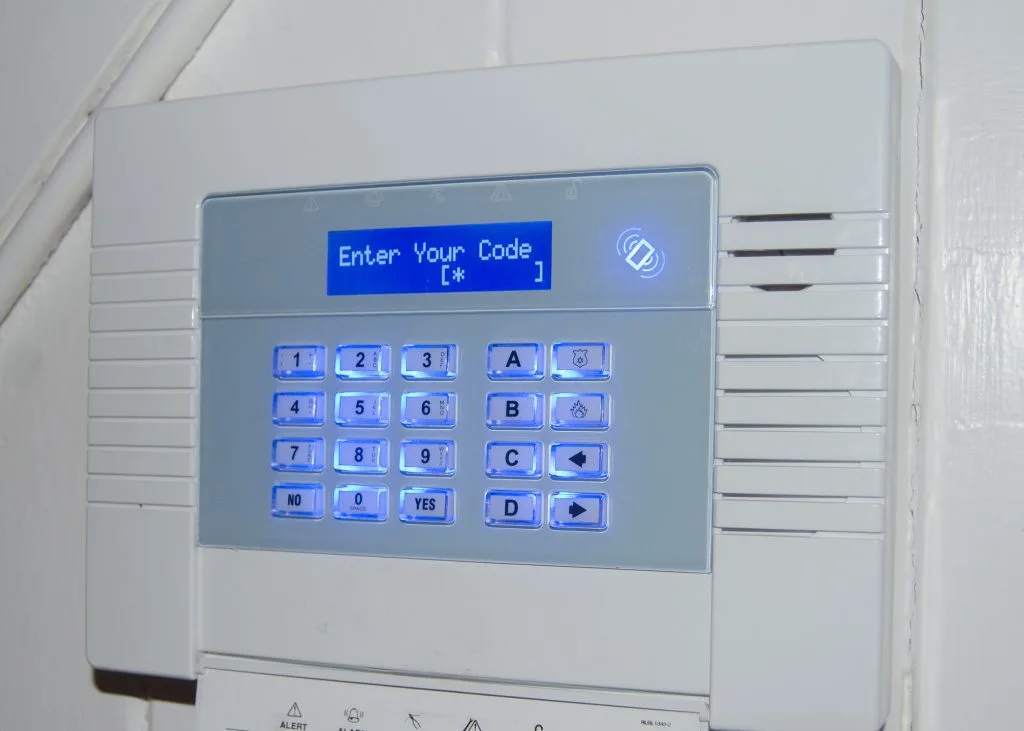
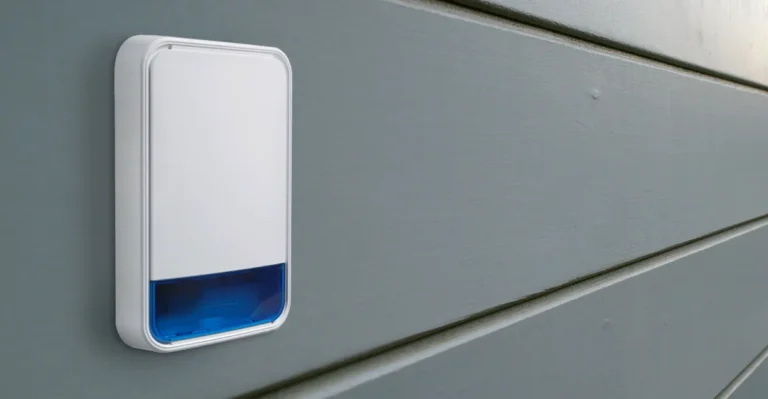
Image source: Bing (Web (fair-use with source credit))
Is Your Alarm System Acting Up? Common Problems You Might Face
Home alarm systems, designed to keep your property secure, can sometimes throw up unexpected alerts or simply stop working as intended. These issues can range from minor annoyances, like a persistent false alarm from a single sensor, to more significant problems, such as the entire system refusing to arm or power on. Understanding the typical symptoms is the first step in figuring out what's wrong.
Most homeowners encounter one or more of these common frustrations:
- False alarms: The system triggers an alert when there's no actual intrusion.
- System faults: A general error message or light indicates a problem that needs attention.
- Sensor issues: A specific door, window, or motion detector isn't working correctly.
- Arming problems: You can't set the system, or it won't arm fully.
- No power: The control panel is completely dead, with no lights or sounds.
Quick Start: What's the Symptom? Identifying the Core Issue
Before you dive into any troubleshooting, pinpointing the exact problem is key. Think of it like a doctor asking about your symptoms. Your alarm system might be trying to tell you something specific.
Is it a false alarm where the siren blares for no reason? Is a zone showing as open when it's definitely closed? Maybe the system won't arm, flashing a fault light?
Or is it completely unresponsive, like a dead box on the wall? Knowing the main symptom helps us follow the right path to a solution.
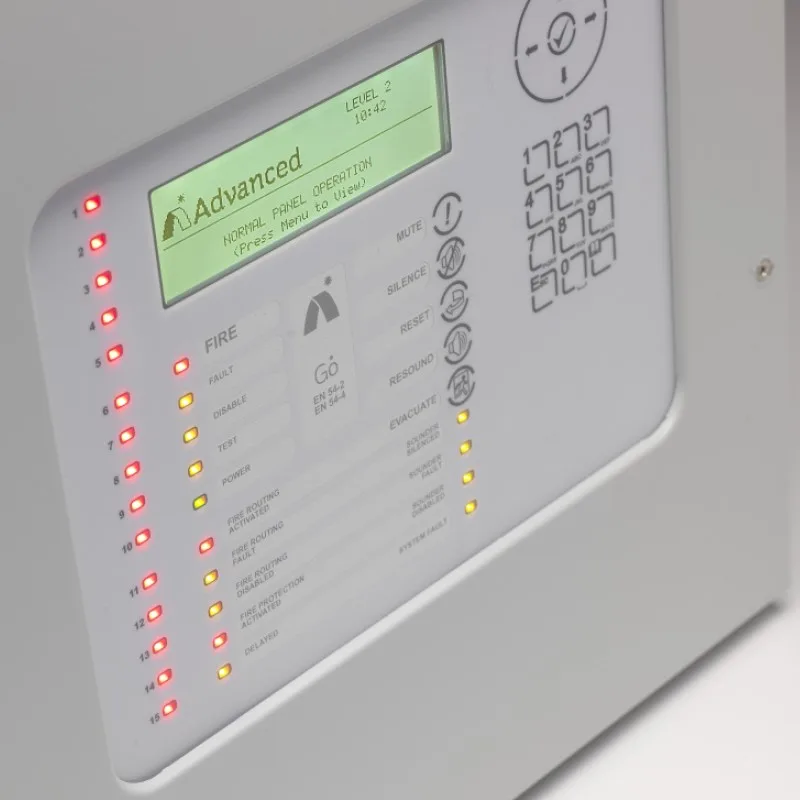
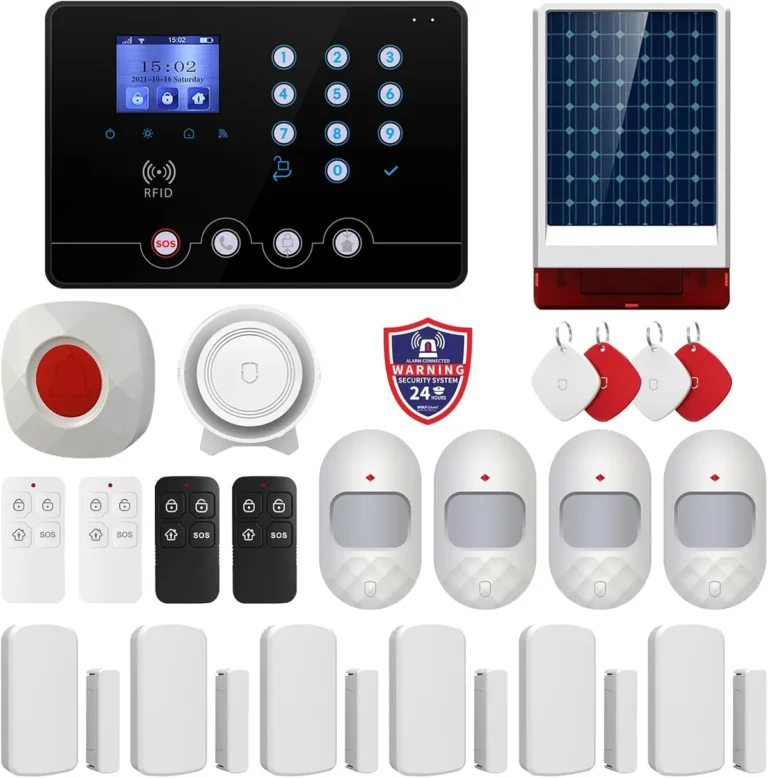
Image source: Web (Bing) / advancedco.com (Web image (fair-use with source credit))
Troubleshooting Workflow: Fixing Common Alarm System Hiccups
This guide walks you through common home alarm system issues. We'll start with the simplest fixes and move toward more involved steps, using a logical flow to help you diagnose and resolve problems.
Scenario 1: False Alarms and "Open" Zone Alerts
This is arguably the most frequent headache for homeowners. Your system might chirp, send notifications, or even trigger the siren because it believes a door or window is open when it's actually secured.
- Verify Closures: The absolute first step is to physically check every single door and window that has a sensor. Ensure they are all firmly shut and latched. Sometimes, a slight misalignment or a window not fully closing can fool the system.
- Inspect Sensors: Examine the door/window sensors themselves. Most consist of two parts: a magnet and a contact. When the door or window is closed, these two parts should be close together (within about a half-inch, though this varies by manufacturer). Make sure they haven't become loose or shifted out of alignment. Check for any visible damage to the sensors or their connecting wires.
- Clean Contacts: Dust or debris can sometimes interfere with the magnetic contact. Gently wipe down both parts of the sensor with a dry cloth.
- Bypass the Zone (Temporary Fix): If a specific zone consistently causes false alarms, most keypads allow you to "bypass" that zone when arming. This means the system will ignore it for that arming cycle. While not a permanent fix, it can prevent false alarms while you investigate further. If bypassing a zone stops the false alarms, you've likely isolated the problem to that specific sensor.
Scenario 2: The System Refuses to Arm
You press the "Arm Away" or "Arm Stay" button, expecting the familiar confirmation beep, but instead, the system flashes a fault light, emits a different beep pattern, or displays an error message. This typically indicates an unresolved issue the system won't ignore.
- Resolve "Open" Zones: The most common reason a system won't arm is that it detects an open door or window. Go back to the steps in Scenario 1 and ensure all zones are reporting as closed. The system needs confirmation that all entry points are secured before it can be armed.
- Check for System Faults: Look at the alarm panel or keypad for any specific fault indicators or error codes. These codes are designed to point you toward the problem. For example, a "Communicator Fault" might mean it's having trouble with its phone line or cellular connection.
- Low Battery Warning: Many systems will prevent arming if the main backup battery is critically low or has failed, as it needs that power source to function independently. Your system might display a "Low Battery" message or a specific fault code for this.
Scenario 3: A Specific Sensor Isn't Triggering
This is the opposite of Scenario 1. Instead of false alarms, a particular sensor isn't doing its job at all. When you open the protected door or window, the alarm panel shows no activity for that zone.
- Test the Sensor: Manually activate the sensor. For a door/window sensor, open the door or window. For a motion detector, walk in front of it. Observe the alarm panel or keypad. Does it register the activity for that specific zone? If not, the sensor itself, its battery, or its connection might be the issue.
- Check Wireless Sensor Batteries: If your system uses wireless sensors, low batteries are a frequent culprit. Many systems will alert you to a low battery in advance. Replacing the battery in the problematic wireless sensor is often a straightforward fix. Manufacturer specifications for typical wireless sensors indicate a battery life of 3 to 5 years, depending on usage and environmental conditions, but this can vary significantly.
- Verify Sensor Alignment: For both wired and wireless sensors, ensure the two parts (magnet and contact, or sensor and lens) are properly aligned and within the manufacturer's specified proximity when the zone is closed. If they've shifted, the sensor won't detect the opening.
Scenario 4: Your System is Completely Dead
When the alarm panel has no lights, makes no sound, and appears entirely unresponsive, it points to a loss of power. This can be unsettling, but the cause is often simple.
- Check the Transformer: Find the power transformer for your alarm system. It's usually a small plug-in unit connected to an outlet near the main panel. Ensure it's plugged in securely at both ends (wall outlet and the panel's wiring). Test the outlet by plugging in another known working device.
- Investigate Circuit Breakers: Your alarm system is usually on its own circuit. Check your home's main electrical panel for any tripped breakers. Look for a breaker labeled "Alarm," "Security," or similar. If it's in the "off" position or in a middle, tripped state, flip it firmly to "off" and then back to "on" to reset it.
- Examine the Backup Battery: The main backup battery is critical. If both AC power and the backup battery fail, the system will go dead. We'll cover how to check this more thoroughly in the next section.
Essential Checks: Power, Sensors, and Connections
When your alarm system isn't behaving, a thorough check of its core components is vital. This involves ensuring it has reliable power, that its sensors are functioning correctly, and that all connections are secure. This systematic approach helps rule out the most common external causes of system malfunction.
Checking Power Sources: Transformer, Breakers, and Batteries
Power is the lifeblood of your alarm system. Without it, nothing else works.
- AC Power: Your system typically receives its primary power from a wall outlet via a low-voltage transformer, which then connects to the main control panel.
- Transformer: Locate this plug-in unit. Ensure it's plugged in securely at both ends (wall outlet and the panel's wiring). Test the outlet by plugging in another small appliance to confirm it's live.
- Circuit Breakers: Your alarm system is usually on its own circuit. Check your home's main electrical panel for any tripped breakers. Sometimes these are labeled "Alarm," "Security," or might be grouped with other home systems. Reset any tripped breakers by flipping them fully off, then back on.
- Backup Battery: This is critical for keeping the system running during power outages or if the AC power is interrupted for any reason. As of 2026, most alarm system backup batteries are sealed lead-acid types, typically rated to provide 4 to 24 hours of standby power, depending on the system's size and features.
- Location: The backup battery is usually housed within the main alarm panel's enclosure.
- Inspection: If your system is dead or showing a persistent "low battery" fault, the backup battery may need replacement. These batteries have a lifespan of about 3-5 years and can degrade over time. A failed battery can sometimes cause the entire system to stop functioning, even if AC power is present.
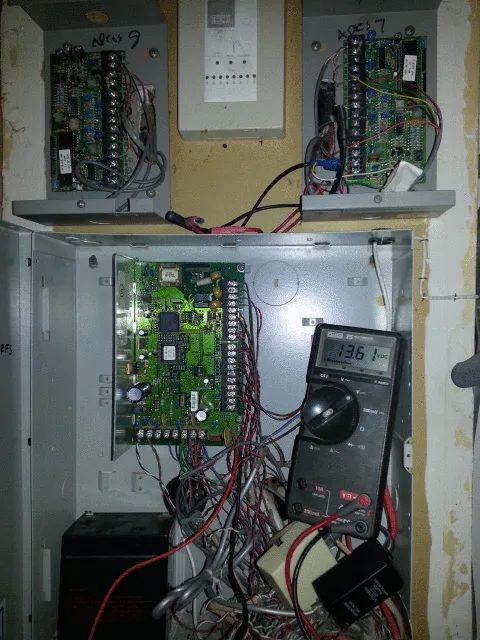
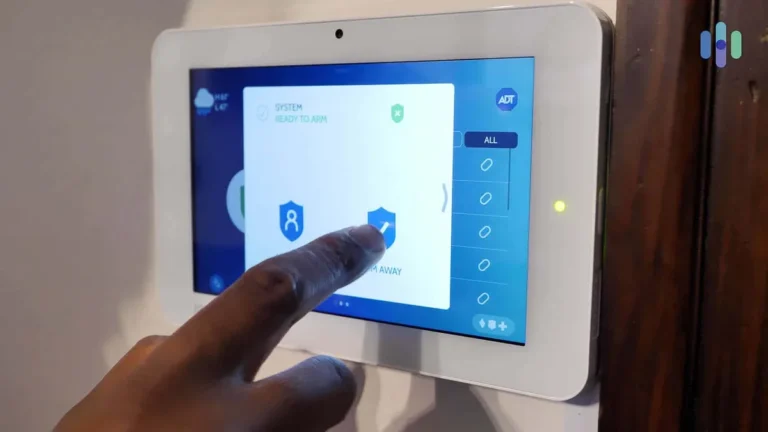
Image source: Bing (Web (fair-use with source credit))
Inspecting Sensors: Alignment, Damage, and Battery Life
Sensors are the eyes and ears of your alarm system, detecting intrusions. If they aren't working, your system can't do its job.
- Door/Window Sensors: These usually come in two parts: a magnet and a contact switch.
- Alignment: When the door or window is closed, the two pieces must be very close together, typically within 1/2 inch. If they're too far apart, the contact won't register. Adjust the mounting position if necessary.
- Physical Damage: Look for cracks, loose wires, or signs of wear. A damaged sensor needs replacement.
- Motion Detectors: These detect movement within a specific area.
- Obstructions: Ensure nothing is blocking the detector's view. Large furniture, curtains, or even plants can create blind spots.
- Mounting: Make sure the detector is securely mounted and hasn't sagged or tilted.
- Battery Life (Wireless Sensors): For wireless sensors, low batteries are a common failure point. Many systems will give a "low battery" warning. If a sensor is unresponsive, changing its battery is usually the first step. Always use the exact battery type recommended by the manufacturer.
Verifying Connections: Wires and Components
Loose wires or improper connections are frequent causes of intermittent or complete system failure, especially in wired alarm systems.
- Control Panel Connections: Open the main alarm panel enclosure (ensure power is disconnected first for safety). Check that all wires are securely attached to their terminals. Look for any signs of corrosion, fraying, or loose connections. Gently tug each wire to ensure it's firmly seated.
- Sensor Wiring: For wired sensors, trace the wires from the sensor back to the control panel if possible. Look for any damage along the wire's path, such as cuts, nicks, or crushing. Ensure connections at the sensor itself are tight and free of debris.
- Terminal Blocks: Many systems use terminal blocks to connect multiple wires. Make sure all wires are properly stripped and inserted fully into their respective terminals, and that the screws holding them are tightened.
Rebooting Your Alarm System: The Universal Fix
Sometimes, the simplest solution is often overlooked. Like a computer that freezes, an alarm system’s control panel can sometimes get stuck in a bad state, causing all sorts of strange behavior. A full reboot can clear these temporary glitches and restore normal operation.
This process involves temporarily cutting power to the system and then restoring it in a specific order.
Here’s how to perform a system reboot:
- Disconnect AC Power: Find the transformer that powers your alarm panel and unplug it from the wall outlet. If your system has a main power switch, turn it off.
- Disconnect Backup Battery: Open the alarm panel's enclosure. You'll see a battery, usually a sealed lead-acid type. Carefully disconnect the battery leads. Typically, this involves pulling a connector off a terminal post. Always disconnect the battery negative terminal first, then the positive.
- Wait: Let the system sit without any power for at least 30 seconds. This allows any residual charge to dissipate.
- Reconnect in Reverse Order: Reconnect the backup battery first, ensuring the positive and negative terminals are correct. Then, plug the AC power transformer back into the outlet.
- Power Up: The control panel should now power up. Give it a few minutes to fully initialize all its components. Once it’s booted, test the system by attempting to arm it.
When to Call a Professional: Knowing Your Limits
While many alarm system issues can be resolved with simple troubleshooting, some problems require specialized knowledge or tools. It’s crucial to recognize when you've reached the limits of DIY repair and when it’s time to bring in an expert. Attempting complex repairs without the right expertise can sometimes lead to further damage or even safety hazards.
Consider calling your alarm company or a qualified security technician if:
- Persistent Faults: You've performed a system reboot and checked power and sensors, but the system still shows a fault or error message that you can't resolve. Manufacturer specifications often detail specific error codes, but interpreting them can be complex.
- Damaged Components: You discover visibly damaged wiring, a cracked control panel, or other signs of physical compromise that you can’t safely repair.
- Communication Issues: If your system is monitored and fails to communicate with the central station (e.g., "Communicator Fault"), troubleshooting may involve advanced diagnostics of phone lines or cellular modules.
- You're Uncomfortable: Any step that involves working with wiring, opening the control panel, or dealing with electrical components makes you uneasy. Your safety and the system's integrity are paramount.
FAQs About Home Alarm System Troubleshooting
### How long does it typically take to troubleshoot a home alarm system?
Troubleshooting can vary greatly. Simple fixes like checking closed doors or rebooting the panel might take only a few minutes. However, diagnosing more complex issues, especially those involving wiring or intermittent faults, could take an hour or more, and may require follow-up with a professional.
### Can I bypass a faulty sensor permanently?
While most systems allow you to temporarily bypass a sensor to prevent false alarms, it's not a permanent solution. A bypassed sensor means that part of your security coverage is inactive. It's best to repair or replace the faulty sensor to ensure full protection.
### How often should I test my home alarm system?
It’s a good practice to test your entire alarm system at least once a month. This ensures all sensors are functioning, the keypad is responsive, and the system can communicate with the monitoring center if applicable. Always notify your monitoring company before testing to avoid a dispatch.
### What does it mean if my alarm panel shows a "Communicator Fault"?
A "Communicator Fault" typically indicates that the alarm system is unable to send signals to its central monitoring station. This could be due to issues with your phone line, internet connection, cellular signal, or the communicator module itself within the alarm panel.