How to Change an Alarm System Battery
Changing your alarm system battery is one of those homeowner tasks that feels a bit daunting, but it's usually quite straightforward. Keeping that backup power source fresh is crucial for your security system's reliability. When was the last time you checked its status?
Most home security backup batteries need replacing every 3 to 5 years, and neglecting them can leave you vulnerable during a power outage. Luckily, knowing how to change an alarm system battery can save you a service call fee and give you peace of mind.
Quick Answer
To change an alarm system battery, first disarm your system and notify your monitoring company if possible. Locate the battery compartment in your control panel or sensor. Carefully remove the old battery, noting the wire polarity.
Install the new battery of the correct type, connect the wires, and reassemble. Finally, re-arm your system and confirm it's working.
Why Your Alarm System Battery Needs Changing
Your alarm system relies on a few key components to keep your home secure. One of the most critical, yet often overlooked, is the backup battery. Most modern alarm systems have a primary power source connected to your home's electrical grid.
However, this isn't enough for true security.
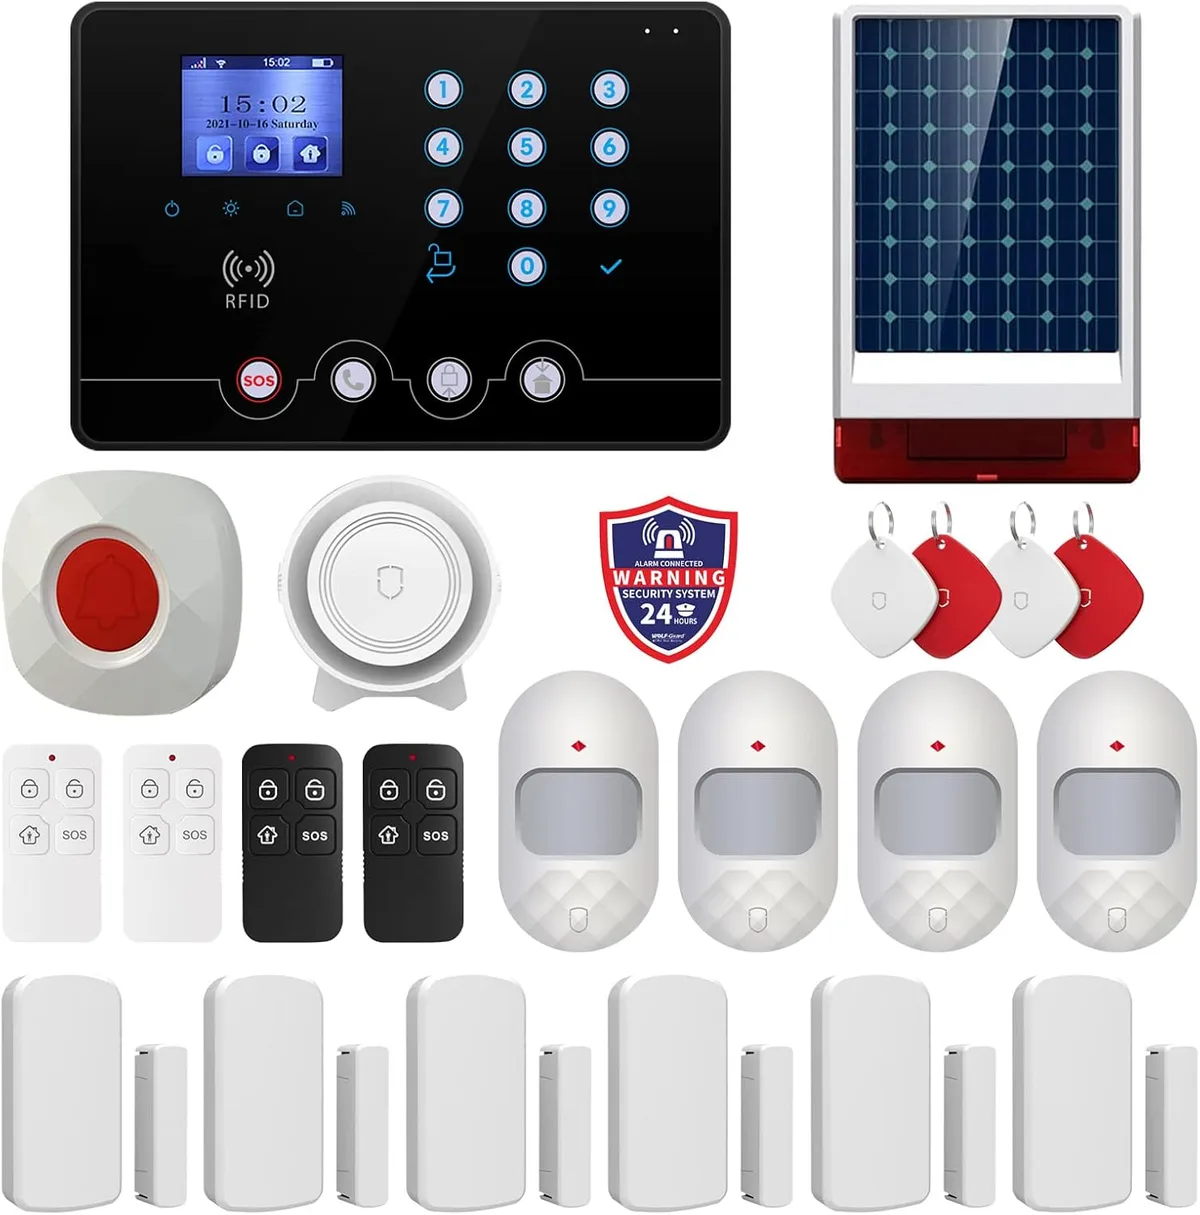
Image source: Web (Bing) / manuals.plus (Web image (fair-use with source credit))
What happens if the power goes out? That's where the backup battery steps in. It’s designed to take over seamlessly, ensuring your system continues to protect your home without interruption.
Manufacturer specifications for typical sealed lead-acid backup batteries indicate they can last between 3 to 5 years, depending on usage and environmental factors. After this period, their capacity dwindles, meaning they might not hold a charge long enough to power your system during an outage, or they could fail entirely.
What You'll Need to Change Your Alarm Battery
Getting ready for this task is half the battle. Having the right tools and, most importantly, the correct replacement battery, makes the whole process smooth sailing. You don't want to start this only to find out you have the wrong battery type or are missing a crucial screwdriver.
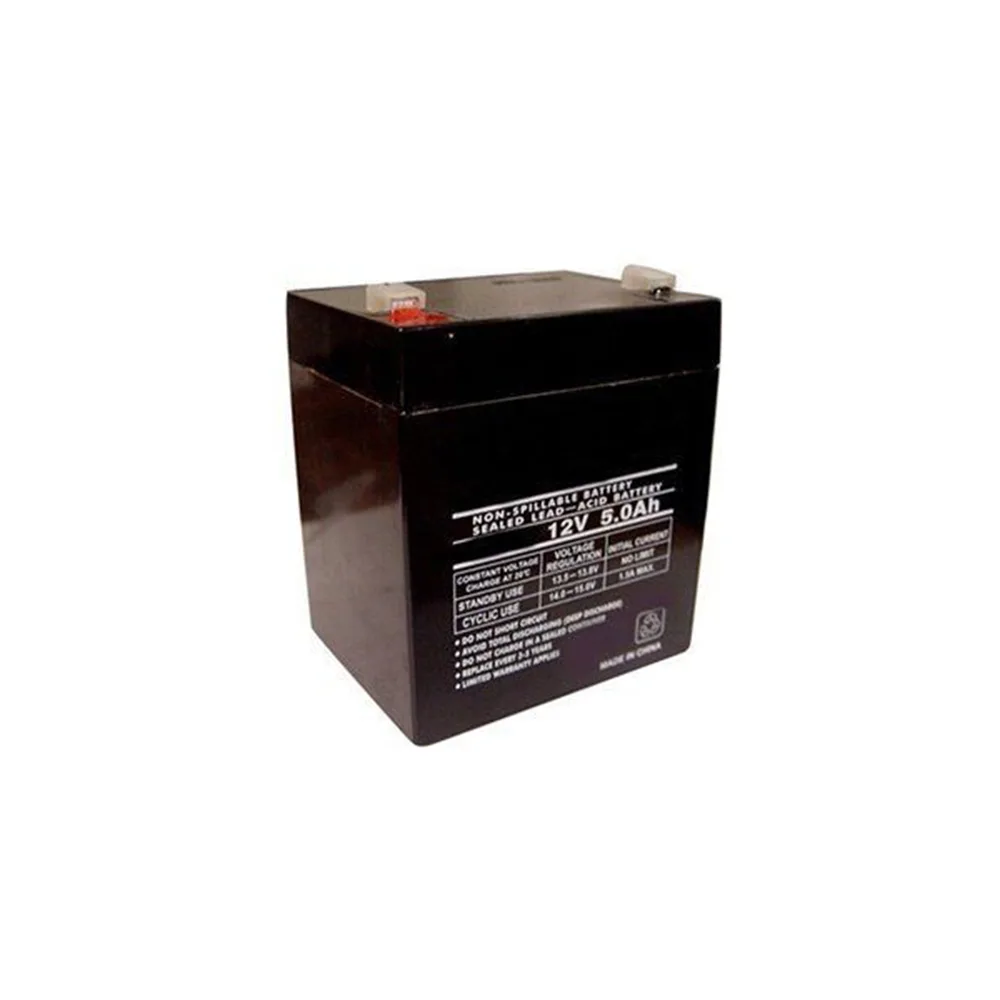
Image source: Web (Bing) / mdygroups.com (Web image (fair-use with source credit))
Here’s a breakdown of what you’ll likely need:
- The Correct Replacement Battery: This is non-negotiable. Your alarm system manual or the panel itself will specify the exact battery type, voltage (e.g., 12V), and often a model number (like a UB1270 or similar). Using the wrong battery can damage your system or lead to it not functioning correctly.
- Screwdriver Set: Most alarm panels and sensors are secured with small screws. A set with various Phillips head and flathead sizes will ensure you have what you need.
- Gloves (Optional): Wearing gloves can prevent fingerprints from accumulating on the new battery terminals and also offer a slight static protection barrier, though this is less of a concern with most modern electronics.
- Rag or Paper Towels: Handy for wiping down surfaces or setting small screws on so they don't roll away.
- Small Pliers or Wire Strippers (Rarely Needed): In some older systems, you might need these if the wire connectors are a bit stubborn, but typically, the wires just pull off.
- Your Alarm System Manual: If you have it, this is your ultimate guide. It will have specific instructions for your model.
Step-by-Step: How to Swap Out Your Alarm Battery
Tackling this yourself is definitely achievable for most homeowners. The key is to take your time and follow the steps carefully. This process generally applies to the main backup battery in the control panel, but many principles carry over to sensor batteries as well.
Disarming and Notifying
Before you even think about opening a panel, you need to make sure your alarm won't go off and cause unnecessary panic.
- Disarm the System: Use your alarm code or app to put the system in a disarmed state.
- Engage Test Mode (If Available): Many alarm companies offer a "Test Mode." This is the best option as it signals your monitoring center that you're performing maintenance and won't dispatch authorities if a signal is triggered. Check your system's app or manual to see if this is an option for you. If so, follow its instructions to activate it.
- Notify Your Monitoring Company: If your system doesn't have a test mode, call your alarm monitoring service before you start. Let them know you'll be changing a battery and there might be a temporary low-battery or system fault notification. This prevents them from sending out emergency services due to routine maintenance.
Locating the Battery
The main backup battery is typically housed within the central control panel. This is usually a box, often made of plastic, that contains the system's main circuitry.
- Find the Control Panel: It’s often mounted on a wall in a utility room, basement, closet, or garage. It might be a small, unassuming box, or it could be larger if it contains the keypad as well.
- Open the Panel Cover: Most control panels have a latch or one or more small screws holding the cover in place. Gently try to locate these. Some might require a specific key or a small screwdriver to release. You're looking for a way to access the internal components where the battery resides.
Removing the Old Battery
Once the panel is open, you'll see the main circuit board and, usually, a fairly hefty battery, often black or grey and roughly the size of a small car battery (though much smaller).
- Identify Battery Terminals: Look for wires connected to the battery. There will typically be a red wire connected to the positive (+) terminal and a black wire to the negative (-) terminal.
- Disconnect Wires: Gently pull the connectors off the battery terminals. They might be snug, but they should pull straight off. Avoid yanking them hard.
- Remove the Battery: The battery might just lift out, or it could be held in place with a strap or clips. Remove it carefully and set it aside.
Image source: Web (Bing) / toolsweek.com (Web image (fair-use with source credit))
Installing the New Battery
This is where you connect the new power source to keep your system running. Double-checking the connections here is vital.
- Verify Polarity: Before connecting, ensure your new battery is oriented correctly. The positive (+) and negative (-) terminals must match the old battery's placement. Most batteries are keyed so they only fit one way, but it's always best to check.
- Connect the Wires: Attach the red wire to the positive (+) terminal on the new battery. Then, attach the black wire to the negative (-) terminal. Make sure these connections are firm and secure. Loose connections are a common cause of system faults.
- Place the Battery: Position the new battery snugly in its designated spot within the panel.
Closing Up and Testing
With the new battery installed and secured, you're almost done. The final steps ensure everything is properly resealed and functioning.
- Reassemble the Panel: Carefully close the control panel cover. Make sure any latches snap into place and secure it with its original screws.
- Re-arm Your System: Use your alarm code or app to arm your security system again.
- Confirm System Status: Listen for any chirps or check your keypad for status lights or messages. If you put your system in test mode, remember to take it out of test mode according to your provider’s instructions. If you called your monitoring company, it's a good idea to call them back and confirm your system is reporting normally and that the low-battery alert has cleared.
Common Mistakes When Changing Alarm Batteries
While changing an alarm battery is usually a straightforward process, a few common missteps can lead to frustration or system issues. Being aware of these can help you avoid them.
- Using the Wrong Battery Type: This is probably the most frequent error. Alarm systems are designed for specific battery voltages and capacities. Installing a battery that's too weak might trigger a low-battery alert constantly, while one that's too powerful or the wrong chemistry could damage the control board. Always check your manual or the old battery for the exact specifications, such as a 12V, 7Ah sealed lead-acid battery for many panels.
- Incorrect Wire Connection: Accidentally swapping the red (+) and black (-) wires when connecting the new battery is a significant problem. This can prevent the system from recognizing the battery, trigger fault codes, or even damage components. Always confirm polarity before connecting.
- Forgetting to Disarm or Notify: Triggering a false alarm can be stressful and, in some areas, might even incur a fine from local authorities. Always disarm your system and notify your monitoring company, or use test mode if available, before starting.
- Not Reassembling Properly: Leaving the panel cover slightly ajar or not tightening screws can create a weak point, or worse, allow dust and debris to enter the panel over time. Ensure the cover is securely fastened.
- Ignoring System Alerts After Replacement: Once the battery is changed, it’s essential to confirm the system is functioning correctly. If you continue to see low-battery warnings or other fault lights, it might indicate a faulty new battery, a loose connection, or a different underlying issue that requires further troubleshooting.
When to Call a Professional
While this guide aims to empower you to handle battery changes yourself, there are definitely times when calling in an expert is the smarter move. If you're not comfortable with DIY tasks, or if the situation feels beyond your capabilities, it’s always best to let a professional handle it.
Here are a few scenarios where you might want to pick up the phone:
- Uncertainty About Your System: If you have a very complex or older system, and you can't find clear instructions or are unsure about any step, a technician can ensure it's done correctly. They have specific training and experience with various alarm brands.
- Persistent Faults: If you’ve changed the battery and your system still shows a low-battery warning, a system fault, or won't arm correctly, there might be a deeper issue at play. This could be a problem with the charging circuit, the main board, or even a failing sensor, which a professional can diagnose.
- Complex Panel Designs: Some alarm control panels are more intricate than others, with multiple boards or modules. If you open the panel and are faced with a complex layout that doesn't match typical diagrams, it’s safer to call for assistance.
- Lack of Proper Tools: If you find you're missing essential tools like the correct screwdriver size, or the screws are rusted or stripped, trying to force it can cause damage. A professional will have specialized tools to handle these situations.
- Experiencing Electrical Anxiety: For some, working with anything electrical, even low-voltage battery systems, can cause anxiety. If the thought of working on your alarm system makes you nervous, there's no shame in hiring someone to do it for you. Their service call fee is often worth the peace of mind.
Frequently Asked Questions About Alarm Batteries
How long do alarm system batteries typically last?
Most backup batteries in alarm system control panels are designed to last between 3 to 5 years. However, this lifespan can vary based on environmental factors like temperature and humidity, as well as how frequently the battery is used, such as during power outages. Sensor batteries, which are often smaller coin-cell types, may need replacement more frequently, sometimes annually.
What happens if I don't replace my alarm battery on time?
If you don't replace your alarm battery as recommended, your system will lose its backup power capability. During a power outage, your alarm system could shut down entirely, leaving your home unprotected. Many systems will also provide persistent audible chirps or visual alerts indicating a low battery, which can be annoying and may eventually lead to system faults if ignored.
Can I use any battery to replace my alarm system battery?
No, you absolutely cannot use just any battery. It is critical to use the exact type of battery specified by your alarm system manufacturer. This usually means matching the voltage (e.g., 12V) and the capacity (measured in Ampere-hours, Ah).
Using an incorrect battery can damage your system, lead to malfunctions, or prevent it from operating effectively during an emergency. Always refer to your system's manual.
How do I know if my alarm system battery needs changing?
Your alarm system will typically provide alerts when the backup battery is low or failing. This often manifests as an audible chirp from the main panel at regular intervals (e.g., every 30-60 seconds) or a specific notification on the system's keypad or mobile app. Some systems may display a "low battery" or "system fault" message.
It's good practice to check your system status periodically.
Is it safe to change the alarm battery myself?
Yes, for most standard home alarm systems, it is safe to change the battery yourself, provided you follow the correct procedures. This includes disarming the system, verifying you have the right replacement battery, and carefully following the steps for disconnection and reconnection. If you are uncomfortable with electrical components or unsure about your specific system, it is always advisable to contact a qualified alarm technician.