How to Test a Home Alarm System
When was the last time you actually tested your home alarm system? For most folks, it’s a set-it-and-forget-it kind of thing, installed and then mostly ignored until something goes wrong, or worse, until it's needed during an emergency. But just like your car needs regular maintenance, your security system needs a check-up to ensure it’s ready to protect your home.
Learning how to test a home alarm system isn't complicated, and it’s a crucial step in actual home safety.
Our research shows that many homeowners and renters assume their alarm systems are always functional, yet actual operational readiness can be compromised by simple issues like dead batteries or signal interference. The National Fire Protection Association (NFPA) recommends regular testing of all life safety systems, including smoke and carbon monoxide detectors, which are often integrated into modern alarm systems. Making sure your system is working correctly can prevent false alarms, ensure timely response, and give you genuine peace of mind.
Quick Answer
Testing your home alarm system involves checking each component: sensors, control panel, and any communication links. Arm your system, then trigger each sensor individually, confirming the alarm panel registers the event. For monitored systems, test the signal transmission to your monitoring service.
Regular testing, especially after battery changes or power outages, ensures your system functions as intended.
Your Home Alarm System: What Are We Testing?
Before we dive into the "how," let's quickly look at "what." Your home alarm system is a network designed to detect threats and alert you, and sometimes authorities, to them. It's not just one big box; it's a collection of interconnected parts, and each one needs to do its job for the whole system to be effective. Understanding these core components is the first step to testing them.
Core Components: Panel, Sensors, and Communicators
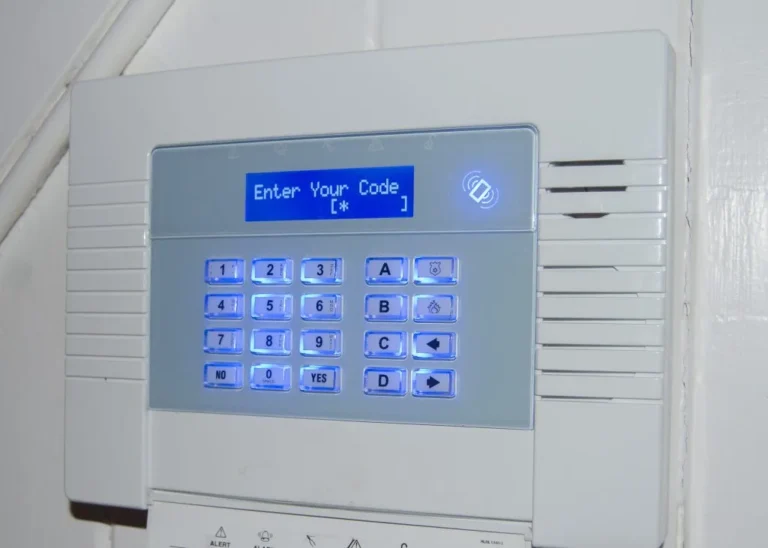
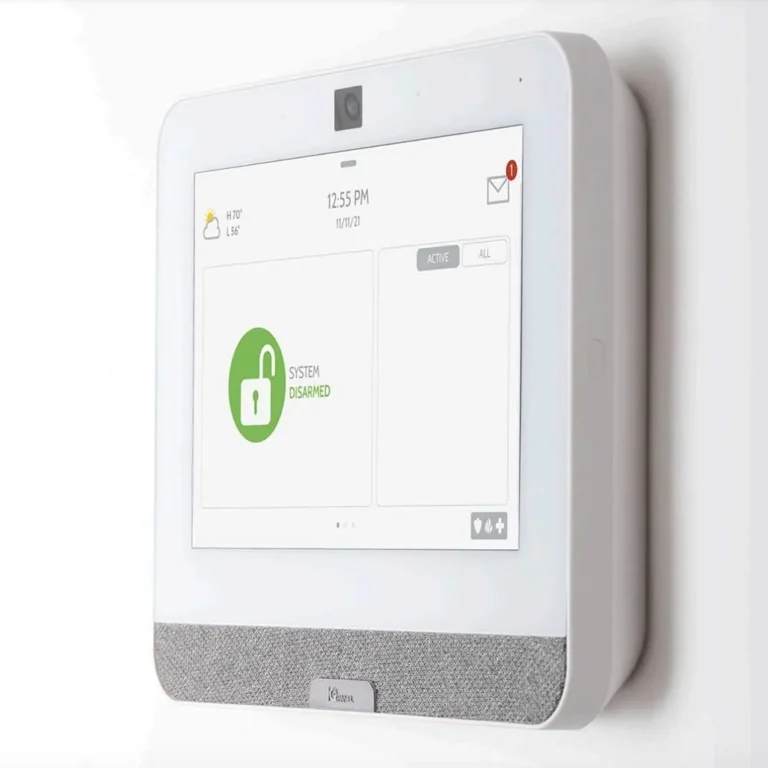
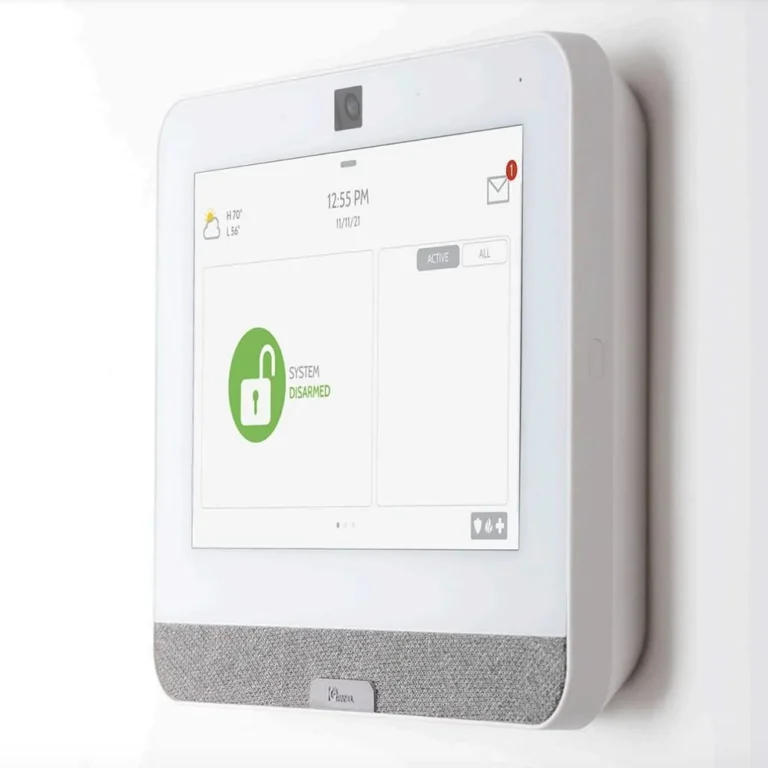
The brain of your system is the alarm panel, often a central keypad or a smart hub. This is where you arm and disarm the system, and it's the component that receives signals from all the other devices. Connected to the panel are various sensors, which are the eyes and ears of your security setup.
These can include:
- Door and window sensors: These are typically two-piece magnetic contacts. When the door or window opens, the connection is broken, and the sensor sends a signal.
- Motion detectors: These use passive infrared (PIR) sensors to detect changes in heat within a room, indicating movement.
- Glass break sensors: These listen for the specific sound frequency of breaking glass.
- Environmental sensors: These are crucial for safety, including smoke detectors and carbon monoxide (CO) detectors, which signal if these dangerous substances are detected.
Finally, your system needs a way to communicate. This is handled by communicators. Older systems might use a landline phone line, while modern systems often use a cellular communicator or connect via your home's Wi-Fi network.
If you have a monitoring service, this communicator is what sends the alarm signal to them, so they can dispatch help.
What "Armed" and "Disarmed" Really Mean
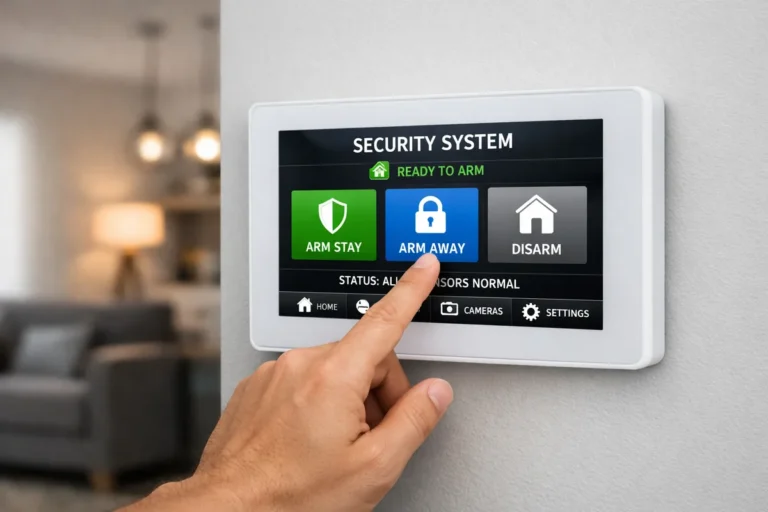
Understanding the basic states of your system is key to testing. Disarmed means the system is off, and it won't trigger an alarm even if a sensor is tripped. This is how you’ll be when you're home and moving around freely. Armed is when the system is active and ready to detect intrusions or hazards.
There are usually two main "armed" modes:
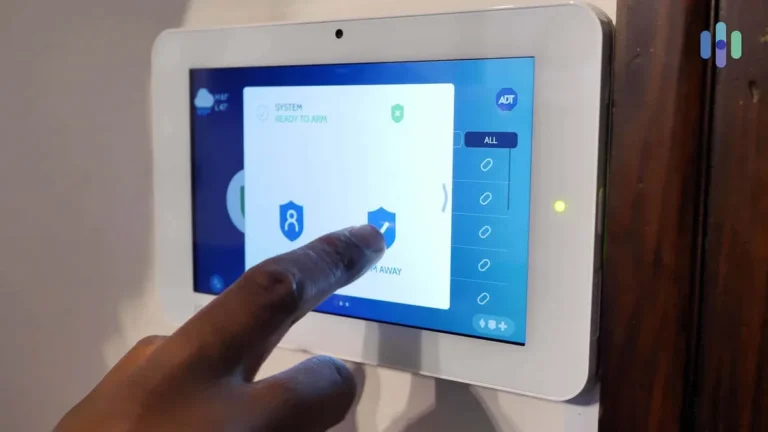
- Stay: This mode typically arms perimeter sensors (like doors and windows) but leaves interior motion detectors off. It's designed for when you're home and asleep, so you can move around without setting off the alarm, but an intruder trying to get in through a window or door will trigger it.
- Away: This mode arms all sensors, including motion detectors. It's meant for when you leave your home, ensuring any entry or movement within the house will set off the alarm.
Some systems also have an entry delay and exit delay. The exit delay gives you time to leave after arming the system, while the entry delay gives you a short window to disarm the system after you enter without setting off the siren immediately. Knowing these modes and delays helps you plan your tests effectively.
The Step-by-Step Home Alarm System Test Workflow
Testing your home alarm system is a practical process, and it's best to approach it systematically. This workflow ensures you check every crucial part without missing anything. Think of it like checking off a list to make sure your safety net is solid.
We've broken it down into manageable steps.
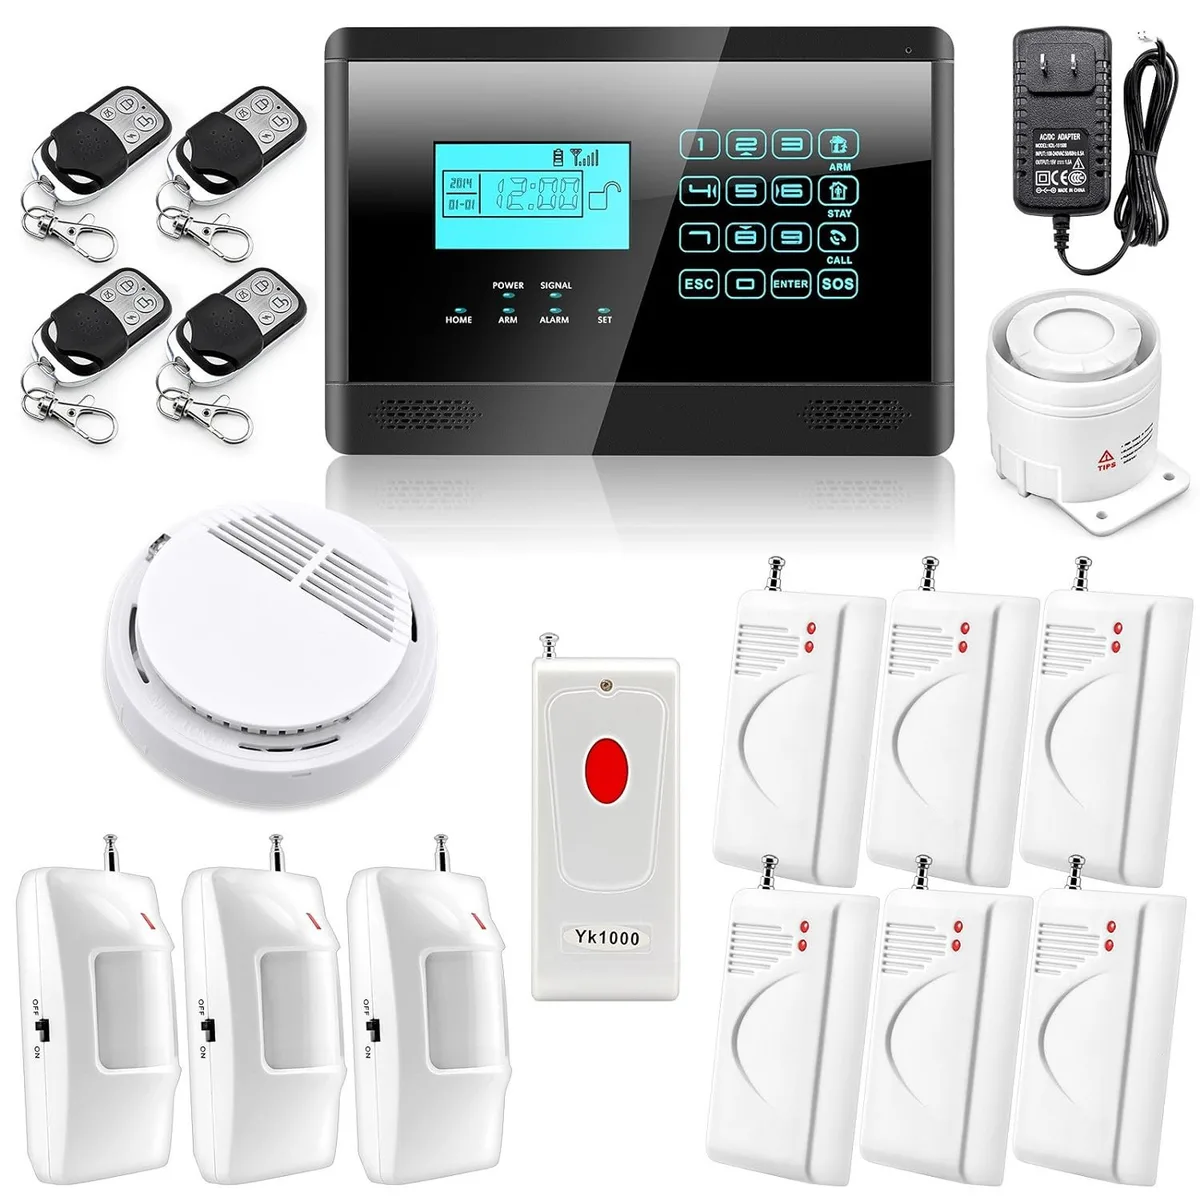
Image source: Web (Bing) / wavesold.com (Web image (fair-use with source credit))
Step 1: Preparation and System Check
Before you start triggering alarms, a little prep work is essential.
- Notify Your Monitoring Service: If your system is professionally monitored, it's absolutely critical to call your monitoring company and put your system on "test mode." This prevents them from dispatching emergency services if your tests accidentally trigger a real alarm. Most services have a simple automated system or a representative you can speak to for this. They’ll usually give you a test period, like 2-4 hours, and tell you what to do to end the test mode.
- Review Your System Manual: Different alarm systems have unique features and testing procedures. Your system’s manual is your best friend here. It will often detail how to perform specific tests for your model and what codes or sequences to use. If you don’t have it, check the manufacturer’s website.
- Check the Alarm Panel: Ensure the panel is powered on and shows no error messages. Look for any indicator lights that might signal a problem, like a low battery warning or a communication fault. As of 2026, many smart panels also have diagnostic tools accessible through their app, which can be a good starting point.
Step 2: Testing Your Sensors (Doors, Windows, Motion, etc.)
This is where you verify that each individual sensor is communicating correctly with the main panel. It’s important to test both perimeter and interior sensors.
- Door and Window Sensors: For each door and window sensor, first ensure your system is armed in "Stay" mode. Then, open one protected door or window at a time. The alarm panel should register the opening, often with a beep or a message on the screen, indicating the zone that was triggered. If you have a wireless system, ensure the sensor’s battery is good; many systems will show a low battery alert on the panel if it's weak.
- Motion Detectors: To test motion detectors, arm your system in "Away" mode. Then, walk into the area covered by the motion sensor. You should hear the panel acknowledge the detection, and the system should then go into its entry delay countdown. If you have multiple motion detectors, test each one by entering its zone. Be patient, as some PIR sensors have a short "warm-up" period or a brief internal delay before they can detect again.
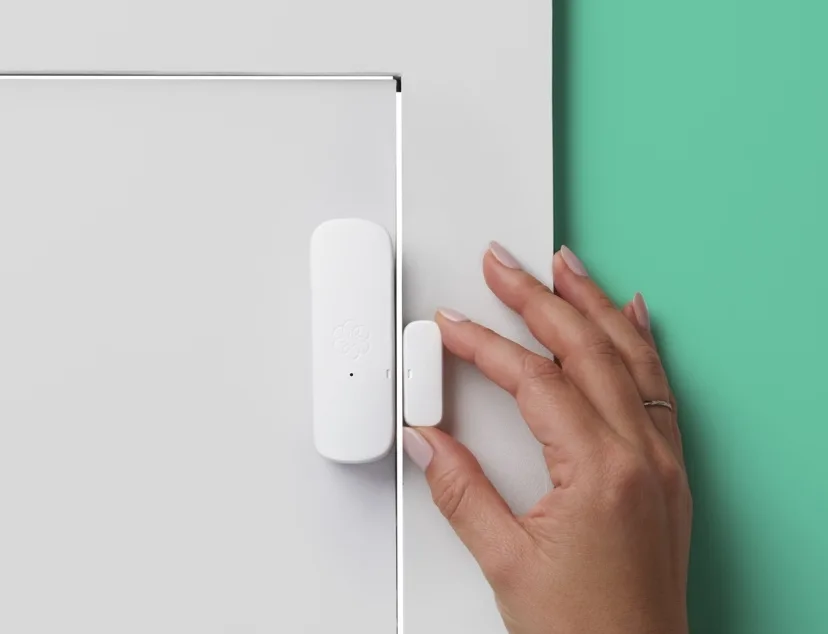
Image source: Web (Bing) / ooma.com (Web image (fair-use with source credit))
- Glass Break Sensors: Testing these requires caution. If your system is armed in "Away" mode, you can simulate the sound of breaking glass by clapping loudly near the sensor or using a specialized testing tool if your system supports it. The panel should then register the event. Important Note: Avoid actually breaking glass during a test! Some systems have a sensitivity adjustment, so ensure it's set appropriately for your home's environment to avoid false alarms later.
Step 3: Testing Your Environmental Sensors (Smoke, CO)
These sensors are critical for life safety. They often have their own built-in test buttons.
- Smoke Detectors: Most smoke detectors have a test button on the unit itself. With the alarm system armed (or at least with the smoke detection function active, depending on your system's configuration), press and hold the test button on the smoke detector. The alarm siren should sound, and your panel should ideally register a smoke alarm event. If you have a monitored system, this signal should also go to your monitoring service.
- Carbon Monoxide (CO) Detectors: Similar to smoke detectors, CO detectors usually have a test button. Press and hold it to simulate a CO detection event. The siren should sound, and the alarm panel should indicate a CO alarm. Again, if monitored, this signal needs to be confirmed. It’s crucial to use detectors that are certified to standards like UL 2034 for CO and UL 217 for smoke.
Step 4: Testing the Alarm Panel and Sounds
The audible and visual signals from your alarm panel are vital for letting you know what’s happening.
- Siren/Audible Alarms: During your sensor tests, the siren should sound when an alarm condition is triggered and the system is armed. Ensure the volume is adequate to be heard throughout your home. If you have external sirens, verify they are also activating.
- Keypad Indicators: Check that the keypad accurately displays the status of the system (armed, disarmed, alarm event, zone triggered). Any error messages should be noted and addressed. If your system uses a mobile app for remote status checking, ensure the app is syncing correctly with the panel and showing accurate information.
Step 5: Testing the Monitoring Signal (If Applicable)
This is arguably the most critical test for systems with professional monitoring. It confirms that when an alarm occurs, the signal actually reaches the monitoring center.
- Initiate a Test Signal: After putting your system in test mode with your monitoring company (as per Step 1), you will deliberately trigger an alarm. For instance, you might arm the system, wait for the exit delay, and then open a door. The system will sound the siren, and the communication device (cellular, landline, or IP) will attempt to send the signal.
- Confirm Reception: Once triggered, your monitoring company should receive the signal. After your test period is over, you'll typically need to call them back to confirm that they received the test signal and to take your system out of test mode. They can often tell you precisely which sensors were triggered and when the signals were received, giving you valuable feedback on your system's communication capabilities.
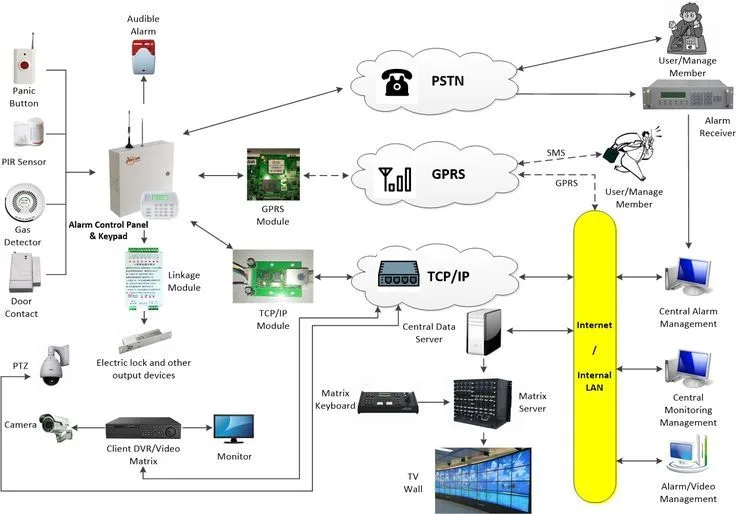
Image source: Bing (Web (fair-use with source credit))
- Troubleshooting Communication: If the monitoring service does not receive the signal, there’s a problem. This could be with the communicator itself, your internet or cellular service, or even a wiring issue if you have a wired system. This is when you'll need to investigate further or call a professional installer.
Common Pitfalls and False Alarm Traps During Testing
Testing your system is all about catching potential issues before they cause a real problem, but the testing process itself can sometimes lead to false alarms or create new ones if not done carefully. Avoiding these common mistakes will make your testing more effective and less disruptive. Many of these issues stem from not fully understanding how your specific system works or not preparing adequately.
Mistake 1: Forgetting to Bypass Zones
If you're testing a specific sensor, like a door contact, but your system is armed in "Away" mode with all sensors active, opening that door will trigger a full alarm. This can be startling, a nuisance if your neighbors hear it, and problematic if you forgot to put the system in test mode with your monitoring company. Always remember to put your system into "test mode" with your monitoring service if applicable.
For individual sensor tests, you might also need to "bypass" other zones temporarily in your system’s settings or arm in a specific mode (like "Stay" if you're only testing doors and windows) to avoid unnecessary alerts. Your system manual will guide you on how to bypass specific zones.
Mistake 2: Not Testing All Sensor Types
It's easy to focus on the door and window sensors because they're the most obvious entry points. However, forgetting to test motion detectors, glass break sensors, or integrated smoke and CO detectors leaves critical gaps in your system's readiness. Our research indicates that smoke and CO detectors, in particular, are often overlooked during routine checks, yet they are paramount for life safety.
Make sure you're performing a walk-through that includes testing every type of sensor your system has.
Mistake 3: Ignoring Battery Levels
Wireless sensors are convenient, but they rely on batteries. Batteries degrade over time, and a weak battery can lead to intermittent failures or complete sensor failure. Many systems will alert you to a low battery on the panel or via an app, but it's good practice to test sensors and check their battery status periodically, especially during your annual system test.
If a sensor is consistently showing a low battery warning, replace it promptly. Manufacturer specifications often suggest battery replacement every 1-5 years, depending on the sensor type and usage, but environmental factors can affect this.
When to Call the Professionals (Or Your Monitoring Service)
While many tests can be performed by the homeowner, there are definite signs that it's time to bring in an expert. If you've gone through the testing steps and encountered persistent issues, or if you're simply not comfortable with the process, professional help is the way to go.
- Persistent Communication Failures: If you cannot get your system to send a signal to your monitoring service after multiple attempts, even after checking your internet or cellular connection, there’s likely a hardware issue with the communicator or the panel itself.
- Sensor Malfunctions You Can't Resolve: If a sensor repeatedly fails to register, or if it’s showing errors that your manual doesn’t explain, it might be damaged or improperly configured.
- False Alarms During Testing: If your system is triggering alarms even when you’re following the testing procedures correctly and have bypassed relevant zones, it suggests a deeper system glitch, a faulty sensor, or incorrect sensitivity settings.
- System Updates or Complex Issues: If you've recently had a power outage, a firmware update, or significant changes to your home network (like a new Wi-Fi router), it's a good idea to have a professional check that everything is still communicating properly. They have specialized tools to diagnose issues that might be beyond a typical homeowner’s ability.
Your monitoring service can also be a valuable resource. They can often tell you if they're not receiving signals, which is a clear indication of a problem that needs addressing, potentially by a technician.
Maintaining Your Home Alarm System for Ongoing Reliability
Testing your system once a year is a good start, but for continuous protection, a bit of ongoing maintenance goes a long way. Think of it as keeping your system in top shape so it’s always ready. Regular upkeep can prevent unexpected failures and ensure you don't experience frustrating false alarms.
- Regular System Tests: Aim to perform a basic test of your sensors and monitoring signal at least every six months, or more frequently if you’ve experienced power outages or changed batteries. This reinforces your understanding of the process and catches issues early.
- Battery Replacement Schedule: Keep track of when your wireless sensors were last serviced or when batteries were replaced. While many systems alert you, proactively replacing batteries every few years (as per manufacturer recommendations, which can range from 1 to 5 years) is wise.
- Keep the Control Panel Area Clear: Ensure the alarm panel and its nearby sensors (like motion detectors) aren't obstructed. Dust can accumulate, and furniture or decorations can block a sensor's field of view or interfere with its operation.
- Update Contact Information: For monitored systems, always keep your contact list updated with your monitoring service. This includes emergency contacts and any alternative phone numbers or email addresses.
- Clean Sensors: Gently dust sensors as needed. For smoke and CO detectors, follow the manufacturer’s instructions for cleaning, as debris can sometimes interfere with their function.
Consistent maintenance, combined with regular testing, forms the backbone of a reliable home security system. It ensures that when you need it most, your alarm system is a dependable guardian for your home and loved ones.
Frequently Asked Questions About Alarm System Testing
How long does a typical alarm system test take?
A basic home alarm system test, including checking sensors and the monitoring signal, usually takes between 30 minutes to an hour, depending on the number of sensors you have and how efficiently you move through the steps. More complex systems or those with extensive sensor coverage might take a bit longer.
Should I test my alarm system when it's armed in "Away" mode?
Yes, for most sensor tests, arming in "Away" mode is necessary to ensure all sensors, including motion detectors, are active and can be tested. However, always remember to put your system on "test mode" with your monitoring service first to avoid dispatching emergency services. If you're only testing door/window sensors, "Stay" mode might suffice.
How often should I test my home alarm system?
It’s recommended to perform a full test of your home alarm system at least every six months. A quick check of the main sensors and monitoring signal can be done more frequently, perhaps quarterly. Additionally, always test your system after significant events like power outages, battery replacements, or after any system modifications.
What should I do if my alarm system triggers a false alarm during testing?
If a false alarm occurs during testing, first ensure you haven't accidentally exited "test mode" with your monitoring service. Then, identify which sensor triggered the alarm and check its installation and battery. If the issue persists after troubleshooting, it’s best to contact your alarm system installer or a qualified technician to diagnose and fix the problem.