How Do I Connect a CCTV Camera?
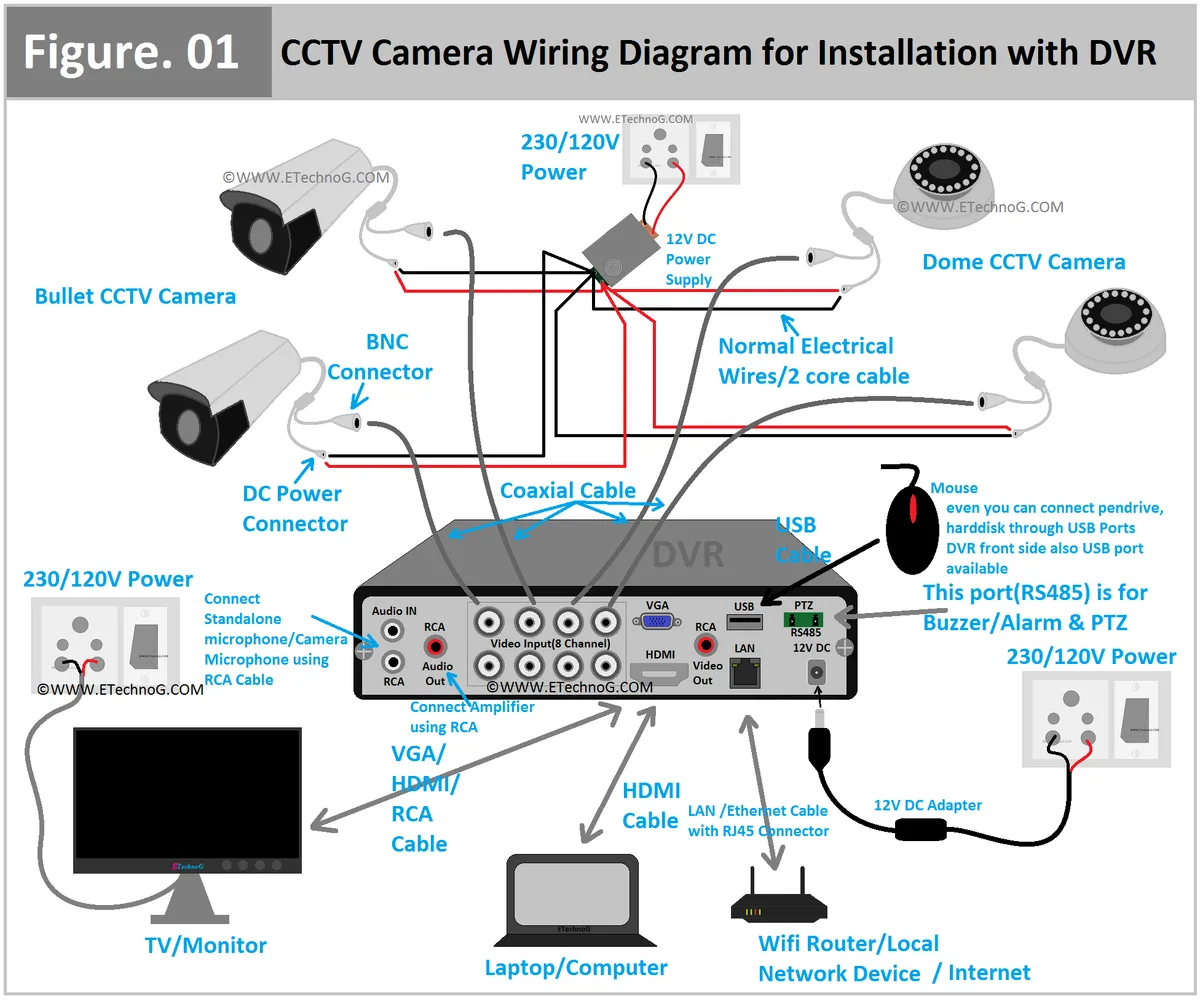
Image source: Web (Bing) / pinterest.com (Web image (fair-use with source credit))
Connecting a CCTV camera might seem daunting, but understanding the basic steps makes it manageable for most homeowners and small business owners. Getting this setup right means ensuring your surveillance system effectively monitors your property, providing peace of mind and valuable evidence if needed.
Quick Answer
To connect a CCTV camera, you'll typically link it via video and power cables to a recorder (NVR or DVR) or directly to your network if it's an IP camera. This involves physically running cables, securing connections, and configuring the recorder or camera's network settings. Ensure all components are compatible, and power is correctly supplied, usually between 12V DC or via Power over Ethernet (PoE) for IP cameras.
Why Seeing Is Believing: The Importance of Visuals for CCTV Setup
When you're trying to figure out how to connect a CCTV camera, text alone can only get you so far. This is a project where seeing what you're doing, or at least seeing diagrams of what you should be doing, makes a massive difference. Without visuals, you're relying purely on imagination to connect wires and place equipment, which is a recipe for confusion and mistakes.
Understanding Your Camera's Connections
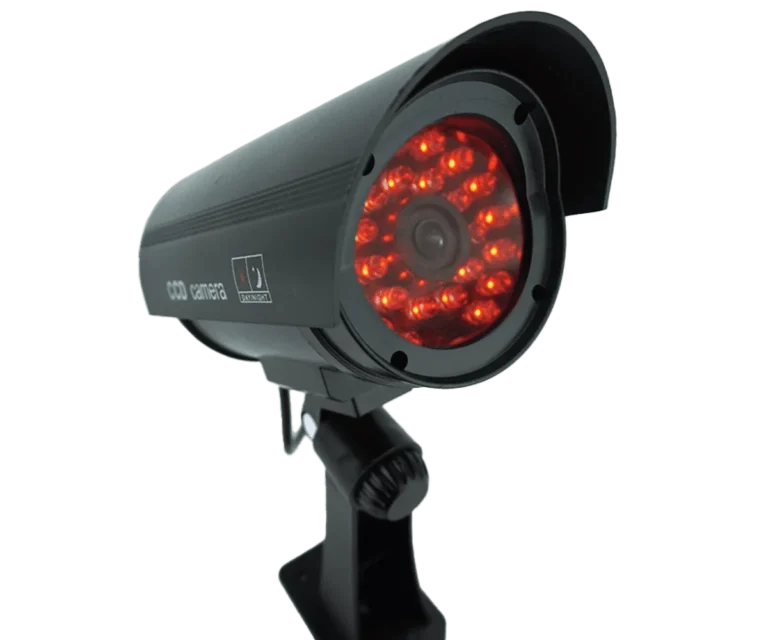
Different cameras have different connection ports. Some might have a simple barrel connector for power and a BNC connector for analog video. Others, like IP cameras, will feature an Ethernet port that handles both data and, in many cases, power through something called Power over Ethernet (PoE).
Knowing which type you have is the first step, and a clear picture or diagram showing these ports is invaluable. Manufacturer specifications often detail these, for example, a common PoE standard is IEEE 802.3af.
Recognizing Key Components in Photos
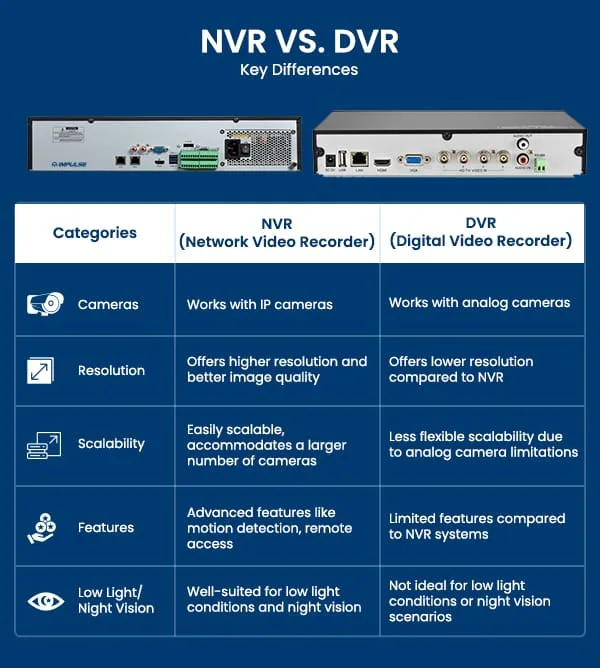
You'll often see pictures of the back of an NVR (Network Video Recorder) or DVR (Digital Video Recorder). These photos clearly show the array of ports you'll be using: the video input ports (BNC for DVRs, Ethernet for NVRs), ports for connecting storage drives, and ports for network connectivity. Seeing where the camera cables plug in, where the NVR/DVR connects to your router, and where your monitor attaches helps demystify the setup process enormously.
What You'll Need to Get Connected
Before you even think about plugging things in, gather all your equipment. Trying to connect a camera without the right pieces is frustrating and wastes time. It's like trying to bake a cake without all the ingredients, you might end up with something edible, but it probably won't turn out as planned.
Your CCTV Camera(s)
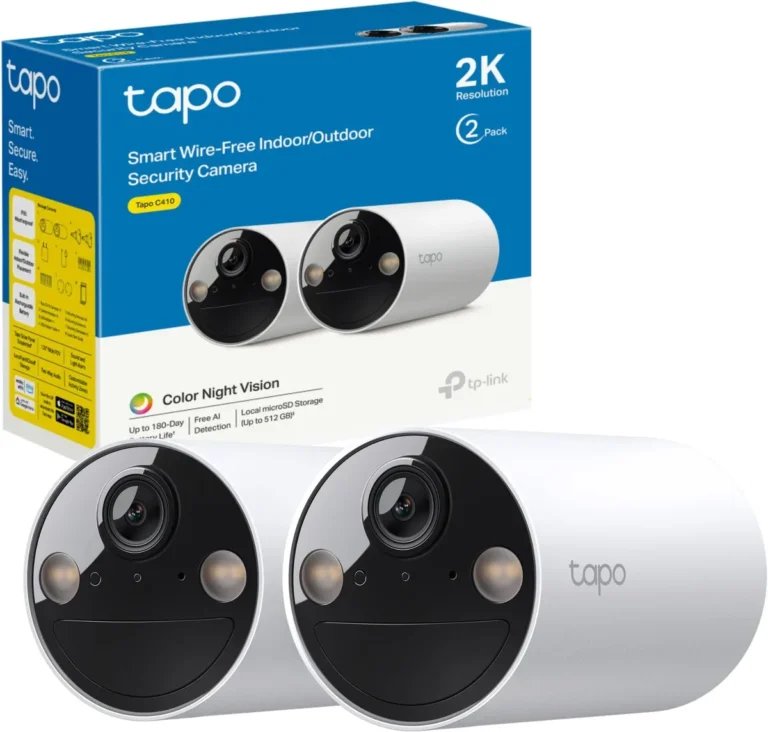
This is the obvious one, of course. Whether you have one camera or a whole system, make sure you know its type. Is it an analog camera that needs a separate power supply and a coaxial cable to a DVR?
Or is it an IP camera, which often uses an Ethernet cable for both data and power (PoE)? Knowing this dictates the cables and recorder you'll need.
NVR or DVR (The Brains of the Operation)
You need something to record the video feed from your cameras. A DVR (Digital Video Recorder) is used for analog cameras, converting their signals. An NVR (Network Video Recorder) is used for IP cameras, receiving digital signals over your network.
They both perform the same core function: receiving, recording, and managing video feeds, but they connect to different camera types.
Power Supplies for Cameras
Every camera needs power. Analog cameras typically come with a separate power adapter, usually a 12V DC plug. IP cameras might have this too, or they can receive power through an Ethernet cable if they support PoE.
If you're using a PoE switch or NVR, you might not need individual power adapters for each IP camera, which simplifies wiring.
Video/Data Cables (Ethernet or Coaxial)
These are the lifelines carrying the video signal. For analog cameras, you'll use coaxial cables with BNC connectors on each end. For IP cameras, you'll use Ethernet cables (Cat5e, Cat6, or higher are common), which connect to your NVR or a network switch.
The length of cable you need will depend on your property layout.
A Monitor for Setup
You'll need a monitor connected to your NVR or DVR to see the camera feeds during initial setup and configuration. This can be a dedicated security monitor or any standard computer monitor with the correct input (HDMI, VGA, or DVI).
Hard Drive for Storage
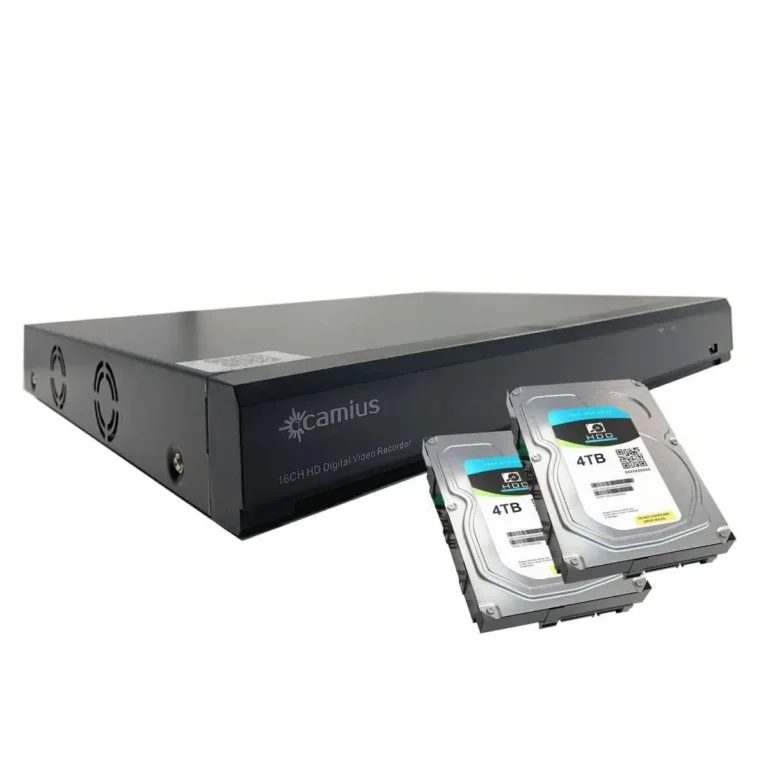
Your NVR or DVR needs a place to store the recorded footage. This is typically a hard drive, similar to what you'd find in a computer, but often designed for continuous surveillance recording. You'll need to install this drive inside the NVR/DVR unit.
Step-by-Step: Physically Connecting Your CCTV Camera
This is where things get hands-on. Connecting your camera involves several physical steps, from mounting it in the right spot to actually plugging in the cables. Take your time here; proper installation prevents future headaches.
Mounting Your Camera: Placement Matters
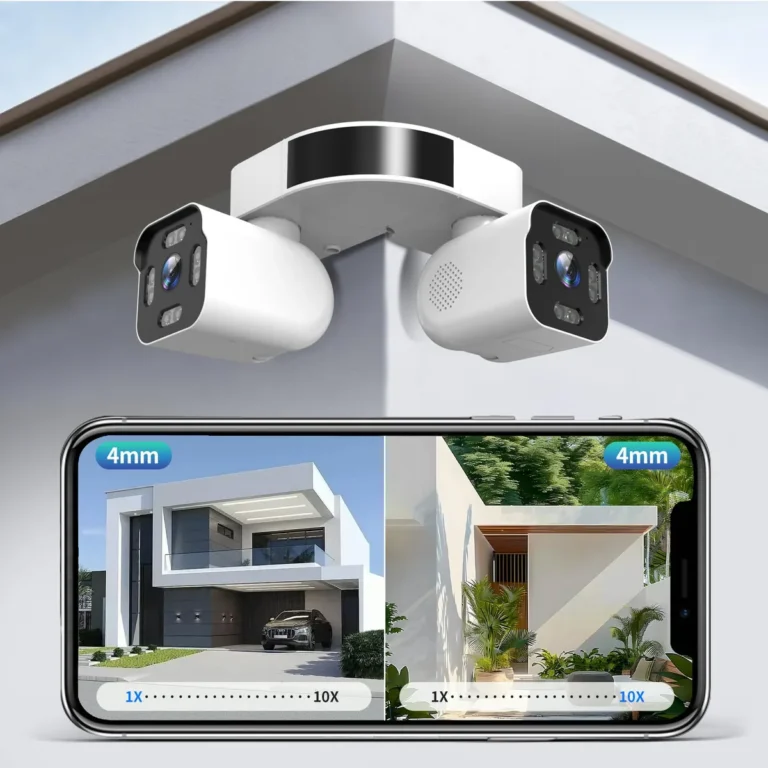
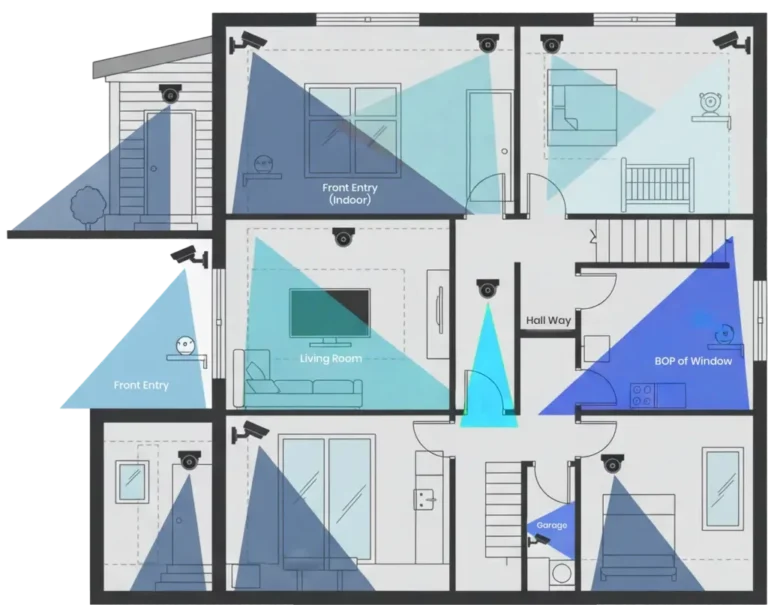
First, decide where you want to mount your camera. For outdoor cameras, consider weather resistance (check the IP rating, like IP66 or IP67, which indicates protection against dust and water) and the angle that gives you the best view without unnecessary glare or obstruction. For indoor cameras, think about entry points, high-traffic areas, or valuables you want to monitor.
Secure mounting brackets firmly to the wall or ceiling.
Running Cables Safely and Discreetly
This is often the most time-consuming part. You'll need to run your video/data cable from the camera's location back to your NVR or DVR. For outdoor runs, use weather-resistant conduit to protect the cable from the elements and potential tampering.
Indoors, you might drill holes through walls or ceilings, or use cable raceways to keep things tidy and prevent tripping hazards. Plan your cable route carefully to minimize the length and complexity.
Connecting Power to Your Camera
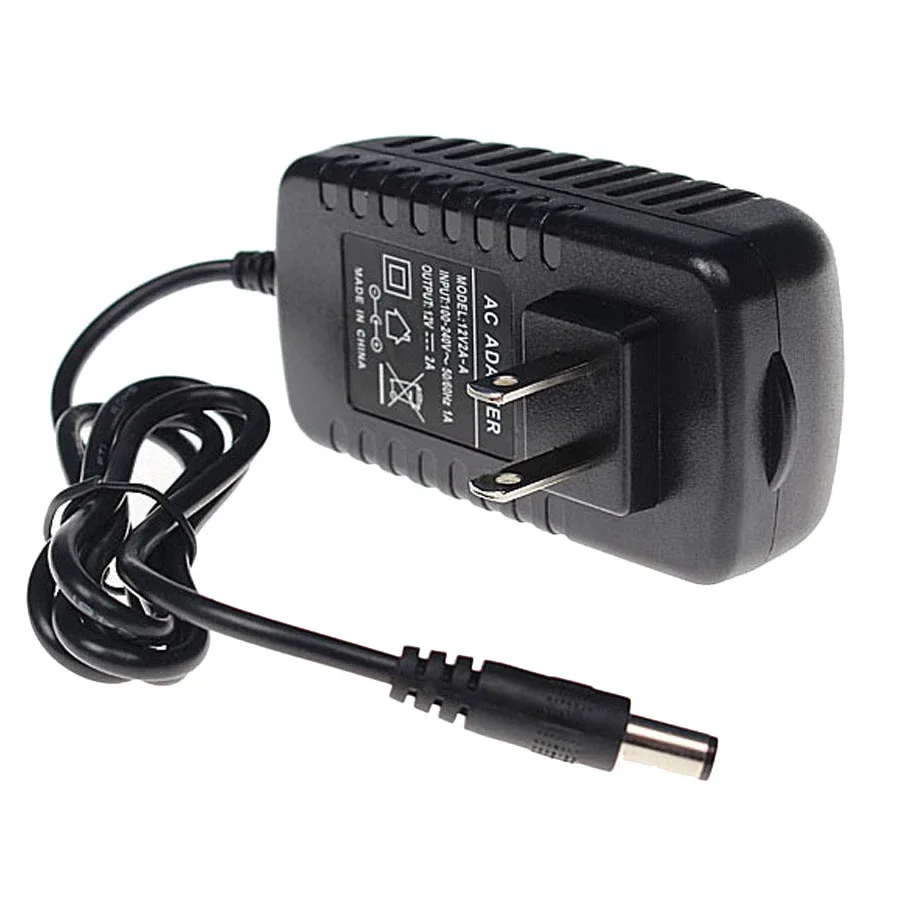
Your camera needs power to operate. If you have an analog camera, this means connecting the power adapter cable to the camera's power port and plugging the adapter into a nearby electrical outlet. For IP cameras, if they don't support PoE, you'll connect their power adapter similarly.
If they do support PoE and you're using a PoE-enabled NVR or switch, this step might be skipped as the Ethernet cable provides power. Manufacturer specs will confirm the required voltage, commonly 12V DC.
Connecting Your Camera to the NVR/DVR
This is the final physical connection.
- For Analog Cameras: Connect the BNC connector of your coaxial video cable to the camera's video output port and the other BNC end to an available video input port on your DVR. Then, connect the power cable from the camera's adapter to the camera.
- For IP Cameras: Connect one end of your Ethernet cable to the camera's Ethernet port. The other end connects to an available Ethernet port on your NVR (if it has built-in PoE ports) or to a PoE network switch, which then connects back to your NVR via another Ethernet cable.
Setting Up the NVR/DVR: Getting the System Online
Once your cameras are physically connected, you need to power up your recorder and get it configured. This is where the system starts to come alive, and you'll begin to see what your cameras are viewing.
Initial NVR/DVR Power-Up and Monitor Connection
First, connect your NVR or DVR to power using its included power adapter. Then, connect a monitor to the NVR/DVR using an HDMI or VGA cable. Turn on the monitor, then power up the NVR/DVR.
You should see the system's boot-up screen or a basic interface appear on your monitor.
Basic Network Configuration (Wired or Wi-Fi)
For most modern systems, network connectivity is crucial, especially for IP cameras and remote viewing.
- Wired Connection: Connect an Ethernet cable from the NVR/DVR's LAN port directly to a spare port on your router or network switch. The system will likely obtain an IP address automatically via DHCP.
- Wi-Fi Connection (if applicable): Some NVRs or standalone IP cameras can connect wirelessly. You'll typically navigate through the on-screen menu to find Wi-Fi settings, select your network, and enter the password. If your IP camera is connecting wirelessly, you'll usually set this up via a mobile app first.
Manufacturer documentation, like official installation manuals, often details these initial network steps, which can vary slightly between brands.
Adding Your Cameras to the System
How you add cameras depends on whether you're using a DVR or an NVR, and the type of cameras.
- For DVRs with Analog Cameras: The cameras are usually detected automatically once connected to the correct input ports and powered on. You might need to go into the DVR's menu to confirm they are recognized.
- For NVRs with IP Cameras: If you're using an NVR with built-in PoE ports, cameras connected directly to these ports are often detected and added automatically. If you're using a separate PoE switch, you'll typically need to go into the NVR's camera management menu, scan the network, and then add the detected cameras, often by entering their IP addresses or serial numbers. If you're experiencing network issues with your cameras, learning how to improve security camera WiFi signal can be essential.
Common Pitfalls: What to Watch Out For
Even with clear instructions, connecting CCTV cameras can lead to problems. Recognizing these common mistakes beforehand can save you a lot of troubleshooting time and frustration.
Wiring Mix-Ups: Wrong Cables, Loose Ends
Using the wrong type of cable or having loose connections is a frequent issue. For example, using standard Ethernet cable for an analog camera's video feed won't work. Similarly, a BNC connector that isn't fully seated on a DVR input can result in a "no signal" error.
Always double-check that the correct cable type is used and that all connectors are firmly attached.
Power Problems: Not Enough Juice, Wrong Voltage
Cameras need a specific amount of power to function correctly. If a power supply is underpowered, the camera might not turn on, might flicker, or might record intermittently. Conversely, using a power adapter with too high a voltage can permanently damage the camera.
Always ensure the power adapter matches the voltage and amperage requirements specified by the camera manufacturer. Manufacturer specifications will confirm the exact power requirements, often listed in watts or milliamps.
Network Glitches: IP Address Conflicts and Connectivity
For IP cameras, network setup is key. If two devices on your network try to use the same IP address, you'll get an IP address conflict, and one or both devices won't connect. This can happen if you manually assign static IPs incorrectly or if your router's DHCP server malfunctions.
If you notice unusual behavior or cameras dropping offline, investigating why is my security camera delayed or having connection problems might point to a network issue.
Placement Blind Spots: Missing Key Areas
Mounting a camera without a clear view of the intended area is a common oversight. You might mount an outdoor camera too low, making it easy to tamper with, or aim an indoor camera at a wall instead of an entryway. Always conduct a thorough visual sweep of the intended coverage area from the proposed mounting spot before drilling or permanently fixing anything.
This ensures your surveillance footage captures what you actually need to see.
Real-World Scenarios: Connecting Cameras for Your Needs
Let's look at how connecting CCTV cameras applies to common situations. The core steps remain the same, but the considerations shift based on whether it's for your home or a business.
Connecting Cameras for Home Security
For a typical home setup, you might be installing one or two cameras covering the front door and perhaps a backyard entry. You'll likely opt for analog cameras with a DVR for simplicity and cost-effectiveness, or IP cameras with an NVR if you prefer a more modern, network-based system. Running cables might involve going through attics or basements, and ensuring power outlets are accessible near camera locations.
Remote viewing via a smartphone app is a common requirement, so a stable network connection to your NVR/DVR is essential. You'll want to ensure your system can effectively save security camera footage for later review.
Connecting Cameras for a Small Business
A small business, like a retail store or an office, might require more cameras for broader coverage. This could involve multiple indoor cameras monitoring sales floors, entrances, and stock rooms, plus perhaps an outdoor camera for the parking lot. Businesses often prefer IP camera systems for their higher resolution and flexibility.
Cable runs might be more extensive, potentially requiring professional installation for neatness and compliance. Businesses also have specific needs regarding how long security footage should be kept, which influences the choice of storage capacity.
Frequently Asked Questions About CCTV Connections
How long does it take to connect a CCTV camera?
Connecting a single CCTV camera can take anywhere from 30 minutes to several hours. This depends heavily on factors like the camera type (analog vs. IP), whether you're running new cables through walls, and your familiarity with the process.
Setting up the NVR/DVR and software adds more time, often another hour or two.
Can I use any old Ethernet cable for an IP camera?
Ideally, you should use Cat5e or Cat6 Ethernet cables for IP cameras, especially if they support PoE. These cables are designed to handle data and power reliably over standard distances. Older Cat5 cables might work, but they could limit speed or reliability, and may not carry sufficient power for PoE devices.
What is PoE and why is it useful?
PoE stands for Power over Ethernet. It means your IP camera can receive both data and electrical power through a single Ethernet cable. This is incredibly useful because it eliminates the need for a separate power outlet near the camera, simplifying installation and reducing clutter, especially for outdoor cameras.
My camera is connected but shows no image. What should I check?
First, ensure the camera has power. Then, check that the video cable is securely connected at both the camera and the recorder end. For IP cameras, verify the Ethernet cable is properly plugged in and the network connection is active.
Also, confirm the correct input channel is selected on your DVR/NVR.