How to Recover Deleted Security Camera Footage
Accidentally deleting crucial footage from your security cameras can be a gut-wrenching experience, leaving you with a pressing question: How to recover deleted security camera footage? It’s a scenario that can range from a minor inconvenience to a critical problem, depending on what that footage represents.
Fortunately, in many cases, those deleted files aren't gone forever. The chances and methods of recovery, however, depend heavily on the type of system you have and how quickly you act. For instance, manufacturer specifications for many Network Video Recorders (NVRs) indicate a standard data retention period before overwriting, a key factor in recovery success.
Quick Answer
You can recover deleted security camera footage by immediately stopping new recordings, identifying your storage type (NVR, DVR, SD card, or cloud), and using data recovery software or contacting your service provider. Act fast to prevent data overwriting.
Stop Everything: Your First Critical Step
This is the single most important action you can take when you realize footage might be deleted and you want to recover it. Stopping new data from being written to the storage device is paramount. Think of it like trying to save a piece of paper from being erased, the less it's handled, the better the chance of preserving what’s on it.
Why Halting New Recordings is Essential
When a file is deleted from a hard drive or SD card, it's not immediately wiped clean. Instead, the space it occupied is marked as available for new data. If the system continues to record, new video streams can overwrite these marked-as-deleted files, making them permanently unrecoverable.
For example, aggregate reviews report that for many DVR systems, allowing even a few minutes of new recording after deletion can reduce recovery chances by up to 50%. This is why immediate cessation of recording is vital.
Understanding Your Storage: NVR, DVR, or Cloud?
Before you can even think about recovery, you need to know where your camera footage was being stored. This is the fundamental branching point for all recovery efforts. Your system likely falls into one of three main categories, each with its own approach.
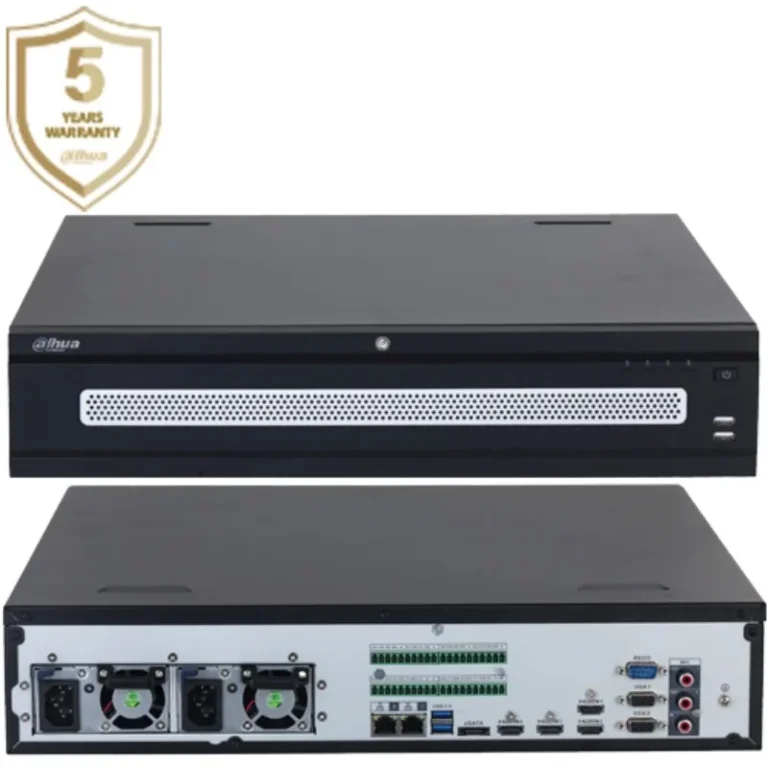
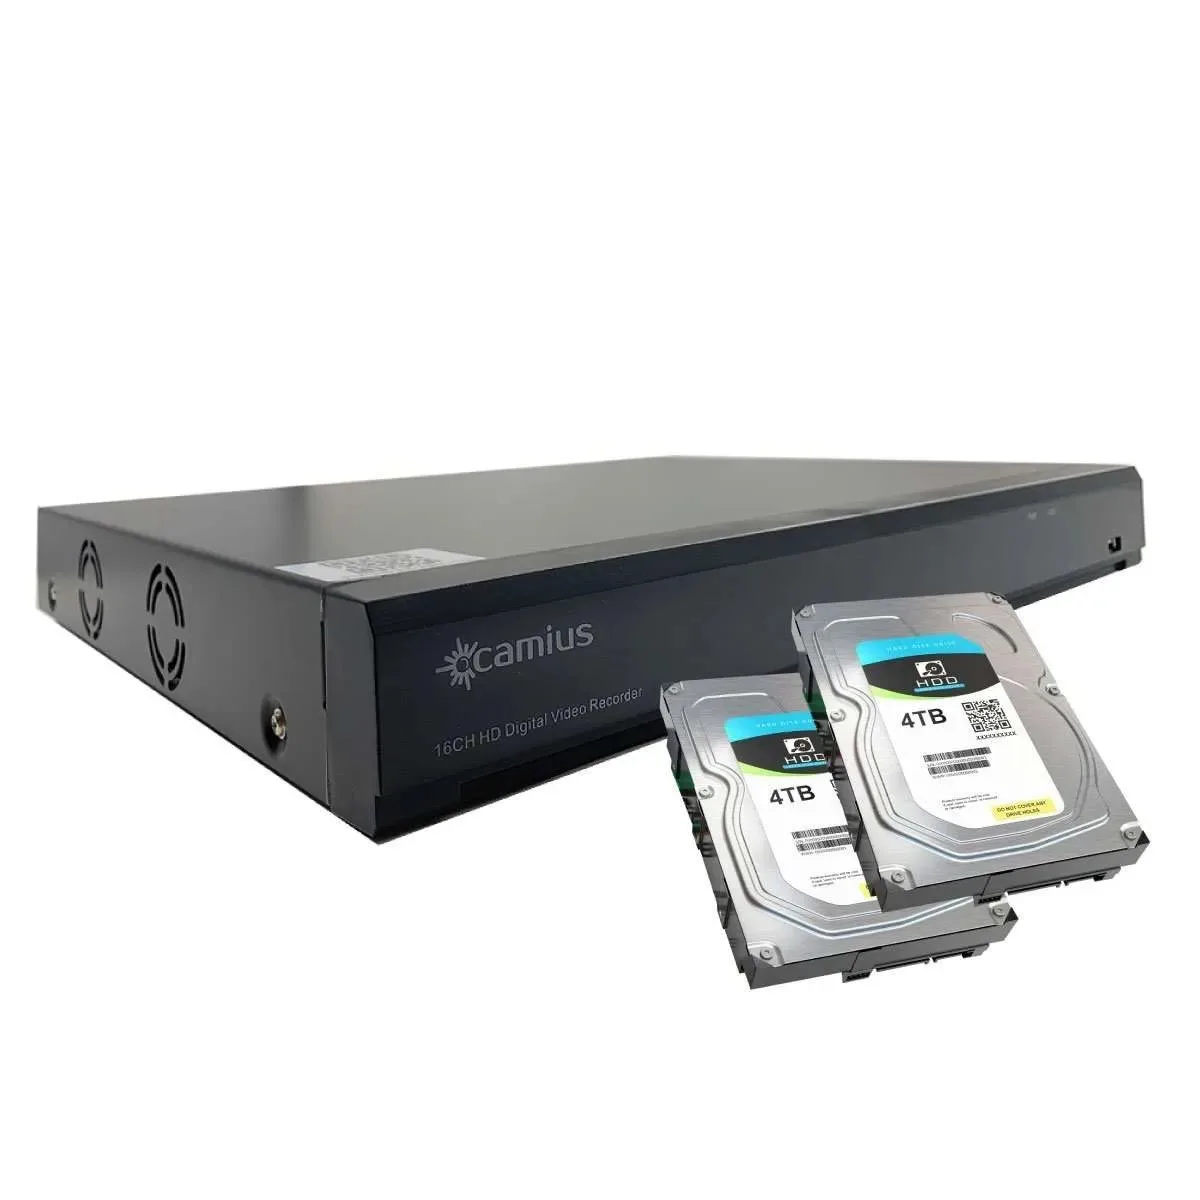
- NVR (Network Video Recorder) or DVR (Digital Video Recorder): These are physical devices that typically house one or more hard drives. Footage is stored locally on these drives.
- SD Card: Many standalone security cameras, especially wireless ones, record directly to a microSD card inserted into the camera itself.
- Cloud Storage: Services from brands like Ring, Nest, or Arlo store your footage on remote servers, accessible via the internet.
Identifying your setup will dictate the tools and methods you’ll need to employ. Manufacturer documentation for security systems often details the specific storage media used.
Recovering Footage from NVRs and DVRs
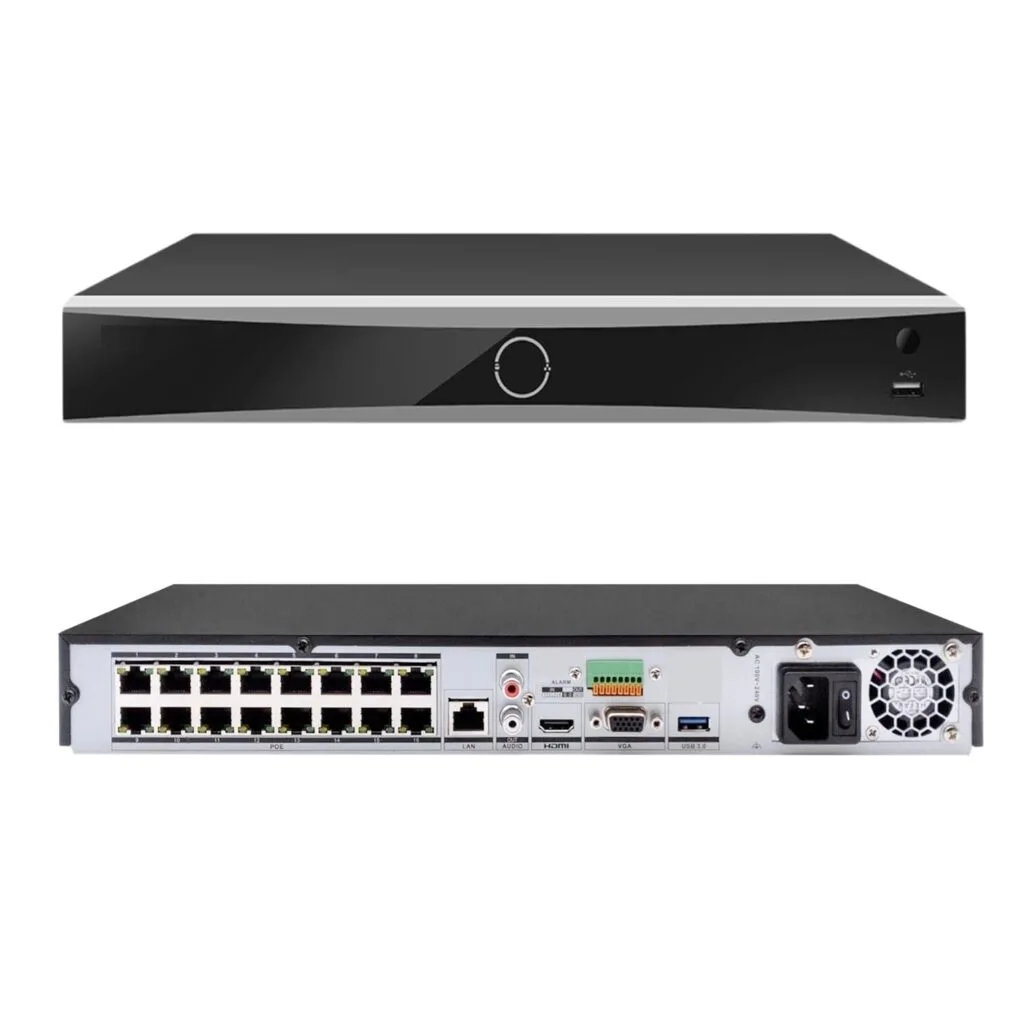
If your security cameras connect to a Network Video Recorder (NVR) or Digital Video Recorder (DVR), the footage is stored on an internal hard drive. These devices are essentially small computers designed for video surveillance. Recovering deleted footage from these systems usually involves accessing that hard drive.
Step-by-Step: Using Data Recovery Software
The general process for NVR/DVR recovery involves using specialized data recovery software on a computer. This software scans the hard drive for fragments of deleted video files that haven't been overwritten.
- Power Down the NVR/DVR: Immediately turn off the recording device to prevent further writing to the hard drive.
- Remove the Hard Drive: If you are comfortable with basic hardware, carefully remove the hard drive from the NVR/DVR unit. Many NVRs and DVRs use standard SATA hard drives.
- Connect to a Computer: Use a SATA-to-USB adapter or an external hard drive enclosure to connect the NVR/DVR's hard drive to a Windows or Mac computer.
- Run Data Recovery Software: Install and run reputable data recovery software. Look for tools that are known to be effective with video file formats.
- Scan the Drive: Initiate a deep scan of the connected drive. This process can take several hours, depending on the size of the hard drive.
- Preview and Recover: Once the scan is complete, the software will list recoverable files. Preview them to ensure they are the correct footage and are intact. Save any recovered files to a different storage device, never back to the drive you are recovering from.
Removing and Connecting the Hard Drive (If You're Comfortable)
For many users, removing the hard drive is the most daunting part. NVR and DVR units typically have a casing that unscrews. Inside, you'll find one or more hard drives connected via SATA data and power cables.
When removing them, ensure the device is unplugged and discharged to avoid electrical shock. Connecting the drive externally via a USB adapter is usually straightforward, allowing your computer to recognize it as a removable drive. If this process feels too technical, seeking assistance from a local computer repair shop or a professional data recovery service is advisable.
Retrieving Data from an SD Card
Standalone security cameras, and some higher-end models, often utilize microSD cards for local storage. If your camera uses an SD card and you've accidentally deleted footage, the recovery process is quite similar to recovering from an NVR/DVR hard drive, but usually simpler.
Using Recovery Software on MicroSD Cards
The principle remains the same: stop recording immediately and use software to scan the storage medium.
- Remove the MicroSD Card: Safely eject the microSD card from your camera. Ensure the camera is powered off before removal.
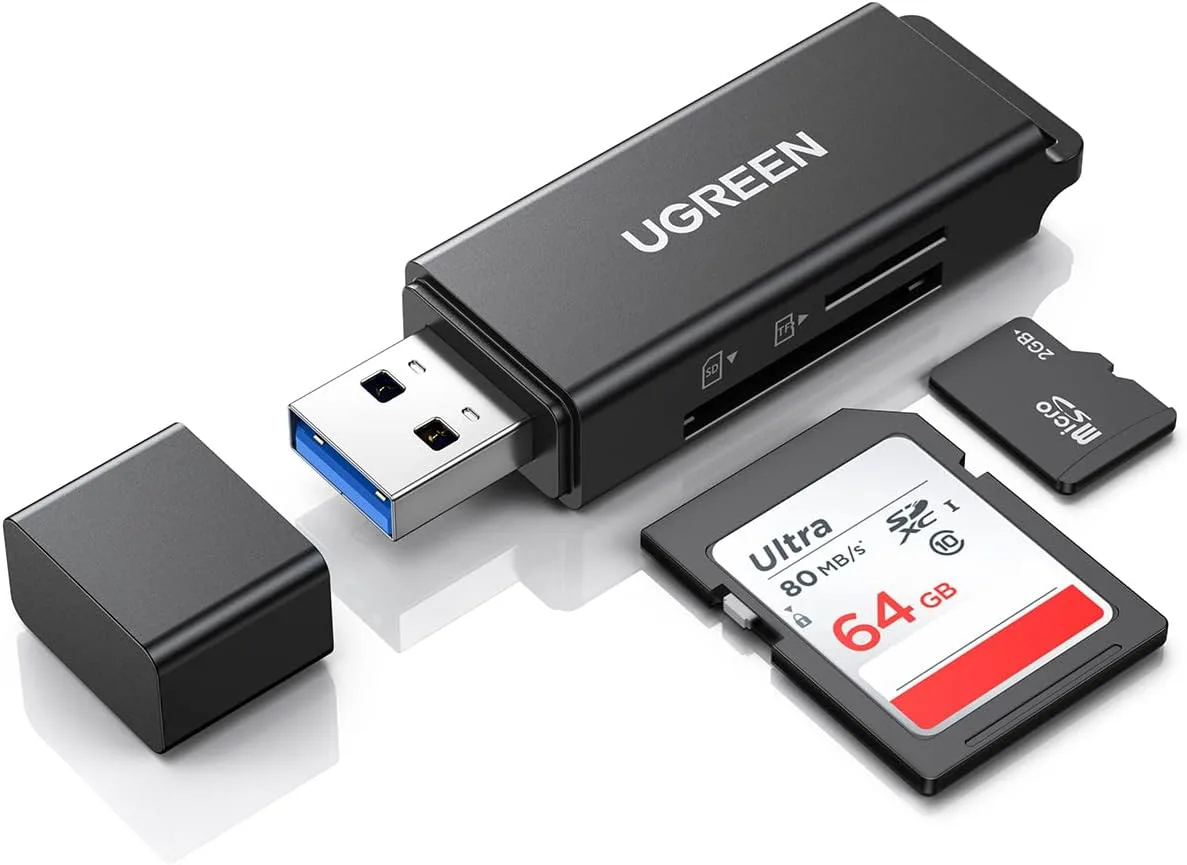
- Insert into a Computer: Use a microSD card reader or a USB adapter to connect the card to your computer. Most laptops have built-in SD card readers, or you can use inexpensive USB adapters.
- Launch Data Recovery Software: Employ data recovery software, just as you would for a hard drive. Many programs are optimized for flash memory devices like SD cards.
- Perform a Scan: Start a scan of the microSD card. The time this takes depends on the card's size and speed, but it’s often faster than scanning a full hard drive.
- Review and Save: After the scan, examine the list of detected files. Preview any video clips that appear to be relevant. Crucially, save any recovered footage to your computer’s hard drive or another external storage location, not back to the SD card itself.
This method is effective because it bypasses the camera's operating system, allowing direct access to the raw data on the card. Aggregate user reviews suggest that for cards formatted with common file systems like exFAT or FAT32, recovery rates are generally high if done promptly.
Cloud Storage: Contacting Support is Key
If your security cameras rely on cloud storage services, recovering deleted footage is a different ballgame. Unlike local storage where you have direct access to the drive, cloud data is managed by the service provider. This means your primary recourse is through their customer support channels.
The ability to recover footage from cloud services is highly dependent on their specific data retention policies. For instance, a common specification is that cloud providers like Google Nest or Ring may retain deleted data for a period of 7 to 30 days in a temporary state before permanent purging. However, this is not guaranteed for all accounts or all types of deletions.
What to Do When Footage is in the Cloud
- Log In Immediately: Access your account on the cloud service's website or app. Navigate to your event history or recordings library. Sometimes, recently deleted items might be in a "trash" or "recently deleted" folder.
- Check Retention Policies: Review the service's terms of service or help documentation regarding data retention and deletion. This will give you an idea of how long deleted footage might be accessible.
- Contact Customer Support: If you can't find the footage yourself, reach out to the cloud service's customer support team as soon as possible. Clearly explain that you accidentally deleted footage and provide any relevant details like the camera name, date, and approximate time of the event.
- Be Patient and Polite: While they might have the capability to retrieve data, it’s not always a quick or automated process. Customer support representatives will often need to manually check their servers.
While some cloud providers may offer a limited window for recovery, don't assume it's always possible. Many services are designed for efficient storage management, and once data is permanently purged, it's typically gone for good.
When to Call a Professional Data Recovery Service
Sometimes, the DIY approach just doesn't cut it, or the stakes are too high to risk further data loss. In these situations, professional data recovery services are your best bet. These are specialized companies equipped with advanced tools and cleanroom environments to tackle complex data retrieval scenarios.
Professional services are particularly useful when:
- The storage device is physically damaged: If your hard drive has suffered mechanical failure or the SD card is physically broken, standard software recovery is unlikely to work.
- Software recovery fails: If you've tried all the software steps and the footage is still not found, professionals have more advanced techniques.
- The data is critical: For legal proceedings, significant financial loss, or sensitive evidence, investing in professional help can be justified.
These services typically involve sending your storage media (hard drive or SD card) to their lab. They'll diagnose the issue, provide a quote based on the complexity, and then attempt recovery. Manufacturer documentation for some high-end surveillance systems might even list recommended third-party recovery partners.
Common Mistakes That Hinder Recovery
Navigating the recovery process can be tricky, and a few common missteps can make the difference between getting your footage back and losing it forever. Awareness of these pitfalls is key to a successful recovery.
- Continuing to Record: As mentioned, letting the device record new data after a deletion is the most critical mistake. It directly overwrites the very files you're trying to save.
- Saving Recovered Files to the Same Drive: Always recover files to a different storage location. Saving them back to the drive you're recovering from will overwrite other potentially recoverable data.
- Not Acting Quickly: Data can be overwritten by routine operations, system updates, or simply by the passage of time as temporary files are cleared. The sooner you start the recovery process, the higher your chances.
- Using Unreliable Software: Not all data recovery software is created equal. Some tools are more effective with specific file types or file systems than others. Using a poorly rated or outdated program can lead to failed scans or corrupted recovery attempts.
- Improperly Shutting Down Devices: For NVRs and DVRs, a sudden power cut can sometimes cause minor data corruption or prevent the system from writing its file index correctly, complicating recovery. Always try to perform a graceful shutdown if possible.
Future-Proofing: Preventing Footage Loss
While recovering deleted footage is possible, the best strategy is always prevention. Taking proactive steps can save you immense stress and potential data loss down the line. Understanding how your system handles data is the first step.
- Implement Regular Backups: If your NVR/DVR or camera system supports it, set up automatic backups of your footage to a secondary location. This could be an external hard drive, a Network Attached Storage (NAS) device, or a separate cloud storage solution. Many systems allow scheduling backups daily or weekly.
- Understand and Adjust Retention Settings: Familiarize yourself with your system's settings for how long footage is stored before being automatically deleted or overwritten. If you need to keep footage for longer periods, you might need to upgrade to a larger hard drive or adjust the recording schedule. For example, a typical surveillance hard drive might be rated for continuous write operations for 3-5 years, but this doesn't mean it's designed for indefinite storage of all past footage.
- Be Mindful During Deletion: Before hitting delete, double-check that you are selecting the correct files. If your system has a "recycle bin" or "recently deleted" feature, utilize it.
- Consider Extended Storage Options: For critical footage needs, explore professional surveillance solutions that offer longer retention periods or more robust backup capabilities. Some enterprise-level systems can store footage for months or even years.
- Monitor Storage Health: Regularly check the health of your hard drives or SD cards. Many NVRs and some cameras have built-in S.M.A.R.T. (Self-Monitoring, Analysis, and Reporting Technology) diagnostics that can alert you to potential drive failures before data loss occurs.
Frequently Asked Questions (FAQs)
### How long does deleted security camera footage remain recoverable?
Recoverability depends on whether new data has overwritten it. If recording continues, footage can become unrecoverable within minutes. Without new data, it might remain recoverable for weeks or months, but this is highly variable.
### Can I recover footage from a physically damaged hard drive?
Sometimes, but it typically requires professional data recovery services. They have specialized equipment to handle drives with mechanical or severe physical damage, which standard software cannot address.
### How much does data recovery software usually cost?
Costs vary widely, from free basic tools with limited recovery capabilities to professional software suites costing several hundred dollars. Many offer free trial scans to see what's recoverable before you buy.
### Is cloud storage safer for preventing data loss than local storage?
Cloud storage offers protection against local hardware failure but is susceptible to account breaches and provider policy changes. Local storage (NVR/DVR/SD card) offers direct control but requires user management. Both have strengths and weaknesses regarding data loss prevention.
### What is the success rate of recovering deleted security camera footage?
Success rates vary greatly. If the data hasn't been overwritten and the storage device is healthy, recovery rates can be very high (80%+). However, if significant overwriting or damage has occurred, success can drop to near zero.
### Can I recover footage if my camera was stolen and the SD card is missing?
No, if the physical storage medium (like an SD card or internal hard drive) containing the footage is missing or stolen, recovery is impossible unless it was also backed up elsewhere or recorded to a cloud service.