Why Is My Security Camera Showing a Black Screen
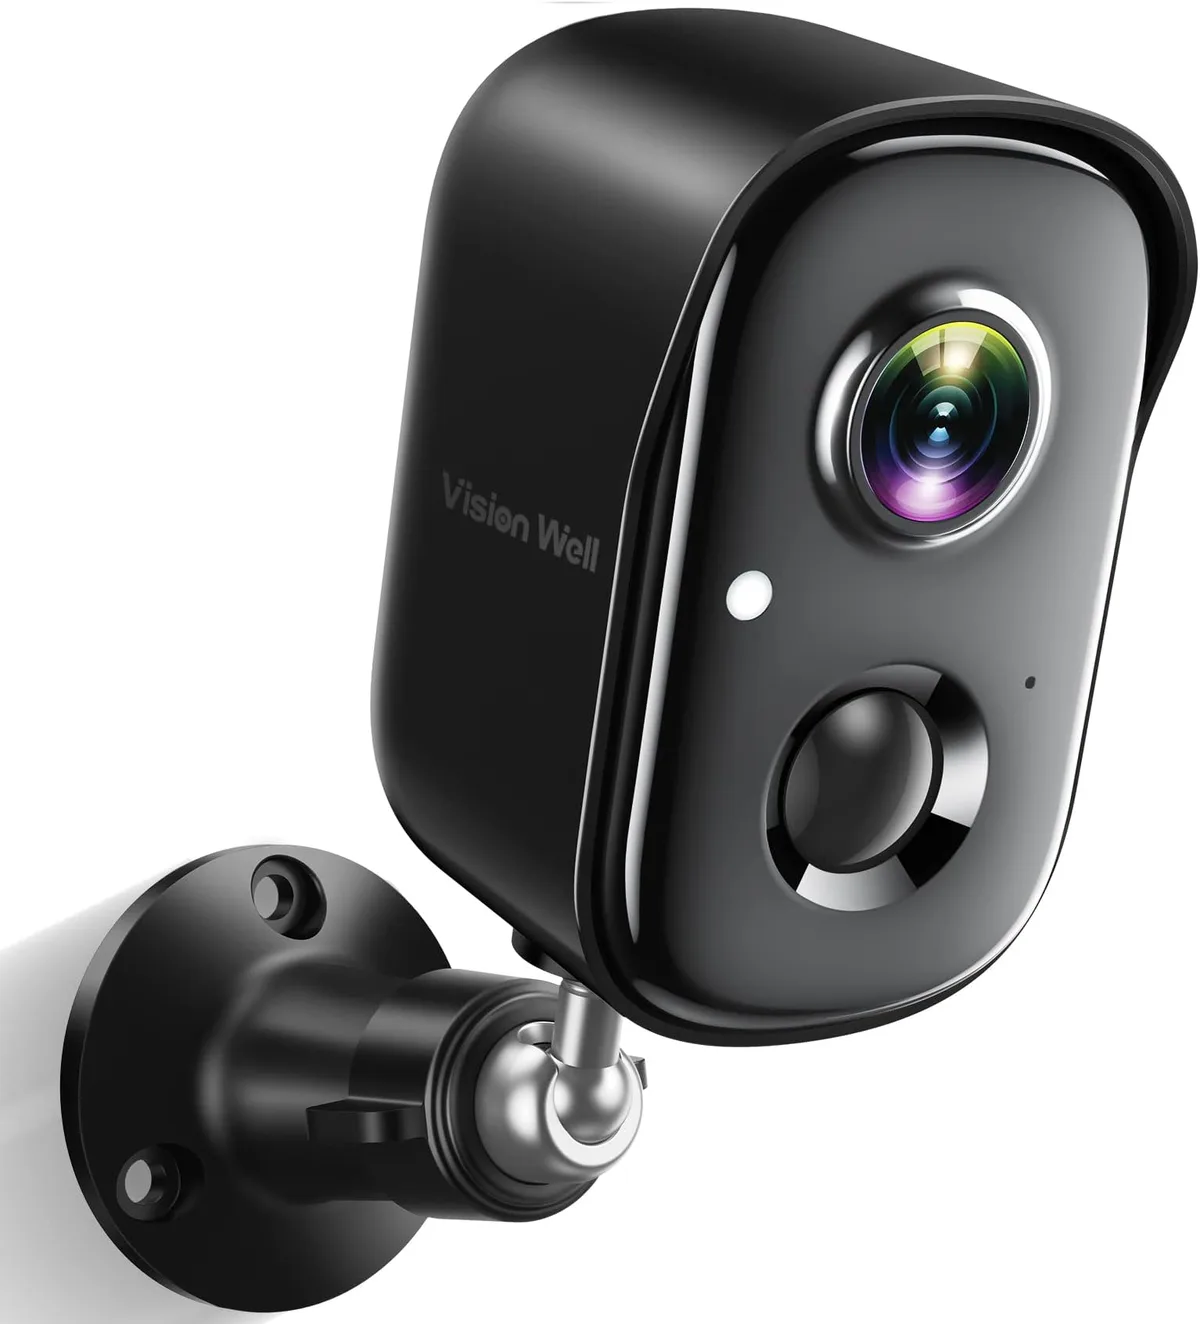
Image source: Web (Bing) / amazon.com (Web image (fair-use with source credit))
So, you've got a security camera, but instead of a clear picture, you're staring at a black screen? That's a major bummer, especially when you're trying to keep an eye on things. It's frustrating, but thankfully, most of the time, it's not a sign of serious trouble.
We've all been there, ready to check in on the house or business, only to be met with nothing. This guide will help you figure out exactly why your security camera is showing a black screen and how to get it back up and running. We'll start with the simplest fixes and work our way through the common issues that cause this problem.
Quick Answer: Why Is My Security Camera Showing a Black Screen?
Your security camera is likely showing a black screen due to a power interruption or a signal loss. This could stem from a loose power cable, a faulty power adapter, or a disconnected data cable. For wireless cameras, Wi-Fi signal issues are a common culprit, preventing the video feed from reaching your device.
Quick Checks: Is It Just Unplugged?
Before we get into the nitty-gritty, let's rule out the absolute simplest possibilities. Sometimes the most obvious fix is the one we overlook when we're frustrated.
- Power Cord Check: Make sure the power cable is firmly plugged into both the security camera itself and the power adapter. Wiggle them a bit to ensure a secure connection.
- Adapter Status: If your power adapter has an indicator light, is it on? If not, the adapter might be dead. You can also try plugging another small electronic device into the same outlet to confirm the outlet is working.
- Camera Condition: Does the camera feel unusually hot? Overheating can sometimes cause a shutdown, leading to a black screen. Also, give the camera a quick visual once-over for any obvious physical damage, like cracks or loose parts.
These initial steps can save you a lot of time and hassle if they solve the problem right away.
Wired Camera: Troubleshooting the Cable and Connection
For wired security cameras, the connection between the camera and your recorder (DVR or NVR) is key. If that connection is broken or weak, you'll get a black screen. This section focuses on identifying and fixing those physical links.
Checking the Ethernet or Coaxial Cable
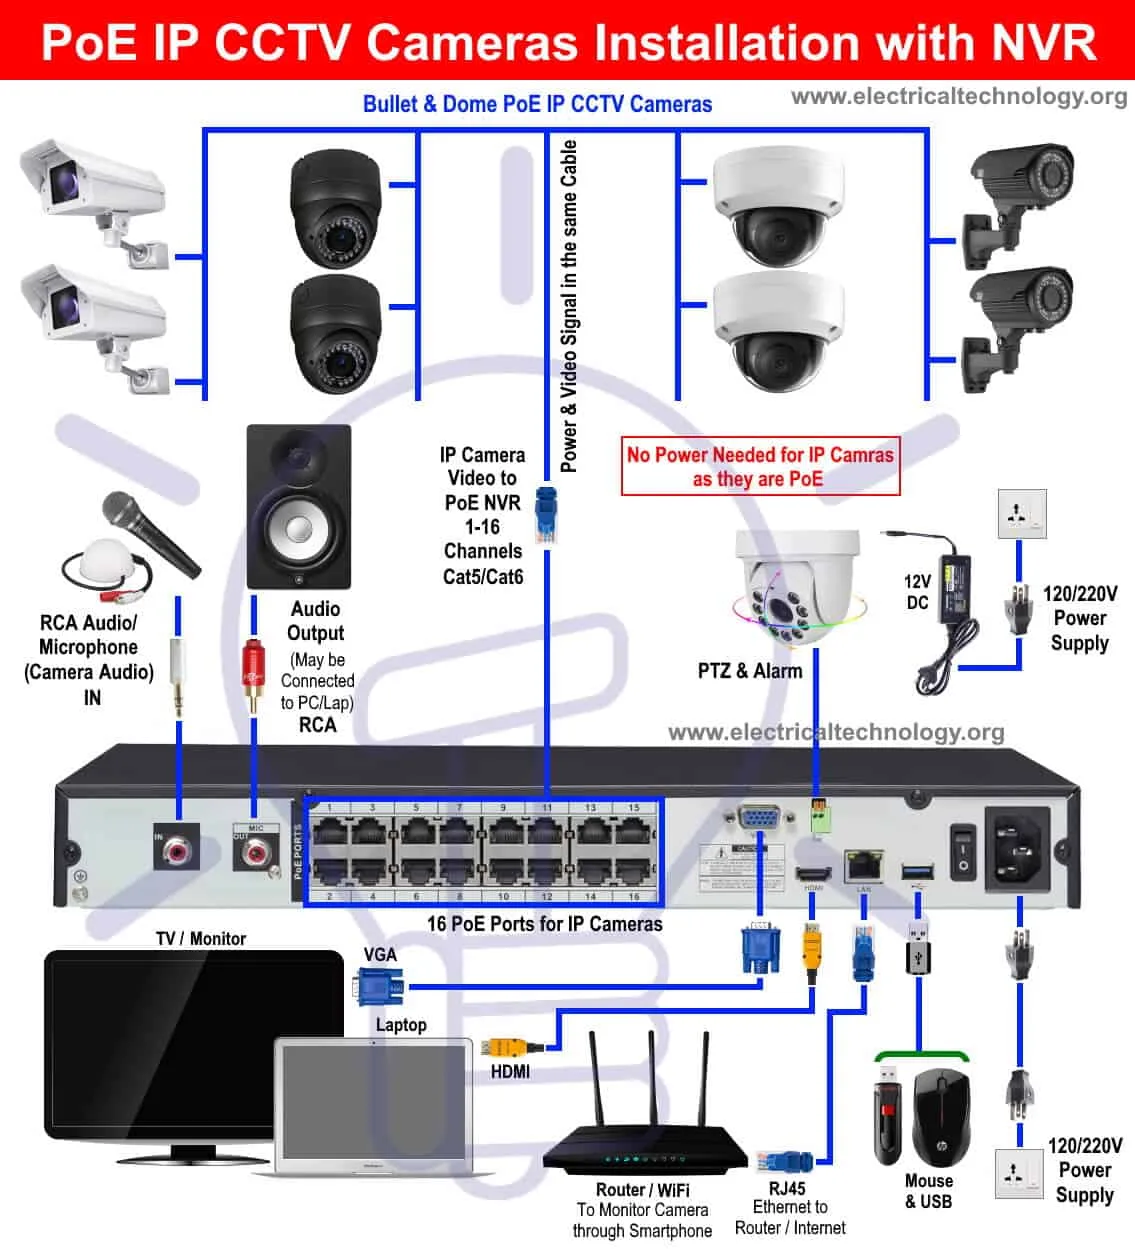
Image source: Web (Bing) / storage.googleapis.com (Web image (fair-use with source credit))
The physical cable carrying the video signal is the most common point of failure for wired systems. You'll want to inspect both the Ethernet cable (for IP cameras) or coaxial cable (for older analog systems) running from the camera to your recorder. Look for any signs of damage: kinks, cuts, crushing, or even gnaw marks from pests.
- Visible Damage: Even a small nick in the cable's outer jacket can expose the wires inside and disrupt the signal.
- Connector Integrity: Check the ends of the cable. Are the connectors (RJ45 for Ethernet, F-connector for coaxial) bent, broken, or loose?
Manufacturer specifications for Ethernet cables, like those conforming to standards such as TIA/EIA-568, emphasize the importance of maintaining signal integrity through the entire run.
Reseating and Swapping Cables
If the cable looks okay, the next step is to ensure it's properly connected and to test if the cable itself is the issue.
- Reseat Connections: Gently unplug the cable from both the camera and the DVR/NVR. Push them back in firmly until you feel or hear a secure click. Sometimes, vibrations or slight movement can loosen these connections over time.
- Test with a New Cable: Cables can fail internally without any outward signs of damage. If you have a spare Ethernet or coaxial cable of the appropriate type and length, try swapping it in. This is a critical step because a faulty cable is a frequent cause of a black screen.
If you've tried these steps and the screen is still black, the issue might lie elsewhere, but you've effectively ruled out the most common cable problems.
Wireless Camera: Reconnecting to Your Wi-Fi
Wireless security cameras, or Wi-Fi cameras, offer flexibility but introduce their own set of potential connection issues. When your Wi-Fi camera goes black, the problem usually lies in its communication link back to your home network.
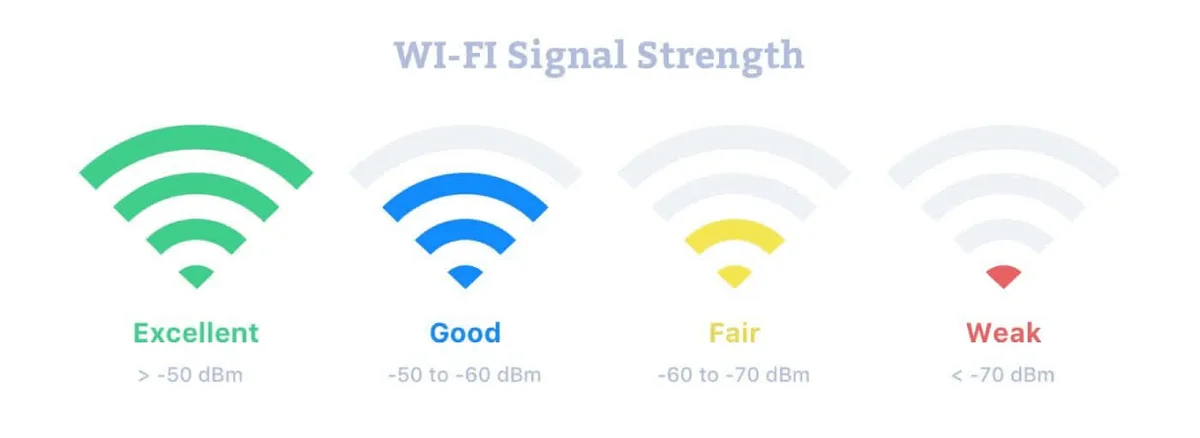
Image source: Web (Bing) / netspotapp.com (Web image (fair-use with source credit))
Confirming Your Wi-Fi is Online
First, check if your home Wi-Fi network is even working. Try browsing the internet on your smartphone or computer. If your internet is down, the camera won't be able to send its video feed.
This is a good time to restart your router anyway, which often resolves many connectivity issues.
Boosting Signal Strength and Reducing Interference
Wi-Fi signals degrade with distance and obstacles like walls. For a wireless camera, ensure it's within a reasonable range of your router. Thick walls, especially brick or metal, can significantly weaken the signal.
- Range: Ideally, keep your camera within about 50 feet of the router for a strong connection, though this varies based on your router and home construction.
- Interference: Other electronic devices can interfere with Wi-Fi. Microwaves, cordless phones, and even some Bluetooth devices operate on similar frequencies and can disrupt your camera's signal. Try temporarily turning off nearby devices to see if the picture returns.
Network monitoring tools can help visualize signal strength, though for most users, observing if the camera's connection indicator (if it has one) is stable is sufficient.
Rebooting Your Router and Camera
A simple reboot can often clear temporary glitches in both your router and your wireless camera.
- Router Reboot: Unplug your Wi-Fi router from its power source. Wait about 30 seconds, then plug it back in. Allow it a few minutes to fully boot up and re-establish your internet connection.
- Camera Reboot: Similarly, unplug your wireless camera from its power. Wait 30 seconds, then plug it back in. This resets the camera's network connection.
After rebooting, give your camera a few minutes to reconnect to the network and see if the video feed reappears.
The Recorder: Is the Brain Working?
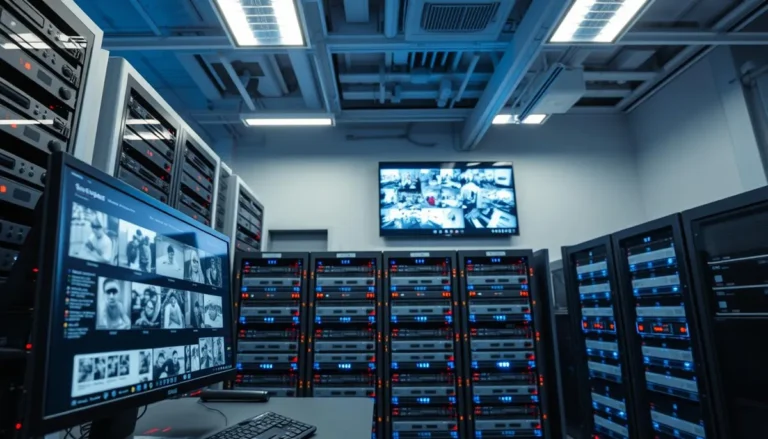
If you have a system with a central recorder, a DVR for analog cameras or an NVR for IP cameras, that unit is the "brain" of your setup. If it's not functioning correctly, your cameras might show a black screen, even if they are powered and connected.
Power and Status Lights
The recorder itself usually has indicator lights that tell you its operational status. Check the front panel or back of the unit for power, activity, and network lights. If the power light isn't on, the recorder isn't getting power.
If the network light is off or blinking erratically, it might not be communicating properly with your network or cameras.
Consult your recorder's user manual for a detailed explanation of what each light signifies. For instance, many NVRs will have a steady green light indicating a successful network connection as per IEEE 802.3 standards.
Selecting the Correct Input Channel
If you've recently added a new camera or made changes to your system's configuration, the recorder might not be set to the correct input channel for that camera.
- DVRs/NVRs Menu: Access your recorder's on-screen menu (usually via a connected monitor and mouse). Navigate to the camera setup or channel configuration section.
- Verify Channel Assignment: Ensure that the camera you're having trouble with is assigned to an active and correctly configured channel. Sometimes, channels can become disabled or set to the wrong input type.
It’s easy to accidentally change this setting, especially if multiple people have access to the system.
Restarting the Recorder
Just like with cameras and routers, a full reboot of your DVR or NVR can resolve many software glitches that might cause a black screen.
- Proper Shutdown: If possible, use the recorder's menu to perform a proper shutdown.
- Power Cycle: If a proper shutdown isn't an option or doesn't work, unplug the recorder from its power source. Wait at least 30 seconds. Then, plug it back in.
- Allow Time to Boot: Give the recorder several minutes to boot up completely. This process can sometimes take longer than you might expect, especially on older or more complex systems.
Once the recorder has fully restarted, check your monitor to see if the camera feeds have returned.
Common Mistakes That Cause a Black Screen
Even with the best intentions, it's easy to stumble into common pitfalls when troubleshooting security cameras. Recognizing these mistakes can save you a lot of wasted effort and frustration.
Forgetting to Reboot After Changes
One of the most frequent errors is making a change to your network or camera settings and then expecting the system to update instantly without a reboot. Whether you've changed Wi-Fi passwords, updated firmware, or reconfigured network ports on your router, a subsequent reboot of the camera and/or the recorder is almost always necessary for those changes to take effect.
Assuming the Cable is Fine
People often assume that if a cable isn't visibly frayed or cut, it's perfectly fine. However, internal wire breaks, damaged shielding, or faulty connectors that aren't obvious to the naked eye can completely disrupt a signal. This is especially true for Ethernet cables that might have been bent too sharply or subjected to stress.
Ignoring Wi-Fi Signal Issues
With wireless cameras, people sometimes focus only on the camera and router settings, overlooking the crucial element of signal strength and interference. A camera might be technically "connected" to the Wi-Fi, but if the signal is too weak or constantly interrupted by other devices, the video stream will be unreliable, often resulting in a black screen. It’s not enough for the camera to see the Wi-Fi; it needs a strong, consistent connection.
When to Suspect Hardware Failure
Sometimes, after going through all the troubleshooting steps, the black screen persists. At this point, it’s increasingly likely that a component has actually failed. This could be the camera itself, the power adapter, the cable, or even the recorder.
If you've swapped out a suspect cable for a known working one and the problem remains, and if you've tested the camera's power with a reliable source, the camera unit itself might be the culprit. Similarly, if you've tested a known good camera on the same port/cable and it still shows black, the port on your recorder or the recorder itself could be at fault. For older cameras, a failure due to age and wear is a genuine possibility.
As of 2026, most security camera systems are designed for a lifespan of 3-5 years, though individual component longevity can vary significantly.
Security Camera Black Screen FAQs
What's the quickest way to fix a black security camera screen?
The quickest fix is usually a power cycle: unplug the camera and its power adapter for 30 seconds, then plug them back in. For wireless cameras, also reboot your router.
Can a simple software glitch cause a black screen?
Yes, a temporary software glitch in the camera, its app, or the recorder can cause a black screen. Rebooting the affected device or software often resolves these issues.
How do I know if my camera cable is bad?
If the cable has visible damage, it's suspect. To confirm, swap it with a known working cable of the same type. If the picture returns, the original cable was faulty.
My wireless camera is showing a black screen, but my Wi-Fi is working. What now?
Check your camera's signal strength to your router. Move the camera closer or the router closer if possible. Also, consider interference from other devices.
A simple reboot of both the camera and router is also a good next step.