How to Test Security Sensors
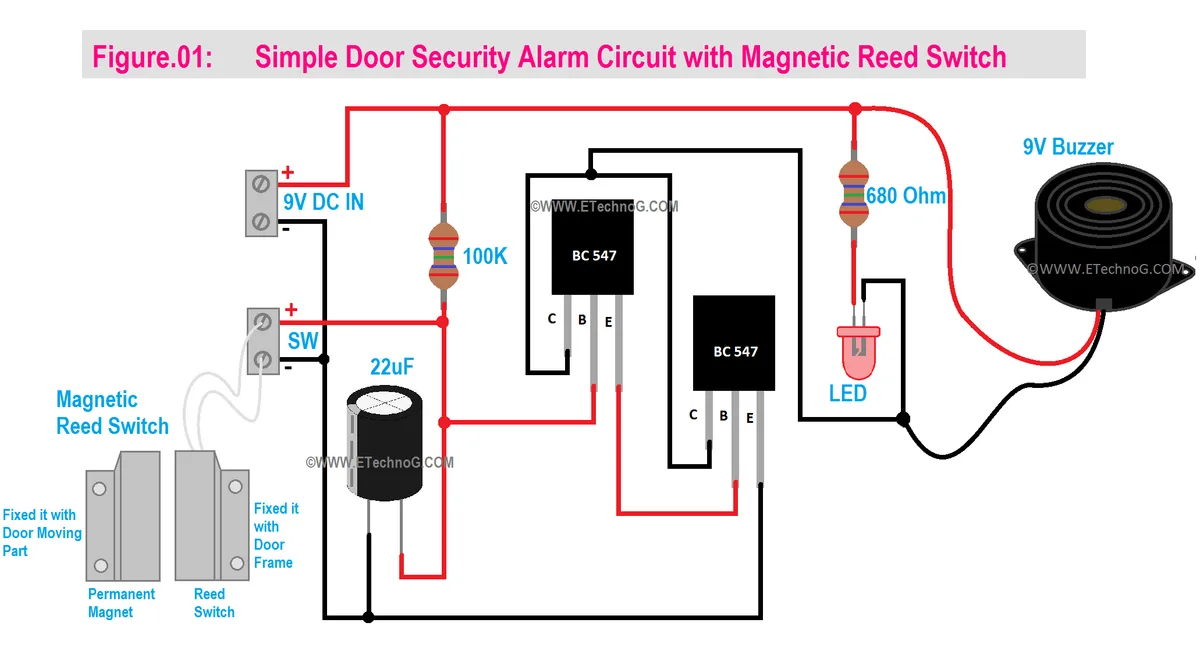
Image source: Bing (Web (fair-use with source credit))
A security system is only as good as its individual components, and that's especially true for the sensors that form the first line of defense. Regularly checking how to test security sensors ensures your system is ready when you need it most. Ignoring this simple step can leave your home or business vulnerable, turning a protective measure into a false sense of security.
In our research, we've found that many systems, especially those using wireless technology like Z-Wave or Zigbee, can experience communication glitches or battery issues over time. According to specifications from leading manufacturers, sensor batteries can degrade and require replacement typically every 3-5 years, impacting their reliability if not monitored. This guide will walk you through the essential checks to keep your peace of mind intact.
Quick Answer
Test security sensors monthly to ensure they are functional and communicating with your system. Contact sensors, motion detectors, and environmental sensors each require specific tests. Regularly check battery levels and placement, and use your system's built-in test mode to confirm each sensor triggers an alert.
Why Testing Your Security Sensors Is Non-Negotiable
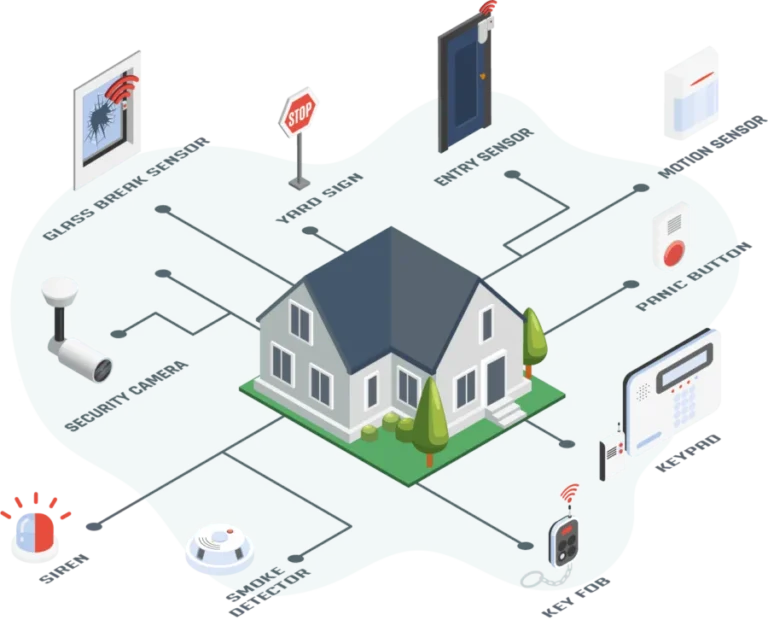
Your security sensors are the eyes and ears of your alarm system. They're designed to detect specific events, a door opening, movement in a room, or the presence of smoke, and immediately report back to your main security hub. If they aren't working correctly, the entire system fails.
This isn't just about detecting a break-in; it’s also about being alerted to potential fires, carbon monoxide leaks, or water damage before they cause serious harm or costly repairs.
Common Sensor Failures and What They Mean
Think of your sensors as tiny, vigilant guardians. When they falter, it’s usually for a few key reasons. Battery depletion is the most common culprit, especially for wireless sensors. Many systems will alert you to low batteries, but if these warnings are missed or the battery dies unexpectedly, the sensor goes silent. Placement issues can also cause problems; a motion detector that's too high, too low, or blocked by furniture won't accurately sense movement.
Interference is another sneaky problem. Wireless signals can be disrupted by other electronic devices operating on similar frequencies, or even by certain building materials. This can lead to communication failures, where the sensor works perfectly fine on its own but can't send its signal to the hub.
Finally, physical damage or wear and tear can simply cause a sensor to stop functioning.
The Risks of Skipping Sensor Checks
Skipping sensor tests is like driving a car without ever checking the tires or oil. You might be fine for a while, but eventually, something will go wrong at the worst possible moment. For a security system, this means a potential intruder could enter your home unnoticed, or a fire could spread before anyone is alerted.
Consider this: if your primary motion detector fails, a burglar could walk through your living room without triggering an alarm. If a contact sensor on your back door is malfunctioning, it might as well be wide open for all the protection it offers. For environmental sensors, the stakes are even higher.
A non-functional smoke detector means you could have seconds, not minutes, to escape a fire. The risks range from property loss and damage to, in the most serious scenarios, threats to life and safety.
Preparing for Your Sensor Test
Before you start poking and prodding your sensors, a little preparation goes a long way. It ensures you get accurate results and don't accidentally trigger false alarms or confuse yourself. Getting your system into a specific testing mode is the most crucial first step, as it tells your hub, "Hey, I'm just testing things out, don't call the authorities."
What You'll Need
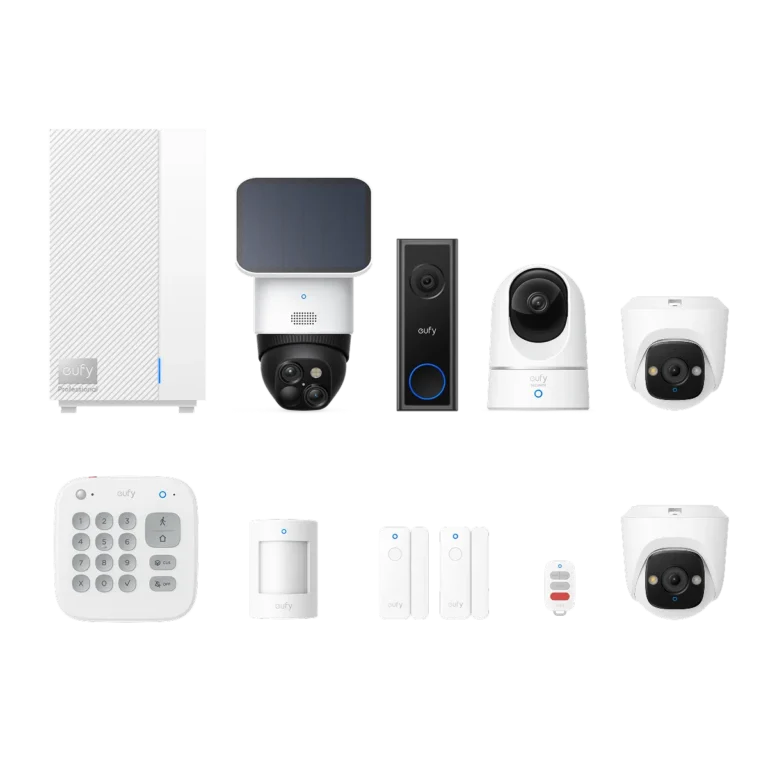
You don't need a toolbox full of specialized equipment. For most home security systems, your smartphone or a web browser is your primary tool. You'll want to have access to your security system's mobile app or its online portal.
This is where you’ll typically activate the "Test Mode" and monitor the system’s response. It's also a good idea to have a pen and paper handy, or to use the notes app on your phone, to jot down which sensors you've tested and if they passed or failed.
Lastly, a small step stool or ladder might be helpful for testing sensors placed up high, like some ceiling-mounted motion detectors. For contact sensors, a bit of tape might temporarily hold a door or window shut if it tends to drift open slightly, ensuring a clear test.
Understanding Your System's Test Mode
Almost every modern security system, whether it's a DIY setup or professionally installed, has a dedicated "Test Mode" or "Maintenance Mode." This is vital. When you activate it, your system temporarily suspends its automatic dispatch protocols. This means if a sensor is triggered, it will register as an event on your app or keypad, but it won't send a signal to a central monitoring station or trigger a loud alarm siren.
Here’s how it generally works: you’ll log into your system's app or web portal, navigate to the settings or device management section, and select "Test Mode." You’ll usually need to confirm this action. Once in test mode, you’ll have a set period, often 30 minutes to a couple of hours, to test all your sensors. When the time is up, the system automatically reverts to its normal, armed state.
It’s crucial to remember to exit test mode if your system doesn't do it automatically.
How to Test Different Types of Security Sensors
The testing method varies slightly depending on the type of sensor you have. Each one is designed for a specific purpose, so you'll want to mimic the conditions it's meant to detect.
Testing Contact Sensors (Doors & Windows)
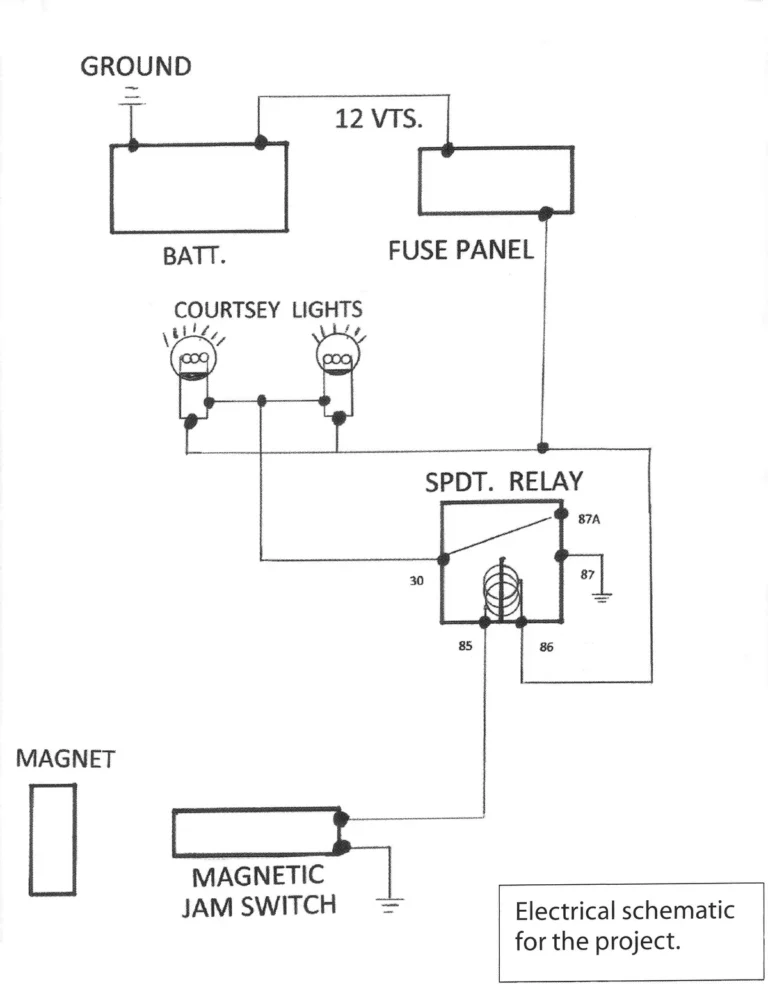
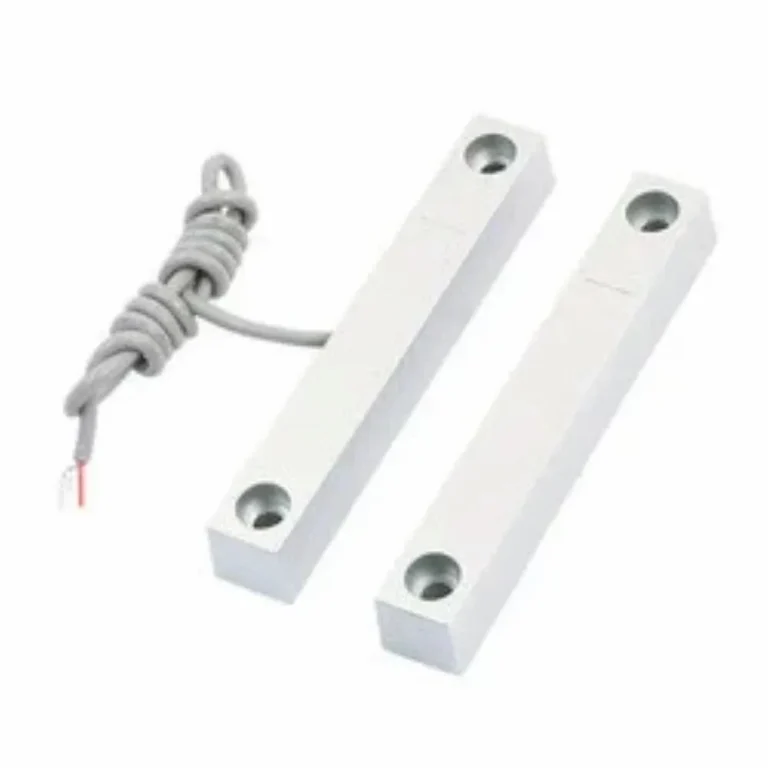
Contact sensors are usually two-piece devices. One part attaches to the door or window frame, and the other attaches to the moving part. When the two pieces are separated, the sensor is triggered.
- Preparation: Ensure your system is in Test Mode.
- Test:
- Open the door or window the sensor is attached to. You should see the sensor status change in your app or on the keypad, usually indicating "Open" or "Tripped."
- Close the door or window. The status should change to "Closed" or "Secure."
- Repeat this for every door and window contact sensor you have.
It's a good idea to test both entry and exit points, including less frequently used doors like those leading to a garage or basement.
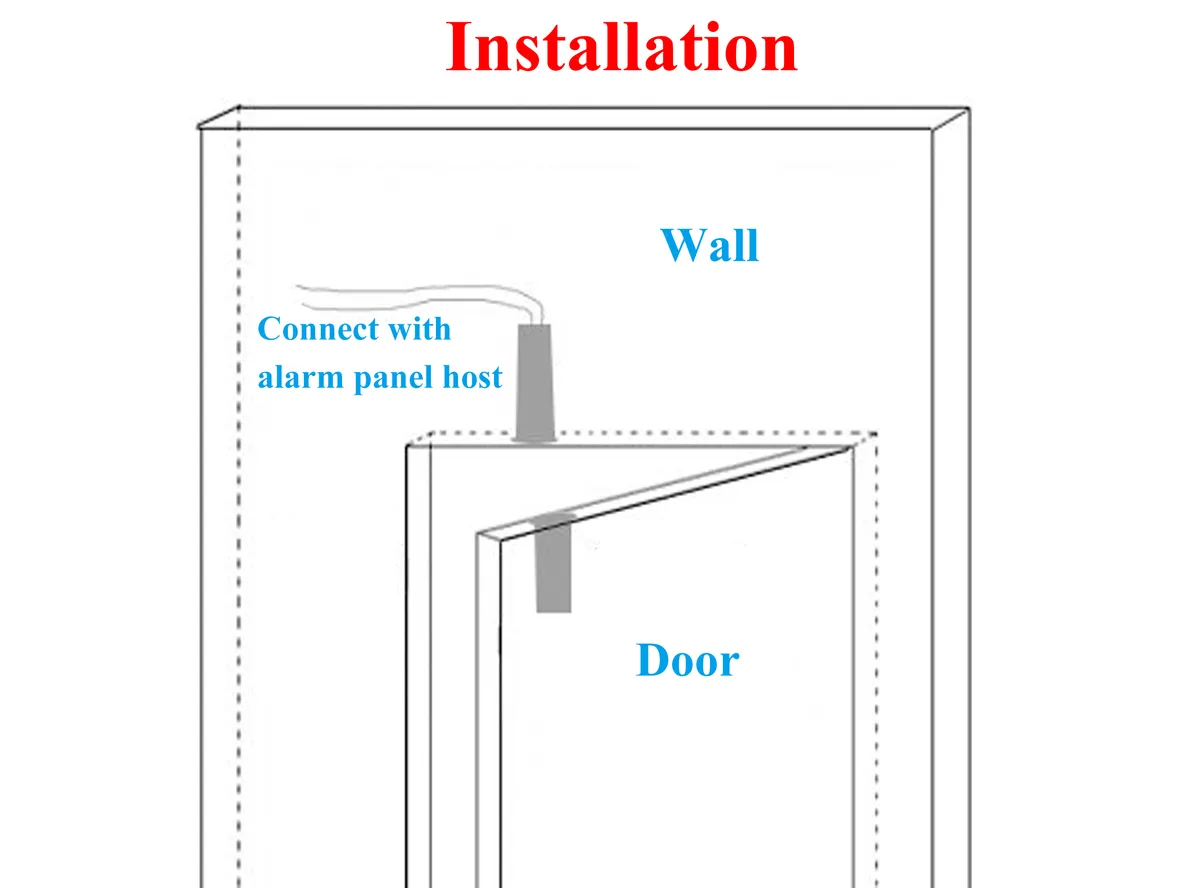
Image source: Web (Bing) / securitysystemssupplier.com (Web image (fair-use with source credit))
Testing Motion Detectors
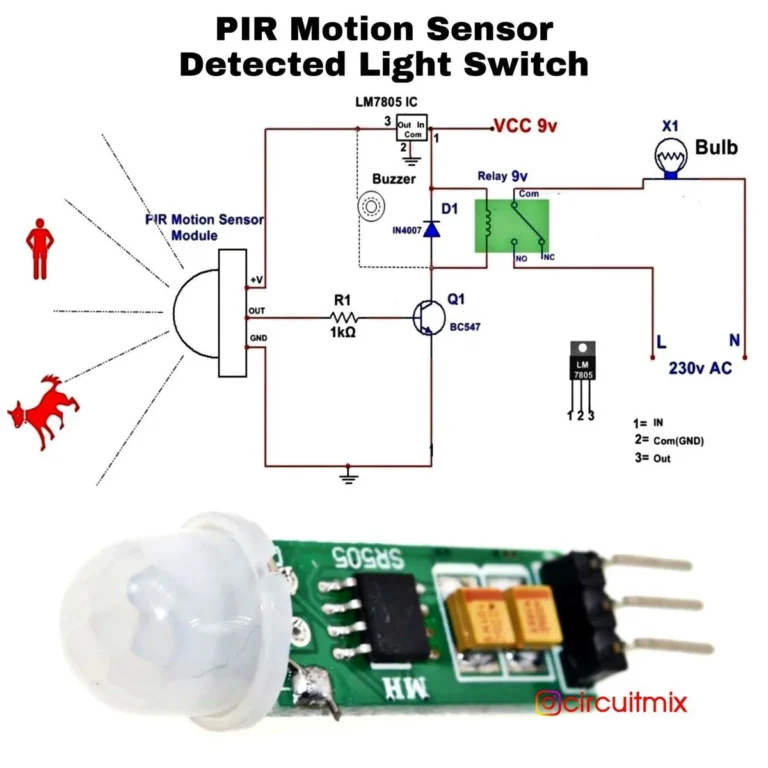
Motion detectors use various technologies, most commonly Passive Infrared (PIR) which detects heat changes, or microwave, or dual-technology (PIR and microwave combined). To test them, you need to simulate movement within their detection zone.
- Preparation: Ensure your system is in Test Mode.
- Test:
- Stand in front of the motion detector, ensuring you are within its advertised detection range and angle.
- Make a deliberate motion, like waving your arms or walking across the room.
- Check your app or keypad; the motion detector should register as "Tripped" or "Motion Detected."
- Wait for a few minutes and repeat. Some systems have a "cool-down" period for motion detectors to prevent rapid re-triggering, so allow for that.
Placement is key for motion detectors. If you can’t get a reliable trigger, consider if it’s obstructed or if its detection zone is properly aimed.
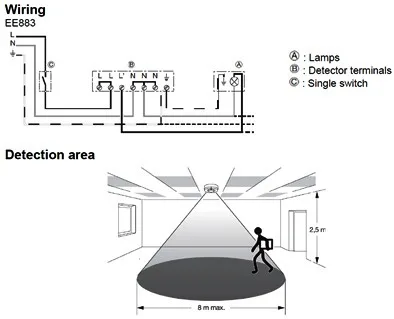
Image source: Bing (Web (fair-use with source credit))
Testing Glass Break Sensors
Glass break sensors listen for the specific sound frequencies produced when glass shatters. Testing these requires simulating that sound, which can be tricky without actually breaking glass. Many systems have a dedicated test function or a specific tool.
- Preparation: Ensure your system is in Test Mode.
- Test:
- Some sensors have a small microphone hole. You can often test by lightly tapping on the glass of a nearby window or by using a test tool provided by the manufacturer.
- If your system allows, check the sensor’s status in your app. It should indicate "Tripped" or "Shatter Detected" if it registers the sound.
- If your sensor has a specific test button or mode, follow the manufacturer’s instructions.
- For some advanced sensors, a loud, sharp noise near the window might trigger them. Be cautious not to create a nuisance alarm, even in test mode.
Testing Environmental Sensors (Smoke, CO, Water)
These sensors are critical for safety, and their testing procedures often involve specific methods recommended by manufacturers and safety organizations.
- Smoke Detectors: Most smoke detectors have a "Test" button. Press and hold it for a few seconds. The detector should emit a loud, distinct alarm sound. If it doesn't, check the battery or power source and consider replacement.
- Carbon Monoxide (CO) Detectors: Similar to smoke detectors, CO detectors usually have a test button. Pressing this button tests the alarm siren and the internal electronics. Follow the manufacturer's instructions precisely; some may require a specific sequence.
- Water Leak Sensors: These typically have a small metal probe. To test, you can briefly touch the probe with a damp cloth or a small amount of water. The sensor should then signal to your hub that a leak has been detected. Ensure you dry the area afterward to prevent false alarms later.
Troubleshooting Common Sensor Test Issues
Even with careful preparation, you might run into snags when testing your security sensors. Most issues are resolvable with a bit of patience and systematic troubleshooting.
False Alarms During Testing
Despite being in test mode, you might still get an alert that seems like a false alarm, or a sensor might falsely report as "tripped." This often points to a sensitivity issue or environmental factor. For motion detectors, ensure pets aren't triggering them if they aren't pet-immune models, or that curtains aren't blowing in front of them. For contact sensors, a door or window that isn't closing completely can cause it to register as open.
- If a motion sensor triggers randomly: Check its placement. Is it facing a heat source like a vent or direct sunlight? Is something moving within its field of view that shouldn't be? Adjust its angle or consider a different location.
- If a contact sensor reports open when closed: Ensure the two pieces are aligned correctly and close enough together. Sometimes, the magnetic connection might be weak, or the door/window frame might be warped.
Sensors Not Responding or Detecting
This is the most frustrating issue: you perform the test, and nothing happens on your app or keypad. The sensor simply doesn't register.
- Check the Battery First: For wireless sensors, this is overwhelmingly the most common cause. Even if you just replaced it, ensure it’s the correct type and inserted correctly.
- Verify Test Mode: Double-check that your system is still in test mode and hasn't timed out.
- Sensor Pairing/Connectivity: The sensor might have lost its connection to the hub. You may need to re-pair or re-sync the sensor with your security system. Consult your system’s manual for specific instructions on how to do this, as it varies widely between manufacturers.
- Physical Damage: Inspect the sensor for any visible signs of damage or wear.
Connectivity Problems
Sometimes, a sensor might be responsive, but the signal is weak or intermittent, leading to delayed or missed detections.
- Signal Strength: If your system's app shows signal strength for individual sensors, check this. A weak signal can be caused by distance from the hub, or obstructions like thick walls, metal objects, or even large appliances.
- Hub Location: Ensure your main security hub is placed centrally and away from potential sources of interference like routers or microwaves.
- Interference: Other wireless devices can sometimes interfere. Try temporarily turning off other wireless gadgets in the vicinity to see if it improves sensor performance.
- Firmware Updates: Ensure both your security hub and your sensors (if applicable) have the latest firmware installed. Manufacturers sometimes release updates to improve connectivity and performance. Check your system’s app or manufacturer website for instructions.
Keeping Your System Reliable: Maintenance & Best Practices
Testing your sensors is a critical part of maintenance, but a few ongoing habits ensure your system performs reliably over the long haul. Proactive care prevents minor issues from becoming major vulnerabilities.
Battery Replacement Schedule
Wireless sensors depend on batteries, and their lifespan can vary. Most manufacturers recommend replacing batteries every 3-5 years, but this can be shorter depending on usage, environmental factors, and battery quality.
- Listen to Alerts: Always address low battery warnings immediately. Don't postpone it.
- Keep a Log: If your system doesn't track battery status precisely, keep a simple log. Note when you replaced batteries for each sensor. This helps you anticipate when replacements might be due.
- Use Quality Batteries: Investing in reputable battery brands can lead to longer life and more consistent performance.
Sensor Placement Best Practices
Correct placement is vital for a sensor's effectiveness. A poorly placed sensor is like having no sensor at all.
- Contact Sensors: Mount them so the two parts are as close as possible when the door or window is closed, and separate sufficiently when opened. Ensure they are secure and won't shift.
- Motion Detectors:
- Height: Most are most effective when mounted 6-8 feet off the ground.
- Angle: Aim them towards entry points or areas of high traffic, but avoid pointing them directly at windows that get direct sunlight, vents, or areas where pets might frequently roam if the sensor isn't pet-immune.
- Obstructions: Make sure nothing blocks the sensor's view.
- Glass Break Sensors: These should be mounted within a specific range of the windows they are meant to protect, often on a wall or ceiling opposite the glass. Check manufacturer guidelines for optimal distance and coverage.
When to Call a Professional
While most sensor testing and basic troubleshooting can be done by the homeowner, some situations warrant professional help.
- Persistent False Alarms: If you can't pinpoint the cause of repeated false alarms after thorough checks, a professional can diagnose system-wide issues.
- Complex Systems: For integrated smart home systems with many components or high-end security installations, a technician may have specialized tools and knowledge.
- Sensor Not Re-pairing: If you've followed all instructions and a sensor still won't connect to your hub, it might be faulty and require replacement, which a professional can handle.
- After Major Events: If your system has experienced a power surge, lightning strike, or significant environmental event, a professional check is wise.
Frequently Asked Questions About Sensor Testing
How often should I test my security sensors?
It's recommended to test all your security sensors at least once a month. For critical sensors like smoke or carbon monoxide detectors, some safety organizations like the National Fire Protection Association (NFPA) suggest testing them even more frequently, such as weekly or bi-weekly, by pressing the test button.
What happens if a sensor fails testing?
If a sensor fails to respond or shows an error, don't ignore it. First, check its battery and ensure it's properly seated. If the battery is good, try re-pairing the sensor with your system's hub.
If it still fails, the sensor may be defective and will need to be replaced.
Can I test my system without putting it in test mode?
We strongly advise against testing your system without activating the dedicated Test Mode. Doing so could trigger a full alarm and potentially dispatch emergency services, leading to fines for false alarms. Always use the system's built-in test function.
Do I need special tools to test my sensors?
Generally, no. For most standard contact and motion sensors, your system's app or keypad is all you need. You might need a small step stool for high-mounted sensors.
For some specific sensors like glass break detectors, a manufacturer-provided tool or a simple object to create a sound might be necessary, but this is less common.
How long does a sensor test typically take?
Testing all your sensors usually takes between 15 to 30 minutes, depending on how many sensors you have and how quickly you can access each one. Activating test mode itself is instant, but the actual testing process requires walking through each sensor's function.