How to Set up a Security System App
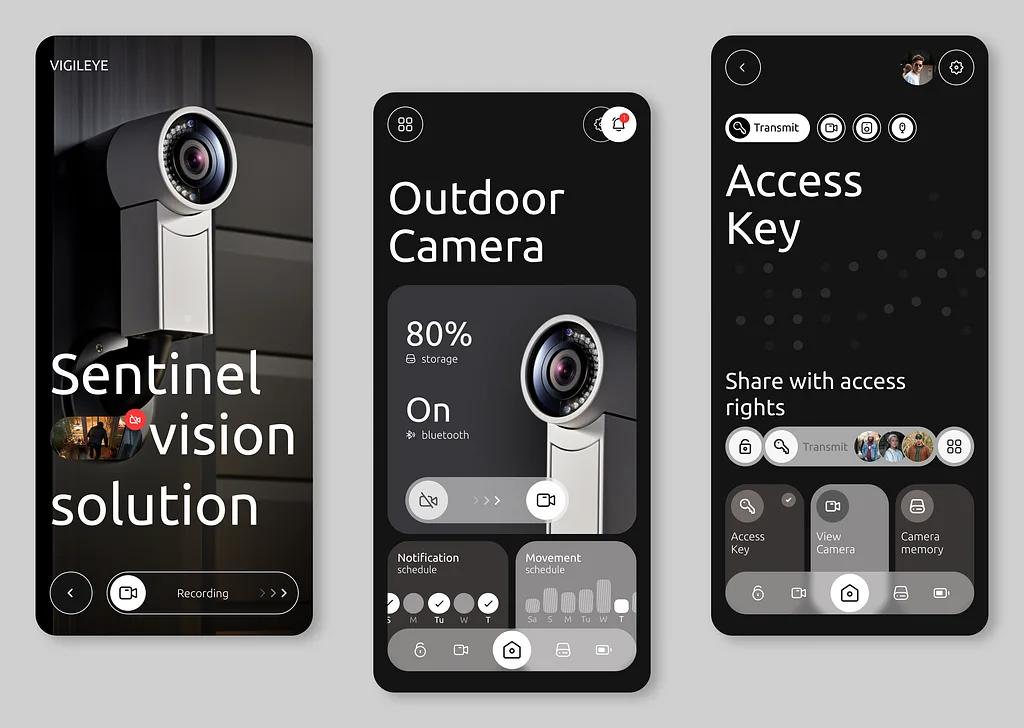
Image source: Bing (Web (fair-use with source credit))
Setting up a security system app can seem daunting, but mastering the basics is incredibly empowering. Proper configuration ensures reliable operation and peace of mind. This guide demystifies the process, making it accessible even for those less technically inclined. Many users overlook crucial pre-setup steps, leading to later connectivity issues. For instance, manufacturer specifications for most Wi-Fi cameras recommend a signal strength of at least -70 dBm for stable operation. This guide will cover checking that and much more.
Why Setting Up Your Security App Needs a Smart Approach
Configuring your security system app correctly is more than just downloading an app; it's about building your home's first line of defense. A well-set-up system acts as your eyes and ears when you're away, capturing important events and alerting you instantly. If you've ever worried about package theft or what your pets are doing, this is where that peace of mind begins. The goal is to create a reliable, responsive system. This involves understanding how your devices communicate and how the app translates that information into actionable alerts. A misconfigured setup can result in missed events or constant, unnecessary notifications, both diminishing the system's value. This setup process is critical for ensuring your security investment delivers.
Quick Answer
To set up a security system app, download the official app, create an account, and then add your security devices one by one. Connect each device to your home Wi-Fi network and configure its settings within the app. Test the system thoroughly by triggering sensors and checking for notifications.
Getting Ready: What You Need Before You Start App Setup
Before downloading an app or plugging in a device, vital groundwork steps are necessary. Think of this as prepping your home's nervous system for a new addition. Getting this right saves significant frustration later.
Your Home Network Checklist
Your home's Wi-Fi network is the backbone of most modern security systems. Spotty or overloaded Wi-Fi will negatively impact your security system.
- Stable Internet Connection: Ensure your internet service provider (ISP) plan can handle the additional bandwidth, especially with multiple cameras. Cameras can consume 2GB to 10GB of data monthly per device, depending on resolution and usage.
- Strong Wi-Fi Signal: Your router should be centrally located or powerful enough to reach all security devices. Test signal strength using a Wi-Fi analyzer app on your smartphone. Aim for at least -70 dBm, as recommended by most device manufacturers.
- Router Security: Ensure your router's firmware is current and use a strong, unique password with WPA2 or WPA3 encryption. This prevents unauthorized network access, safeguarding your security system.
- 2.4 GHz vs. 5 GHz: Most security cameras and sensors utilize the 2.4 GHz band for its longer range. Confirm your router broadcasts this band and that it isn't oversaturated with other devices.
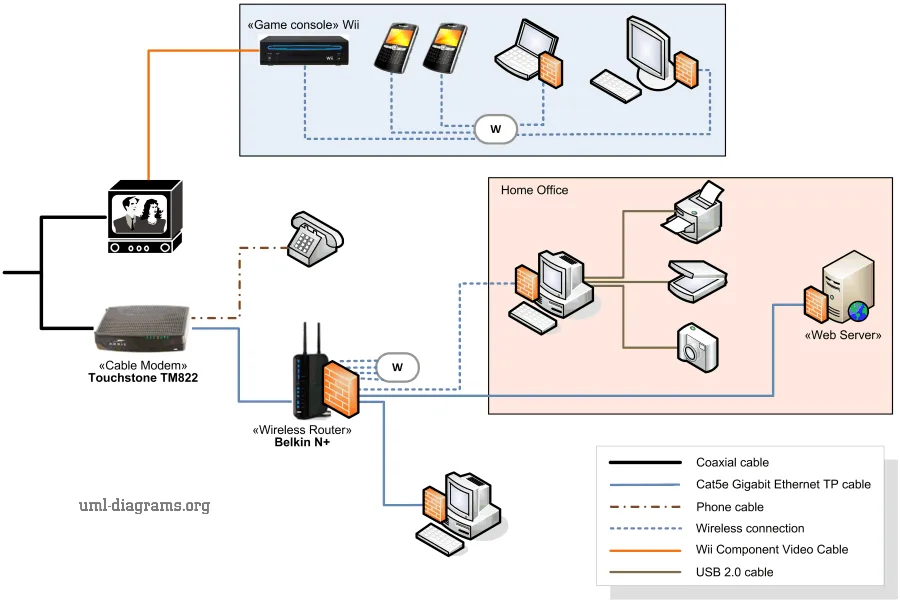
Image source: Bing (Web (fair-use with source credit))
Essential Hardware
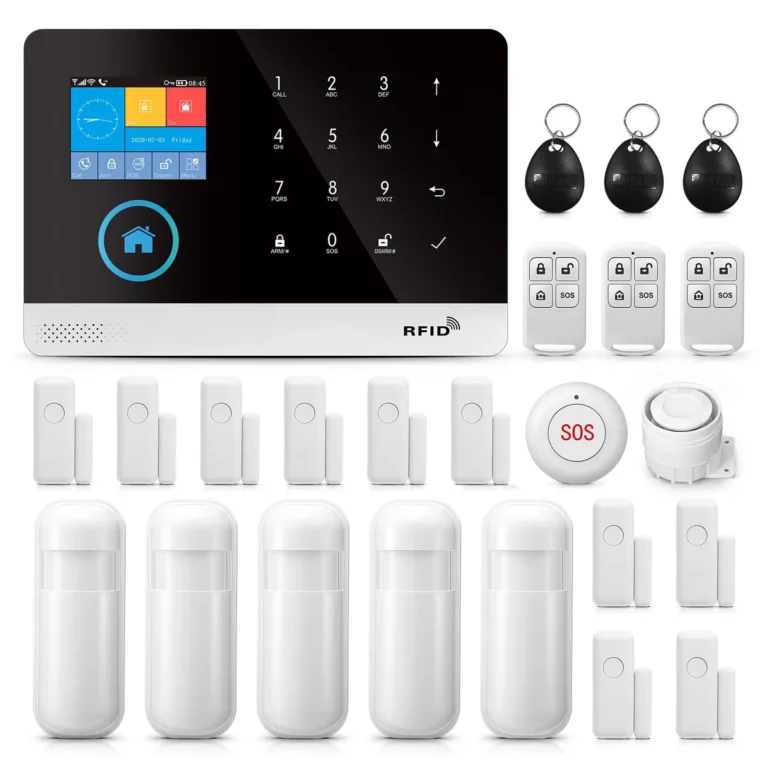
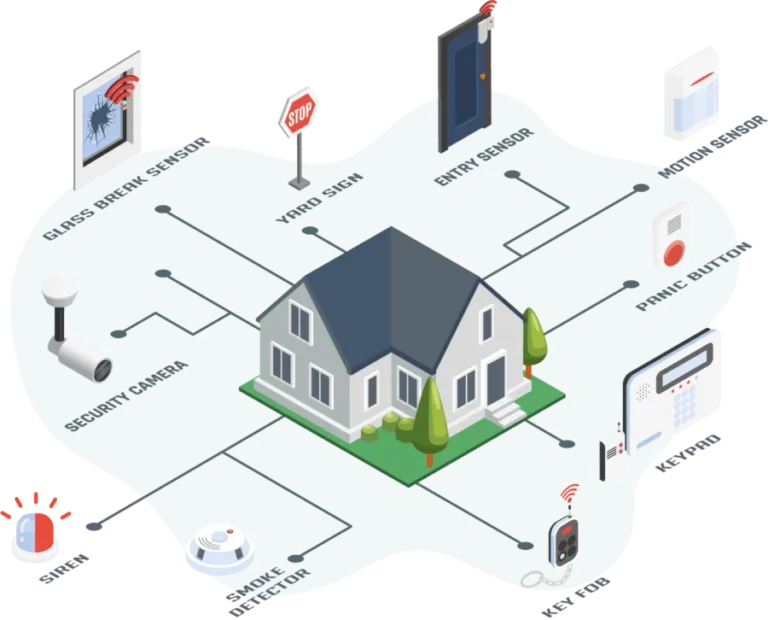
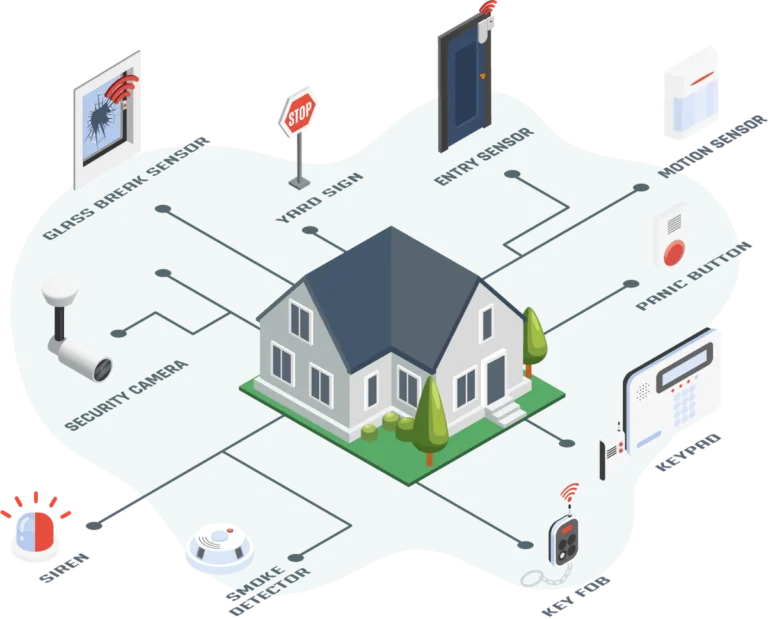
You'll need the actual security devices. These typically include cameras, sensors, and potentially a smart home hub.
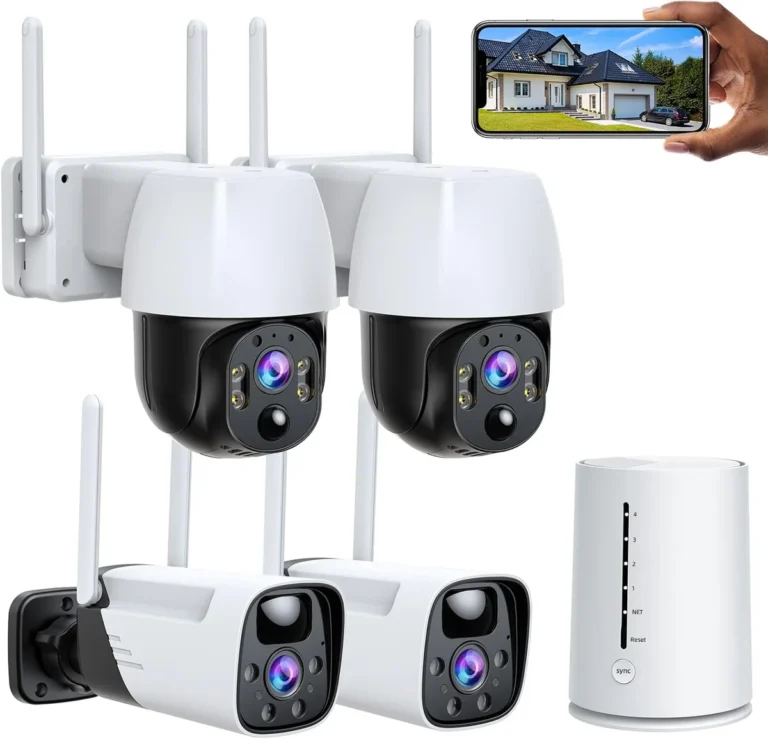
- Security Cameras: Indoor or outdoor, wired or wireless.
- Door/Window Sensors: Small magnetic contacts that detect breaches when an opening is disturbed.
- Motion Detectors: Infrared or microwave sensors that trigger upon detecting movement within a specific zone.
- Smart Home Hub (Optional): Some systems employ a central hub to link devices; others connect directly to Wi-Fi.
- Power Source: Ensure access to power outlets for wired devices or fully charged batteries for wireless ones.
Connecting Your System: The Core Setup Workflow
This is where your security devices come online and link to your chosen app. We will proceed step-by-step, ensuring each connection is solid.
Downloading and Installing the App
First, obtain the official app for your specific security system from your smartphone's app store.
- iOS Users: Search the Apple App Store.
- Android Users: Search the Google Play Store.
- Read Reviews: Before downloading, check recent reviews for recurring issues.
Tap to install. The app will likely request permissions for location, camera, and notifications; these are usually necessary for proper functionality.
Creating Your Account and Initial Login
Every security system app requires an account to manage devices and settings.
- Open the App: Launch the installed application.
- Sign Up: Locate the "Sign Up" or "Create Account" option.
- Enter Details: You will typically need an email address and a strong, unique password. Some apps support two-factor authentication (2FA) for enhanced security, which is highly recommended.
- Verify Email: A verification email will likely be sent. Click the enclosed link to confirm your account.
- Log In: After verification, log in using your new credentials.
Adding Your First Device (Cameras, Sensors, etc.)
Connecting your hardware is often the most engaging part. The process can vary slightly by brand, but the general principle remains consistent.
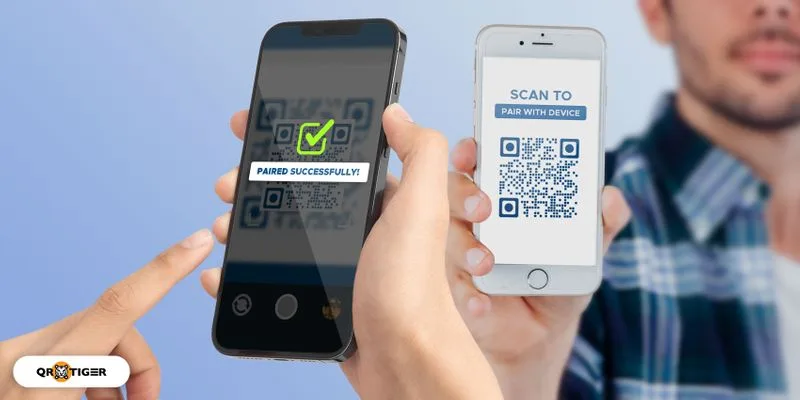
Image source: Bing (Web (fair-use with source credit))
- Find the "Add Device" Option: Within the app, navigate to sections like "Devices," "Add New," or a "+" icon.
- Select Device Type: Choose the device category (e.g., "Camera," "Door Sensor," "Hub").
- Follow On-Screen Prompts: The app will guide you through the specific pairing process. This may involve pressing a device button, scanning a QR code, or using Bluetooth.
- Device Power: Ensure the device is powered on and, if wireless, has fresh batteries.
Connecting Devices to Your Wi-Fi Network
This is a critical step. Most smart security devices need Wi-Fi to communicate with the app and the internet.
- Device Pairing Mode: Confirm your device is in pairing mode as directed by the app.
- Select Your Wi-Fi Network: The app will scan for available Wi-Fi networks. Choose your home network's SSID (name).
- Enter Wi-Fi Password: Carefully type your Wi-Fi password. Passwords are case-sensitive.
- Connection Process: The device will attempt to connect to your network, which may take a minute or two.
- Confirmation: The app, and often the device itself (indicated by a light), will confirm a successful connection. If it fails, re-verify your Wi-Fi password and ensure the device is near your router.
Configuring Basic System Settings
Once a device is connected, you'll want to set it up according to your needs.
- Device Naming: Assign a clear, descriptive name to each device (e.g., "Front Door Camera," "Living Room Motion Detector"). This is essential for managing multiple devices.
- Location Assignment: If supported by the app, assign the device to a specific room or zone in your home.
- Initial Notifications: You may be prompted to enable notifications for this device. It's usually best to enable them and refine later.
- Firmware Check: The app may automatically check for firmware updates for the new device. Prompt installation is advisable, as updates often include security patches and performance enhancements. You can typically find more details on device requirements at the manufacturer's official website.
Tailoring Your Security: Customizing App Features
With devices connected, the app's true power lies in customization to fit your lifestyle and security needs. This is where you fine-tune how your system alerts you and responds to events.
Setting Up Motion Alerts and Notifications
This is a cornerstone of app-based security. You want timely alerts without becoming desensitized.
- Notification Types: Decide which events trigger an alert. This could include motion detection, door opening, or specific sounds.
- Sensitivity Levels: For motion detectors and cameras, adjust sensitivity. Excessive sensitivity may trigger alerts from passing vehicles or pets. Insufficient sensitivity may miss actual movement.
- Notification Schedules: Many apps allow setting alert schedules. For instance, you might only want front door camera motion alerts when you're away.
- Push vs. Email: Choose your notification method. Push notifications are instant on your phone; email alerts can serve as a daily digest or catch missed pushes.
Adjusting Camera Views and Recording Options
For cameras, several settings impact what you see and how it's recorded.
- Recording Quality: Higher resolutions (1080p, 4K) offer clearer images but consume more data and storage. Lower resolutions conserve both.
- Recording Triggers: Cameras can often record continuously or only upon motion detection. Event-based recording conserves storage and battery.
- Activity Zones: Cameras frequently allow defining specific "activity zones" within their field of view. This directs the camera to alert only for motion within these areas, ignoring irrelevant activity like swaying trees.
- Night Vision Settings: Cameras typically feature automatic night vision. You can sometimes adjust the mode (e.g., infrared vs. color night vision, if available) or disable it.
Integrating with Smart Home Assistants (Optional)
Integrating with voice assistants like Amazon Alexa or Google Assistant can enhance convenience.
- Enable Skill/Action: In your voice assistant's app, enable the specific skill or action for your security system.
- Linking Accounts: This usually involves logging into your security system account via the voice assistant's app to establish the connection.
- Voice Commands: Once linked, use commands like "Alexa, show me the front door camera" or "Hey Google, arm the security system."
- Security Limitations: For security reasons, voice assistants typically cannot disarm systems via voice without additional verification or PIN codes.
Understanding User Permissions and Sharing Access
If you share your home or need to grant temporary access to caregivers or friends, the app likely offers user management features.
- Add Users: Invite other users via their email address.
- Permission Levels: Assign roles or permissions. Some users may have full control; others might only view camera feeds or disarm specific zones.
- Revoke Access: Easily revoke access for any user through the app at any time. This is a critical security feature.
- Audit Logs: Some systems maintain an activity log, detailing who accessed the system and when, which is invaluable for accountability.
Common Hurdles and How to Clear Them
Despite optimal setup, occasional snags may occur. Most are common and have simple solutions.
Troubleshooting Wi-Fi Connectivity Issues
This is perhaps the most frequent problem. If a device appears "offline" in your app:
- Check Router: Is your internet and Wi-Fi operational for other devices? If not, the issue lies with your router or ISP.
- Device Proximity: Is the device too far from the router? Temporarily move it closer to test connectivity. If it connects, consider a Wi-Fi extender or mesh system.
- Reboot Devices: Power cycle both your router and the security device. Unplug them, wait 30 seconds, and reconnect.
- Check App Status: Sometimes, issues stem from temporary app server problems. Check for service outage announcements from the manufacturer.
Dealing with False Alarms
False alarms are inconvenient and can lead to fines if authorities are dispatched unnecessarily.
- Adjust Sensitivity: Reduce motion detection sensitivity on cameras and sensors.
- Refine Activity Zones: For cameras, precisely set activity zones to exclude areas prone to false triggers (e.g., busy streets, swaying trees).
- Pet Immunity: If motion sensors have pet-friendly settings, ensure they are enabled and correctly configured for your pet's size.
- Sensor Placement: Verify door/window sensors are properly aligned and that doors/windows do not rattle in the wind, potentially triggering them.
Resolving App Glitches or Freezes
If the app becomes unresponsive or freezes:
- Force Close and Reopen: Close the app completely from your smartphone's multitasking view and reopen it.
- Restart Your Phone: A simple phone reboot can often resolve temporary software conflicts.
- Update the App: Ensure you are using the latest version of the security app. Developers frequently release updates to fix bugs.
- Check App Permissions: Verify that the app still has all necessary permissions enabled in your phone's settings.
Managing Battery Life for Wireless Devices
For battery-powered sensors and cameras, battery management is key.
- Use Manufacturer Batteries: Whenever possible, use the battery type recommended by the manufacturer. Off-brand batteries may offer shorter life or less reliable performance.
- Check Battery Status: Most apps display the battery level for each device. Monitor this and have replacements ready.
- Optimize Settings: Reducing motion detection frequency, notification alerts, or video streaming quality can significantly extend battery life.
- Environmental Factors: Extreme cold or heat can impact battery performance and longevity.
When Things Go Wrong: Advanced Troubleshooting and Support
Occasionally, basic fixes may not suffice. If initial troubleshooting steps fail, deeper investigation or external assistance may be necessary.
Many security system apps include "Help" or "Support" sections with knowledge bases addressing specific error codes or less common problems.
If app resources are insufficient, contact the manufacturer's customer support. Be ready to provide system details, the specific malfunctioning device, and troubleshooting steps already taken. They may guide you through device factory resets or in-depth network setting checks.
Advanced troubleshooting might involve router DHCP settings or port forwarding, though this is less common for typical consumer systems. For general wireless networking insights, resources like the Wi-Fi Alliance can be helpful.
Making Your System Work Smarter, Not Harder
With your security system operational, optimizing its performance unlocks its true value. This involves fine-tuning settings for maximum coverage, convenience, and effectiveness, ensuring the system serves you optimally.
Optimizing Camera Placement for Best Coverage
Strategic camera positioning significantly impacts visibility and footage utility.
- Identify Key Areas: Focus on entry points like doors, windows, driveways, and common interior spaces.
- Height and Angle: Mount cameras high enough to deter tampering but low enough to capture facial details if necessary. Angle them for the widest possible view, minimizing overlap and blind spots.
- Lighting Conditions: Consider natural light and potential glare. Direct sunlight can overexpose images; position cameras to avoid facing the sun directly during peak hours.
- Power and Wi-Fi: Ensure the chosen location has reliable power (for wired cameras) and a strong Wi-Fi signal. This is particularly critical for wireless cameras where a weak signal increases retransmissions and accelerates battery drain.
Leveraging Geofencing for Automatic Arming/Disarming
Geofencing uses your smartphone's location to automate security system control, offering significant convenience.
- How It Works: A virtual boundary ("geofence") is set around your home. When your smartphone leaves this boundary, the system can automatically arm. Upon re-entry, it can disarm.
- Setup: Enable geofencing within the app and define the home boundary radius. Specific rules, such as arming only when all doors are closed, can often be set.
- Multiple Users: If multiple household smartphones are linked, the system can arm when the last person departs and disarm when the first person returns, preventing accidental arming or vulnerabilities.
- Battery Impact: Be aware that continuous location tracking may increase smartphone battery consumption.
Regularly Updating Firmware for Security and Features
Firmware, the software running on security devices, requires regular updates.
- Security Patches: Manufacturers issue firmware updates to patch security vulnerabilities. Neglecting these updates can expose your system to cyber threats.
- Performance Improvements: Updates can also enhance device performance, introduce new features, or fix reliability bugs.
- Automatic Updates: Many apps offer automatic firmware updates, the easiest method for ensuring devices are current.
- Manual Updates: If automatic updates are unavailable or you prefer manual control, check for and install updates via the app. This process is usually straightforward; ensure devices remain powered and connected during updates. For current network security standards, consult the NIST Cybersecurity and Privacy Program.
Frequently Asked Questions About Security App Setup
How long does it typically take to set up a security system app and its devices?
Setup time varies, but for a basic DIY system with a few devices, expect 1 to 3 hours. This includes app download, account creation, device connection, and initial configuration. More complex systems with numerous sensors or cameras may require longer.
Do I need a strong Wi-Fi signal for all my security devices?
Yes, a strong and stable Wi-Fi signal is crucial for most smart security devices. Cameras, especially, need good bandwidth for live streaming and recording. Most manufacturers recommend a signal strength of at least -70 dBm, verifiable with a Wi-Fi analyzer app.
What happens if my internet goes down? Will my security system still work?
System functionality during an internet outage depends on the specific system. Many systems maintain local operation, allowing sensors to trigger alarms. However, remote notifications and live camera feeds via the app are typically unavailable without internet. Some professionally monitored systems can switch to cellular for critical alerts, but this is not a standard feature for all DIY setups.
Can I use my security system app without a subscription?
Many basic functions, such as live viewing and motion alerts, are often available without a subscription. However, advanced features like cloud video storage, professional monitoring, and extended event history typically necessitate a monthly or annual fee. Always review specific service plan details when purchasing.
How do I know if my security system is actually armed and working correctly?
After setup, perform a test. Arm the system and intentionally trigger a sensor (e.g., open a door, walk past a motion detector). You should receive an app alert and, if applicable, the alarm should sound. The app's status indicator should also confirm the armed state. Regular testing, ideally monthly, ensures continued functionality.
Your Personalized Security App Decision Guide
When setting up a security system app, preparation is paramount. Begin by verifying your home network's robustness to support devices, as indicated by signal strength metrics like -70 dBm. Once your network is ready, download the official app, create a secure account, and meticulously add each device, connecting them to your Wi-Fi. Follow the app's pairing and configuration prompts, assigning descriptive names to each device. Next, customize settings: fine-tune motion alerts, adjust camera recording options, and consider smart home integrations for added convenience. Always test your system thoroughly post-setup. If issues arise, troubleshooting common problems like Wi-Fi connectivity or false alarms often involves adjusting device sensitivity or placement. For ongoing reliability, remember to keep device firmware updated. As you continue to use and manage your system, remember that how often should a security system be replaced can depend on the technology's lifespan and evolving security features, typically between 5 to 10 years for the core components. Regularly assessing your system's performance and security against current standards will ensure your home remains protected.