Why Does My Motion Sensor Give False Alarms
Image source: Bing (Web (fair-use with source credit))
Why Your Motion Sensor Keeps Triggering False Alarms
It's incredibly annoying when your motion sensor decides to sound the alarm for no reason. You might be wondering, "Why does my motion sensor give false alarms?" It's a common problem that can leave you feeling frustrated and even a little less secure.
Often, these false triggers aren't due to a malfunction, but rather environmental factors or simple setup issues. For instance, according to manufacturer specifications, many sensors are designed to detect infrared (IR) energy changes, meaning anything that rapidly alters the heat signature in a room can cause a trigger.
Quick Answer
Motion sensors give false alarms due to environmental factors like direct sunlight, heat sources, or drafts, which can mimic human or pet heat signatures. Incorrect sensor placement, obstructions, high pet activity, or even dust can also trick the device. Addressing these triggers through environmental adjustments, proper placement, and sensitivity tuning usually resolves the issue.
Common Culprits Behind Motion Sensor False Alarms
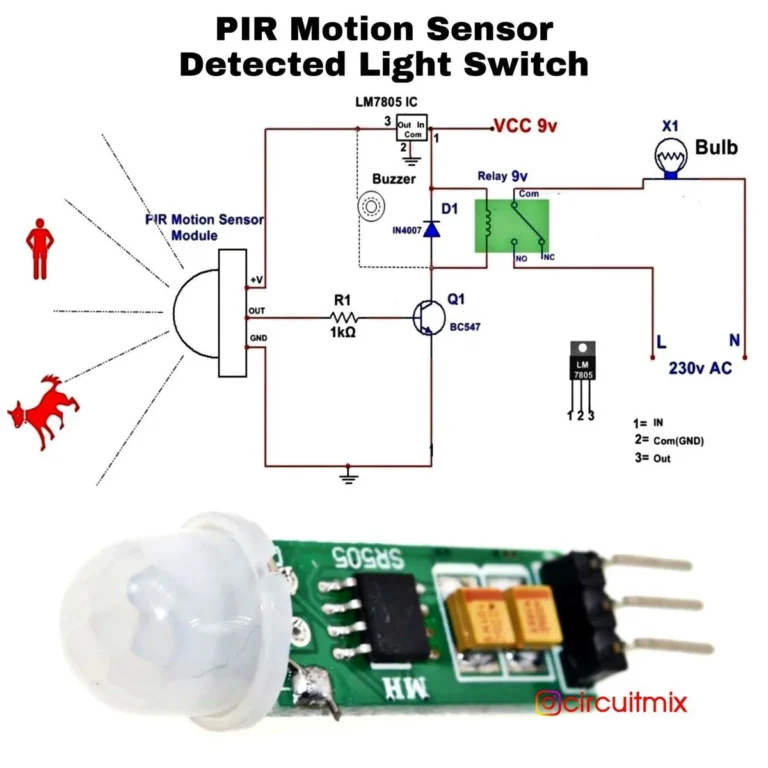
False alarms from motion sensors can stem from a variety of sources, often related to how the sensor interprets its environment. These devices are designed to detect changes in infrared energy, which typically signifies the presence of a warm body like a person or animal. When something else causes a similar heat signature or a rapid visual change within the sensor's field of view, it can lead to a false trigger.
Understanding these common causes is the first step in silencing those unwanted alerts.
Sunlight and Heat Sources
Direct sunlight is one of the most frequent culprits for false alarms. When sunlight beams directly onto a motion sensor, especially if it's moving across a room throughout the day, the rapid temperature change can fool the sensor into thinking there's movement.
- Sunlight: Beams of light that shift can cause rapid thermal changes.
- Heat Vents: Warm air blowing from HVAC vents can trigger a sensor.
- Radiators: Proximity to radiators or other heat-generating appliances can cause similar issues.
If your sensor is positioned where it receives direct sun or is in the path of a heating vent, try repositioning it. Sometimes, even a slight adjustment can make a significant difference in preventing those false triggers. Manufacturer specifications often recommend avoiding direct heat sources and sunlight to ensure reliable operation.
Drafts, Curtains, and Moving Objects
Anything that causes a subtle yet consistent movement in your monitored space can sometimes trick a motion sensor. Think about things that flutter or shift without any actual person present.
- Curtains and Blinds: If curtains or blinds are near a sensor and frequently sway due to drafts from windows or doors, this movement can be detected.
- Fans: Ceiling fans or portable fans can create air currents that move lightweight objects or fabrics.
- Loose Items: Anything lightweight that might shift or rustle, such as decorations or papers, could potentially cause a trigger.
It’s important to ensure that no items within the sensor’s detection zone are prone to movement caused by air currents or vibrations. A stable environment generally leads to a more reliable sensor performance.
Pets and Other Living Things
If you have pets, they're often at the top of the list for false alarm causes. Many motion sensors are designed with "pet immunity" features, but these have weight limits and aren't always foolproof.
- Pet Size and Weight: Sensors often have a pet immunity rating, for example, up to 40 lbs or 80 lbs. If your pet exceeds this, false alarms are likely.
- Pet Movement: Even smaller pets can trigger a sensor if they jump on furniture, run through the detection zone, or are particularly active.
- Wildlife: In some cases, small animals like rodents or even birds can inadvertently trigger sensors if they gain access to the area.
Image source: Web (Bing) / storage.googleapis.com (Web image (fair-use with source credit))
When setting up a sensor in a pet-friendly home, always consult the manufacturer's guidelines regarding pet immunity and mounting height. Sometimes, adjusting the sensor's angle or height can help it "see" over smaller pets.
Dust, Insects, and Physical Vibrations
While less common than heat or movement triggers, dust, insects, and vibrations can also contribute to false alarms. These are often overlooked but can be a source of persistent issues.
- Dust Buildup: A significant accumulation of dust on the sensor lens can sometimes interfere with its detection capabilities or cause slight changes that it interprets as movement.
- Insects: A crawling insect on the sensor itself or very close to its lens can trigger the device, especially if it’s a larger bug.
- Vibrations: Strong vibrations from nearby construction, heavy traffic, or even appliances can cause the sensor unit to shift slightly. If this shift is significant enough, it can register as a motion event.
Regular, gentle cleaning of the sensor lens with a soft, dry cloth can help mitigate dust and insect issues. For vibrations, ensuring the sensor is securely mounted to a stable surface is key.
Verifying Batteries and Connections
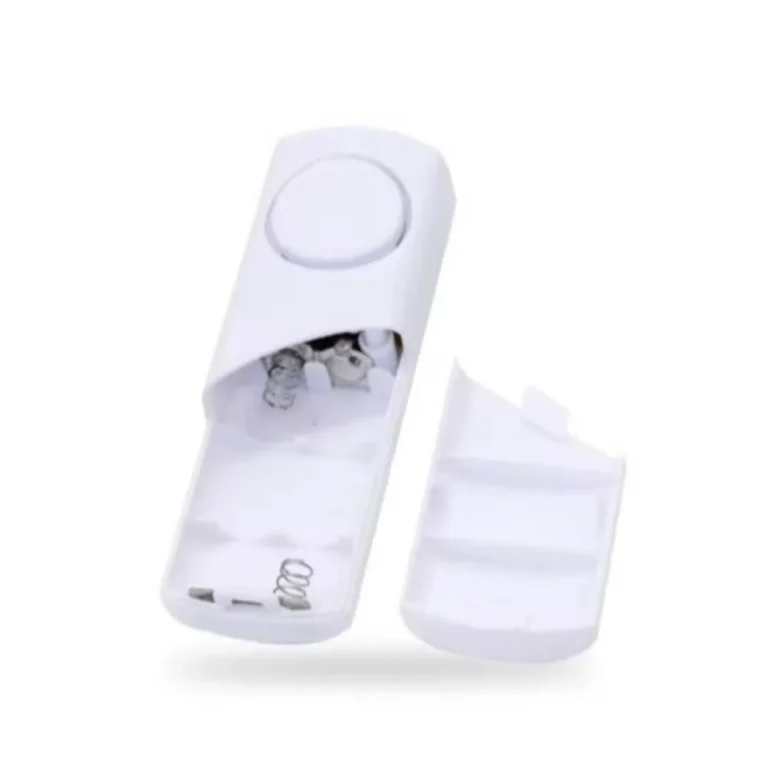
A simple but often critical aspect of reliable motion sensor operation is ensuring the power source is adequate and connections are secure. Even though motion sensors are designed for long battery life, low power can cause erratic behavior.
- Low Battery: When a sensor's batteries start to drain, its performance can become unpredictable. This can lead to delayed triggers, missed detections, or, conversely, false alarms as the sensor struggles to function correctly. Aggregate user reviews frequently report phantom triggers linked to nearly depleted batteries.
- Battery Type: Always ensure you are using the battery type recommended by the manufacturer, as incorrect types may not provide consistent power.
If your motion sensor uses batteries, it's a good practice to replace them periodically, perhaps once a year, or whenever the system indicates a low battery warning. This simple maintenance step can prevent a host of phantom alert issues.
Diagnosing the False Alarm: A Step-by-Step Workflow
When your motion sensor starts acting up, the best approach is a systematic one. Instead of randomly fiddling with settings, we’ll walk through a clear diagnostic process. This helps pinpoint the exact cause and allows you to take the right corrective action, just like following a troubleshooting guide for any complex device.
Step 1: Environmental Checks (Sun, Heat, Drafts)
Before touching anything else, let's thoroughly assess the immediate environment around your motion sensor. This is where most false alarms originate.
- Sunlight Mapping: Observe the sensor's location throughout the day. Does direct sunlight hit it? When does this happen? Even if it’s only for an hour, that brief intensity can cause a trigger.
- Heat Source Proximity: Identify any heat-generating appliances or vents within the sensor's detection range. This includes radiators, baseboard heaters, air conditioning vents, and even large electronic devices that produce heat.
- Draft Detection: Check for consistent airflow. Is the sensor near a window that’s often left open, a door that’s frequently used, or an area where air conditioning is strong?
If you find any of these environmental factors, your next step will be to mitigate their impact, likely by repositioning the sensor or blocking the direct influence.
Step 2: Re-evaluating Sensor Placement and Angle
Placement is absolutely critical for motion sensor accuracy. A sensor that's too low, too high, or pointed in the wrong direction is guaranteed to cause problems.
- Manufacturer Guidelines: Refer to your specific motion sensor’s manual. Most provide recommended mounting heights (often between 6 and 8 feet) and optimal angles for detection. Adhering to these is paramount.
- Detection Zone Overlap: Ensure the sensor isn't pointing directly at high-traffic areas that don't require constant monitoring, like a busy hallway or the immediate vicinity of a frequently opened door. You want it to cover the intended area, not an area of constant activity.
- Line of Sight: Crucially, ensure the sensor doesn't have a direct line of sight to windows, glass doors, or reflective surfaces that could bounce light or heat in a misleading way.
Think of the sensor's detection zone as a cone. You need to aim that cone effectively to cover your target area without picking up unwanted signals from the outside.
Step 3: Addressing Pet-Related Triggers
If you share your home with pets, they are a very common source of false alarms. Even with pet-immune sensors, understanding their behavior and the sensor's limitations is key.
- Weight Limits: Most pet-immune sensors are rated for pets up to a certain weight, typically between 40 and 80 pounds. If your pet is larger, or even if they are within the weight limit but prone to jumping, they can still trigger the sensor.
- Pet's Habits: Observe your pet's routine. Do they jump on furniture near the sensor? Do they have a favorite spot that falls directly within the sensor's detection path? Knowing their habits helps you predict potential triggers.
- Mounting Height Adjustment: For smaller pets, sometimes mounting the sensor slightly higher on the wall can help it "see" over them. However, be careful not to mount it so high that it loses its ability to detect humans effectively.
If pets are a consistent issue, you might consider sensors specifically designed for environments with high pet activity or look into alternative detection technologies if feasible.
Step 4: Simple Cleaning and Inspection
Sometimes, the most straightforward solutions are the easiest to overlook. A quick physical check and clean can resolve many minor issues.
- Lens Cleaning: Dust and cobwebs can accumulate on the sensor's lens over time. This buildup can slightly distort the sensor's view or affect its ability to accurately measure infrared levels. Gently wipe the lens with a soft, dry, lint-free cloth. Avoid using any cleaning sprays, as these can damage the sensor.
- Insect Check: A stray insect crawling on or very near the sensor's lens can sometimes trigger a false alarm. Perform a visual inspection around and on the sensor itself.
- Physical Obstructions: Ensure nothing has been placed too close to the sensor that could potentially obstruct its view or create phantom movement, such as a new piece of decor or a curtain that's shifted.
This simple maintenance step takes only a minute and can often clear up intermittent false alarm issues that might otherwise be hard to diagnose.
Step 5: Verifying Batteries and Connections
Power supply issues are a common, yet often underestimated, cause of erratic device behavior. Motion sensors, especially wireless ones, rely on stable battery power to function correctly.
- Battery Status: Even if your system doesn't explicitly show a low battery warning, a battery that is nearing the end of its life can cause inconsistent performance. This can manifest as a sensor that is either overly sensitive, leading to false alarms, or completely unresponsive. According to aggregate reviews of wireless security devices, phantom triggers are frequently reported in connection with batteries that are below 20% charge.
- Battery Type: Always use the battery type recommended by the manufacturer, as incorrect types may not provide consistent power.
If your motion sensor uses batteries, it's a good practice to replace them periodically, perhaps once a year, or whenever the system indicates a low battery warning. This simple maintenance step can prevent a host of phantom alert issues.
Adjusting Sensitivity Settings
Most modern motion sensors come equipped with adjustable sensitivity controls. This feature is your best friend when fine-tuning the sensor to your specific environment and needs, especially if you're experiencing frequent false alarms.
- How Sensitivity Works: Lowering the sensitivity makes the sensor less prone to reacting to minor environmental changes, such as slight air currents or small moving objects. Conversely, increasing sensitivity makes it more responsive to even subtle heat signatures.
- Finding the Sweet Spot: You'll often find a dial or a jumper setting on the sensor itself, or a setting within the associated security system's app or panel. Start by lowering the sensitivity one notch at a time. Test the system by simulating motion in the monitored area.
- Testing Protocol: After each adjustment, wait at least 24 hours to see if false alarms persist. If they do, make another small adjustment. It's a process of trial and error, but patience here is key. Manufacturer specifications suggest that most environments can achieve reliable performance with moderate sensitivity settings.
When to Consider a New Motion Sensor
If you've meticulously gone through all the troubleshooting steps and your motion sensor continues to plague you with false alarms, it might be time to consider replacing it. Older sensors can degrade over time, or you may simply have a model that isn't well-suited for your current environment.
- Sensor Age and Technology: Technology evolves. A sensor that's 5-10 years old might not have the advanced features, like better pet immunity or more sophisticated dual-element detection, that newer models offer. For example, current standards often favor dual-element sensors which use two separate infrared sensors to verify a heat signature, significantly reducing false positives compared to older single-element PIR (Passive Infrared) sensors.
- Environmental Mismatch: Sometimes, the sensor's fundamental design or intended use case just doesn't match your home. A sensor designed for an office with a controlled climate might struggle in a room with fluctuating temperatures or direct sunlight.
- Cost vs. Benefit: While replacing a sensor incurs a cost, weigh it against the ongoing frustration, wasted time, and potential for missed real security events caused by false alarms. As of 2026, quality wireless motion sensors can range from $20 to $100, offering advanced features at accessible price points.
Investing in a newer, more advanced motion sensor designed for your specific needs, whether that’s robust pet immunity or superior resistance to environmental interference, can be a worthwhile solution.
Frequently Asked Questions About False Alarms
### Why does my motion sensor keep going off at night?
At night, ambient temperatures often drop, making smaller heat sources like pets, rodents, or even strong drafts more noticeable to a motion sensor. Direct sunlight is no longer a factor, so the most common culprits become pets, drafts, or potential wildlife entering the detection zone.
### Can moving curtains cause a false alarm?
Yes, moving curtains, especially if they are lightweight and near a draft, can cause false alarms. The movement of the fabric can create enough of a visual and thermal change to trigger a sensitive motion sensor.
### How often should I replace motion sensor batteries?
It's generally recommended to replace batteries in wireless motion sensors every 12 to 18 months, or whenever a low battery warning is indicated by your security system. This proactive replacement helps prevent erratic behavior and false alarms due to power depletion.
### What is pet immunity on a motion sensor?
Pet immunity refers to a feature in motion sensors designed to ignore movement from pets below a certain weight threshold, typically ranging from 40 to 80 pounds. These sensors often use dual-element detection or specific mounting height requirements to differentiate between pets and human intruders.
### Is it normal for a motion sensor to need adjustments?
Yes, it's quite normal for a motion sensor to require adjustments, especially when first installed or if the environment changes. Factors like seasonal sunlight changes, new pets, or even rearranging furniture can necessitate recalibrating the sensor's placement or sensitivity settings.