Where Should I Place Indoor Security Cameras
So, you're wondering where to place indoor security cameras to get the best coverage and peace of mind? It’s a smart question because not all spots are created equal. Getting it right means you catch what matters, whether that's a potential break-in or just your dog chewing up the sofa again.
Manufacturer specifications confirm that optimal camera placement is key for effective home surveillance. For instance, many Wi-Fi cameras offer a wide field of view, often around 100-135 degrees, but even that can miss crucial angles if positioned poorly. Getting this decision right from the start saves you hassle later.
Quick Answer
Place indoor security cameras covering main entry points and high-traffic areas. Consider your primary goal: deterring intruders, monitoring pets, or watching family. Mount cameras at accessible entry points and in central hallways for security.
For pets or family, focus on their living spaces. Always ensure clear Wi-Fi and avoid direct sunlight.
Your Indoor Security Camera Placement Game Plan
Choosing where to put your indoor security cameras isn't just about plugging them in. It's a strategic decision based on what you want to monitor. Think of it like setting up a perimeter for your valuables and loved ones.
We've identified common goals and mapped out the most effective spots for each.
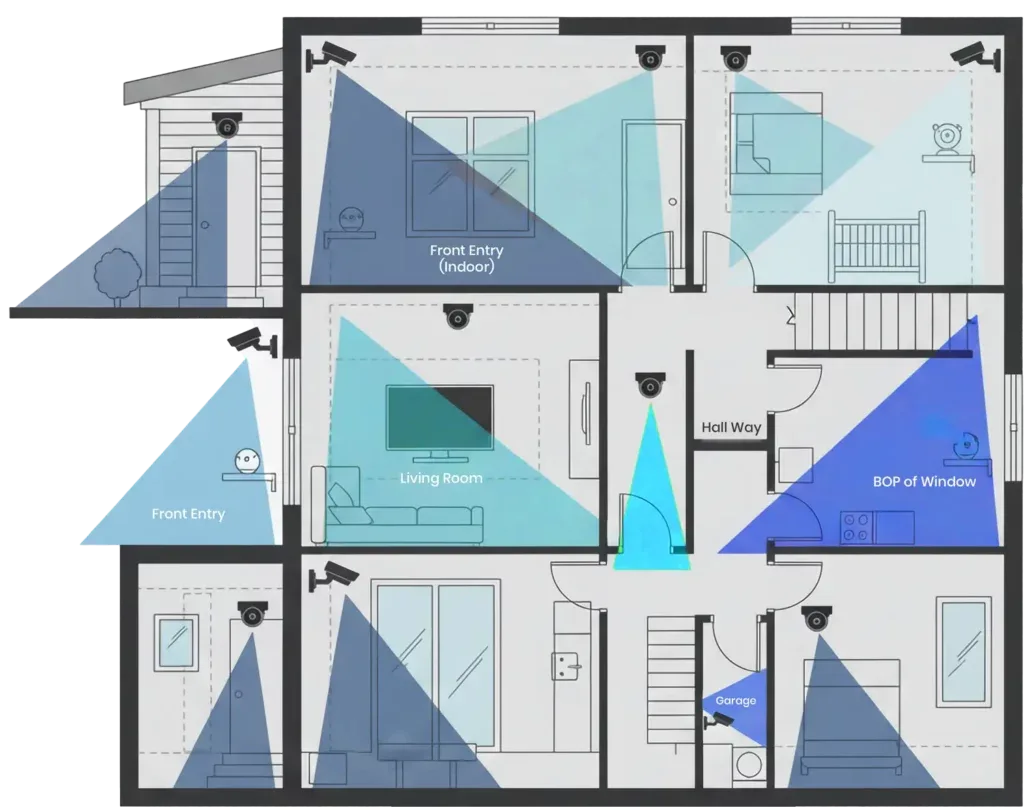
Image source: Bing (Web (fair-use with source credit))
What's Your Top Goal for Indoor Cameras?
Before you even unbox your cameras, we need to pin down your main reason for getting them. This single factor will steer every placement decision you make. If your goal is to catch package thieves, you’ll place cameras differently than if you’re just checking on your cat while you’re at work.
- Deterring Break-ins & General Security: Your priority here is covering entry points and routes an intruder would likely take. This is about creating a visible deterrent and capturing evidence if something happens.
- Monitoring Pets: If your furry friends are the focus, you'll want to see their favorite spots, where they sleep, eat, and play. This helps you spot distress or mischief.
- Watching Family: For kids coming home from school or checking on elderly relatives, you'll want visibility of main living areas and entry points to ensure their safety and well-being.
- Specific Area Monitoring: Perhaps you have a home office with sensitive equipment, a particular collection, or a room you want to keep an extra eye on for any reason.
Smart Spots for Deterring Break-ins
If your main concern is preventing home invasions or catching any unwelcome visitors, strategic placement is your best defense. These locations are prime targets for intruders and offer the most useful footage.
Entry Points: Doors and Accessible Windows
This is non-negotiable. Your front door, back door, and any ground-floor windows that can be easily accessed are the most vulnerable points.
- Why: These are the primary ways someone would attempt to enter your home. Capturing clear footage of faces and how they entered is critical for identification and police reports.
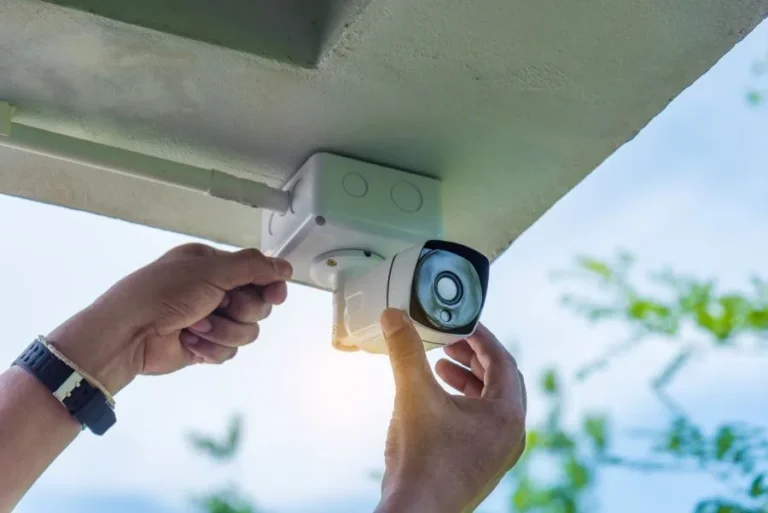
- Placement Tip: Mount cameras high enough to be out of easy reach but low enough to capture faces clearly. Corner placement within a room often provides a broader field of view, covering more of the entry point.
High-Traffic Hallways and Staircases
Once inside, intruders will move through your home. Hallways and staircases are the natural pathways to other rooms.
- Why: These areas act as choke points, allowing you to track movement and potentially record activity as someone navigates your home.
- Placement Tip: Aim cameras down the length of main hallways or position them to watch the top and bottom of frequently used staircases.

Image source: Web (Bing) / bugmancanada.ca (Web image (fair-use with source credit))
Common Living Areas
Rooms like the living room or main family room are often the first destinations within a home after entry.
- Why: If an intruder makes it past the initial entry points, this is where they are most likely to go. It can also catch activity if you have guests you want to monitor.
- Placement Tip: A corner placement in these rooms is usually best, offering the widest possible view of the space.
Best Placement for Pet & Family Monitoring
When your focus shifts to keeping tabs on your loved ones, whether they have fur or walk on two legs, the placement strategy changes. We're looking for visibility into their daily lives and activities.
Pet Hangouts & Feeding Spots
Understanding what your pets do when you're away can be incredibly insightful and reassuring.
- Why: Placing cameras where your pets spend most of their time, like their bed or near their food and water bowls, lets you see if they're eating, drinking, playing, or if they're showing signs of stress or anxiety.
- Placement Tip: Position cameras at their eye level for a clear view of their activities. Many pet-focused cameras have wide-angle lenses perfect for this.
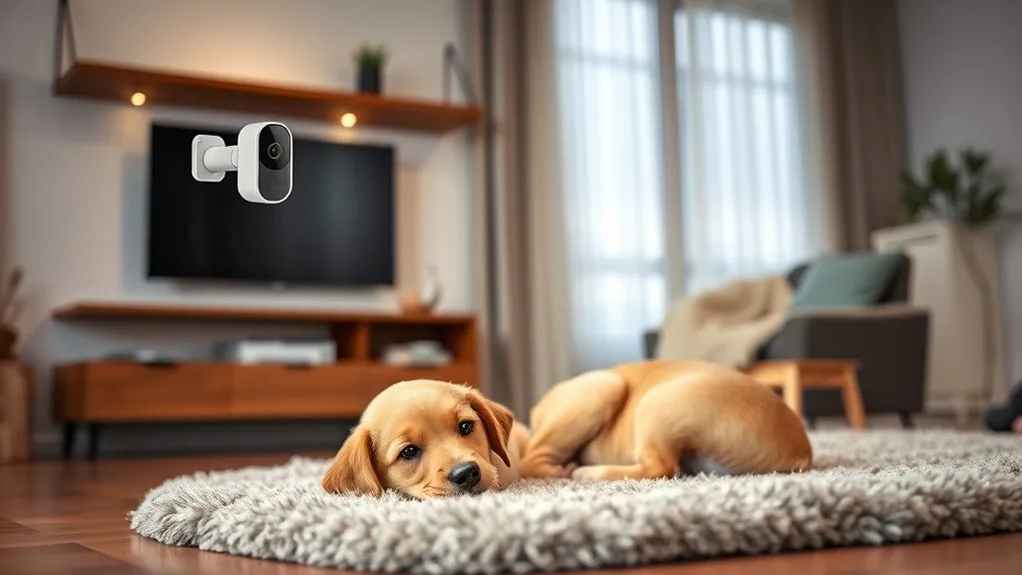
Image source: Bing (Web (fair-use with source credit))
Play Areas & Kid's Zones
For families, ensuring children arrive home safely and have a secure environment is paramount.
- Why: This placement helps you confirm that kids are home from school, are engaged in safe activities, and aren't getting into trouble. It provides peace of mind.
- Placement Tip: Mount cameras at a height that offers a good view of the main activity areas without feeling intrusive to the children.
Avoiding Common Camera Placement Mistakes
Even with the best intentions, placing your indoor security cameras incorrectly can render them ineffective. Avoiding these common pitfalls is crucial for maximizing your surveillance.
The Glare Trap: Sunlight and Windows
Pointing a camera directly at a window, especially one that gets direct sunlight, can ruin your footage.
- Why: Bright light from the sun can completely wash out the image, making faces or details indistinguishable. This is a common issue for cameras facing east or west windows.
- If-Then Logic: If a prime location has a window with direct sun, then try mounting the camera at an angle to avoid the direct glare, or consider a location that doesn't face the window directly.
Wi-Fi Dead Zones
Your camera is only as good as its connection. If your Wi-Fi signal is weak or non-existent in a spot, the camera won't be able to send you alerts or record footage reliably.
- Why: Many indoor cameras rely on a stable 2.4GHz or 5GHz Wi-Fi network. Weak signals mean dropped connections, missed alerts, and incomplete recordings.
- Recommendation: Before permanently mounting a camera, test your Wi-Fi strength in that exact spot using your smartphone. Most networks provide adequate coverage up to about 150 feet (45 meters) in open space, but walls and other electronics can significantly reduce this range.
Blocked Views and Blind Spots
It's easy to place a camera and assume it covers everything, but obstructions can create significant blind spots.
- Why: Furniture, tall plants, decor items, or even doors can partially or completely block the camera's view, meaning you miss important activity.
- Tip: Always do a live test from the camera's perspective once mounted. Walk through the area you want to monitor to ensure the camera sees everything it's supposed to.
Privacy Don'ts: Bathrooms & Bedrooms
While you want comprehensive coverage, respecting privacy is essential.
- Why: Placing cameras in bathrooms or bedrooms can be a serious invasion of privacy for family members and guests. It can also lead to legal issues depending on your location and agreements.
- Guideline: Unless there is a specific, agreed-upon need for monitoring (like with a caregiver for an elderly individual), avoid these private spaces. Focus on common areas and entry points.
Essential Camera Features for Smart Placement
To get the most out of your camera placement, certain features are essential. These aren't just nice-to-haves; they directly impact how and where you can effectively position your devices.
- Wide Field of View (FOV): A wider FOV means one camera can cover more area. Many indoor cameras offer 110° to 135° FOV. This is crucial for covering large rooms or multiple entry points with fewer devices.
- Night Vision: Essential for round-the-clock monitoring. Infrared (IR) LEDs allow cameras to see in low-light or no-light conditions. Check the specified range, typically from 10 to 30 feet (3 to 9 meters).
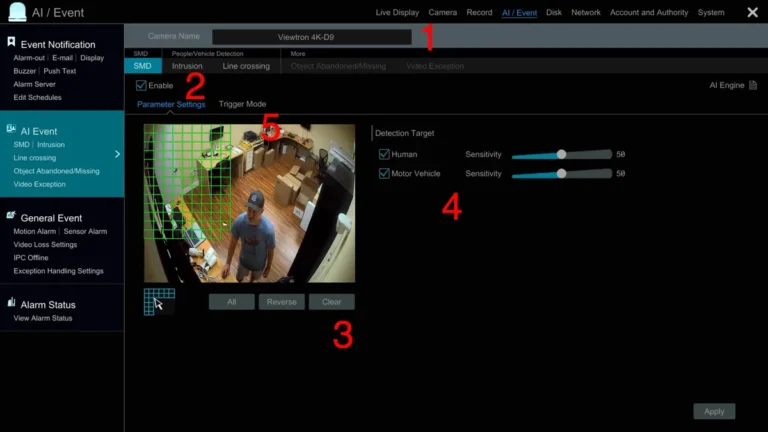
- Motion Detection: This feature triggers recording or alerts when movement is detected. Advanced models offer adjustable sensitivity and customizable detection zones, allowing you to ignore areas like a pet's usual path while focusing on a doorway.
- Two-Way Audio: Allows you to speak and listen through the camera. This is great for calming pets, greeting visitors, or even startling potential intruders remotely.
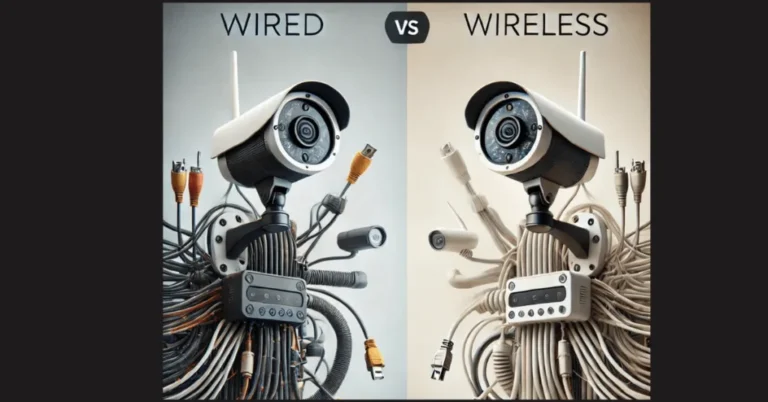
- Power Source Flexibility: Cameras are either wired (requiring an outlet) or battery-powered. Battery-powered cameras offer more placement flexibility but require regular charging or battery replacement. Wired cameras offer continuous power but are limited by outlet proximity.
- Resolution: Higher resolutions, like 1080p or 2K, provide clearer images, making it easier to identify faces and details. While not directly a placement feature, it impacts the overall usefulness of the footage captured from any spot.
Our research indicates that cameras offering 1080p resolution are the standard for clear, usable footage in most home environments.
Getting the Best View: Practical Installation Tips
Once you've chosen the ideal spot, the actual installation matters. Even a great location can be compromised by poor mounting or setup. Think about how the camera will physically be attached and ensure it's secure and discreet if needed.
- Mounting Options: Most indoor cameras come with mounting kits, usually involving screws and brackets. Some might use strong adhesive strips. For cameras placed on shelves or tables, ensure they are stable and won't be easily knocked over.
- Angle Adjustment: After mounting, you'll need to fine-tune the camera's angle. Manufacturer specifications often recommend a slight downward tilt to capture more of the foreground and less of the ceiling. A downward angle also makes it harder for someone to tamper with the lens.
- Cable Management: If you're using wired cameras, plan how you'll run the power cables. Tucking them along baseboards, behind furniture, or using cable raceways can make the setup look much cleaner and prevent tripping hazards. For battery-powered cameras, ensure you know how you'll access them for charging.
- Testing the Feed: This is the final, crucial step. Once installed, view the live feed on your smartphone or computer. Check for any blind spots, obstructions, or glare issues you might have missed. Adjust the angle as needed.
Frequently Asked Questions About Indoor Camera Placement
How do I ensure my camera has a good Wi-Fi signal?
Test your Wi-Fi strength in the desired spot using your phone's signal meter before mounting. If it's weak, consider moving the camera closer to your router, using a Wi-Fi extender, or repositioning your router. Aggregate user feedback suggests that a signal strength of at least three bars is ideal for reliable streaming.
Should I place cameras in corners or in the middle of a wall?
Corners often provide a wider field of view, allowing one camera to monitor more of a room or hallway. However, if a specific area, like a doorway, needs focused attention, mid-wall placement might be better. Always test the view from the actual camera perspective.
What's the best height to mount an indoor camera?
Generally, mounting cameras between 7 to 10 feet (2 to 3 meters) off the ground is recommended. This height is typically above eye-level for most people, making it less intrusive for occupants while still capturing clear footage of faces and activity. It also makes them harder for small children or pets to reach.
Can I use indoor cameras outdoors?
Most indoor cameras are not designed for outdoor use and lack the necessary weatherproofing (like IP ratings for dust and water resistance). Extreme temperatures and moisture can damage them, leading to malfunction. Stick to outdoor-rated cameras for exterior surveillance.
How many indoor cameras do I typically need for a home?
The number of cameras depends on your home's size and your security goals. For basic entry point monitoring, two cameras (front and back door) might suffice. For more comprehensive coverage, you might add hallway, living area, or even room-specific cameras, totaling four to six devices for a medium-sized home.