How to Install a Video Doorbell
Installing a video doorbell can feel a bit intimidating, especially if you're not super handy. But honestly, it's often a lot more straightforward than you might think. Getting this right means you'll have better peace of mind and a more secure home.
Let's break down how to install a video doorbell step-by-step, focusing on what you need to see to get it done right. Manufacturer specifications often confirm that a proper installation is key to performance, with many wired models requiring 16-24V AC power for optimal function.
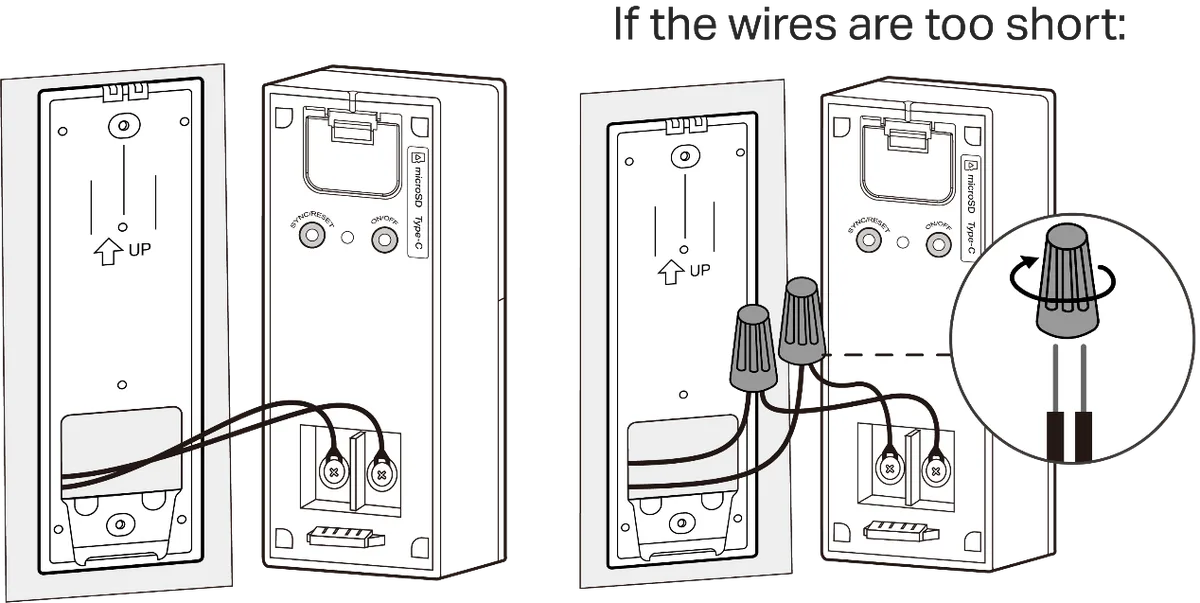
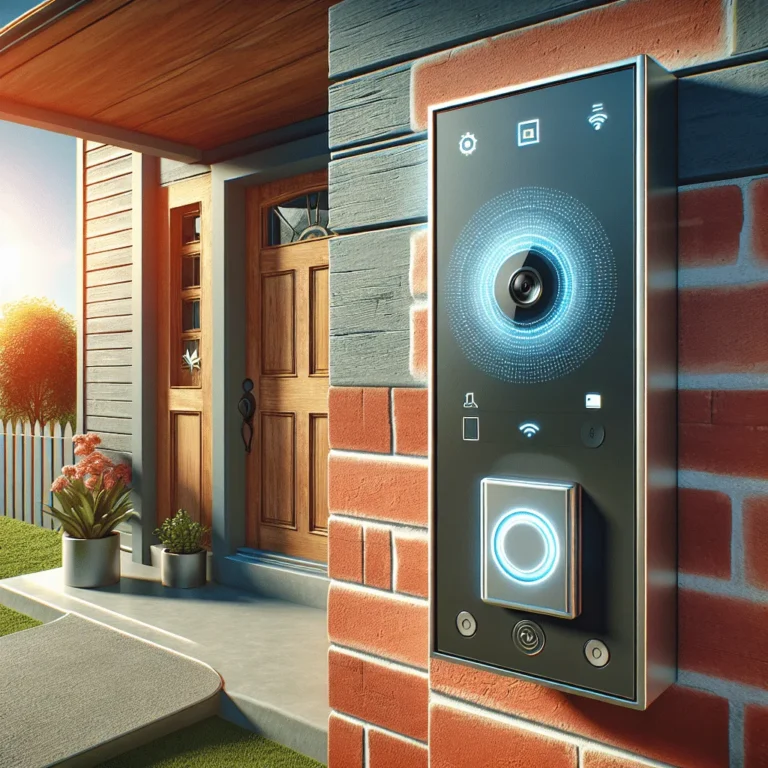
Image source: Bing (Web (fair-use with source credit))
Quick Answer
To install a video doorbell, turn off power at the breaker, remove your old doorbell, mount the new bracket, connect the wires to the doorbell unit, and then attach the doorbell. For wireless models, ensure batteries are charged before mounting.
Why You Need to See It to Install It Right
When you're looking at your front door, trying to figure out the best spot for a video doorbell, words can only go so far. You need to see how the wires should line up, what a securely mounted bracket looks like, and where to aim that camera lens. This isn't just about following instructions; it's about understanding the physical steps involved.
Visuals are crucial because they help you avoid common blunders, like drilling into a crucial electrical conduit or mounting the device at an angle that captures mostly sky. Manufacturer diagrams and video tutorials are often your best friend here, showing you exactly how components fit together.
What You'll Need for the Job: Tools and Your Doorbell Kit
Before you dive in, gather everything you need. This saves you trips back to the hardware store and makes the actual installation smoother.
Understanding Your Doorbell's Parts
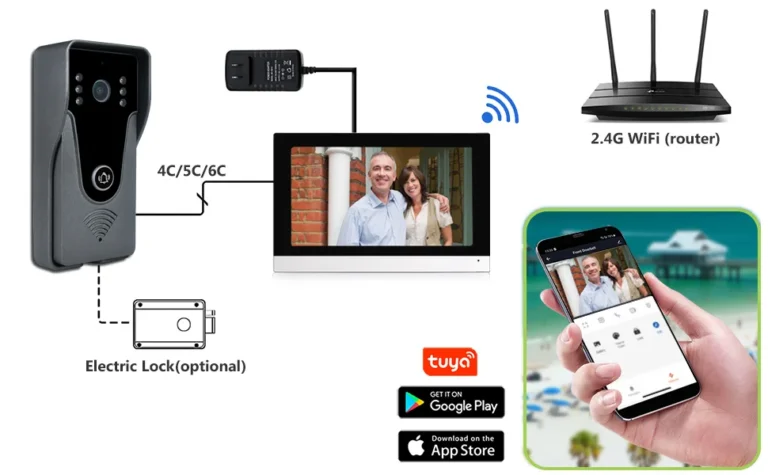
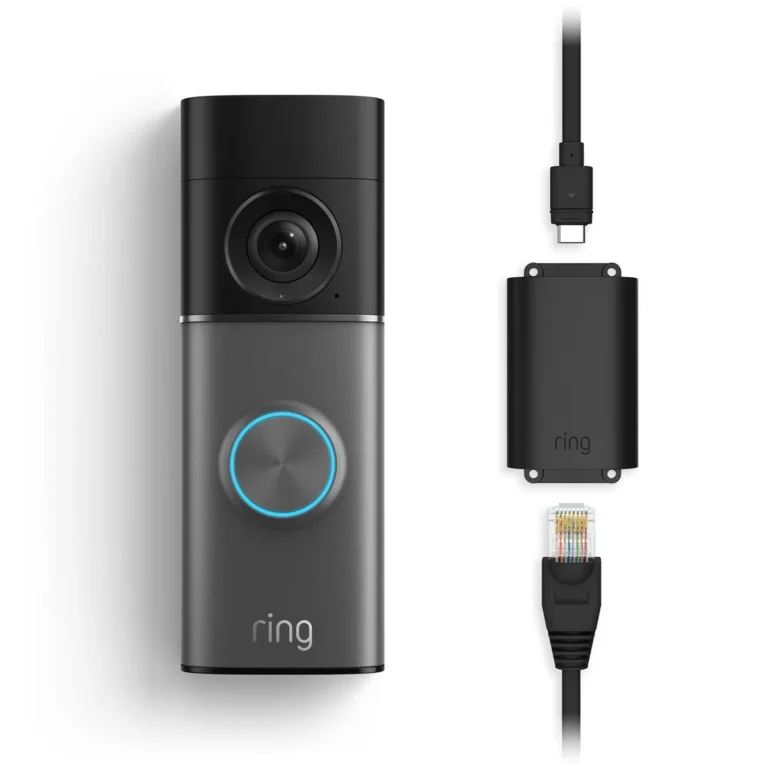
Your new video doorbell kit will come with several key components. Familiarizing yourself with these parts is the first step to a successful install.
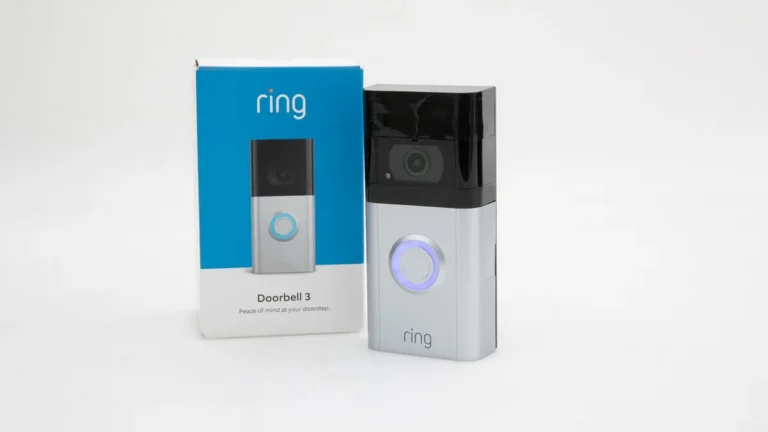
- Video Doorbell Unit: This is the main device with the camera, microphone, and speaker.
- Mounting Bracket: This piece attaches to your wall or doorframe and holds the doorbell unit. Some come with angled options to help you adjust the view.
- Wiring Harness/Connectors: For wired models, these allow you to connect your existing doorbell wires to the new unit.
- Screws and Anchors: For securing the mounting bracket to various wall materials.
- Wire Extensions/Spacers: Sometimes needed to accommodate existing wiring or adjust positioning.
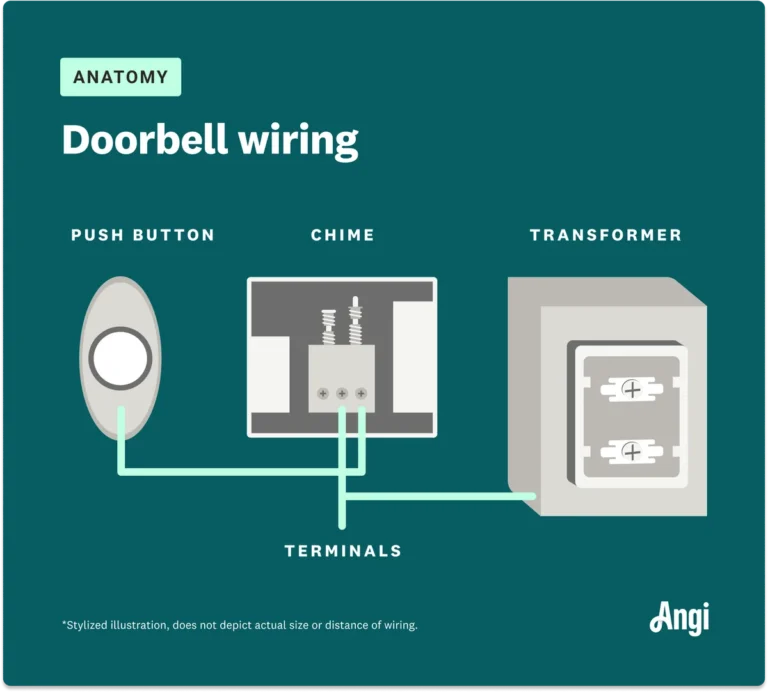
- Chime Connector/Block: For wired installations, this helps the doorbell communicate with your existing doorbell chime.
- Battery Pack (Wireless Models): Pre-charged or rechargeable batteries for battery-powered doorbells.
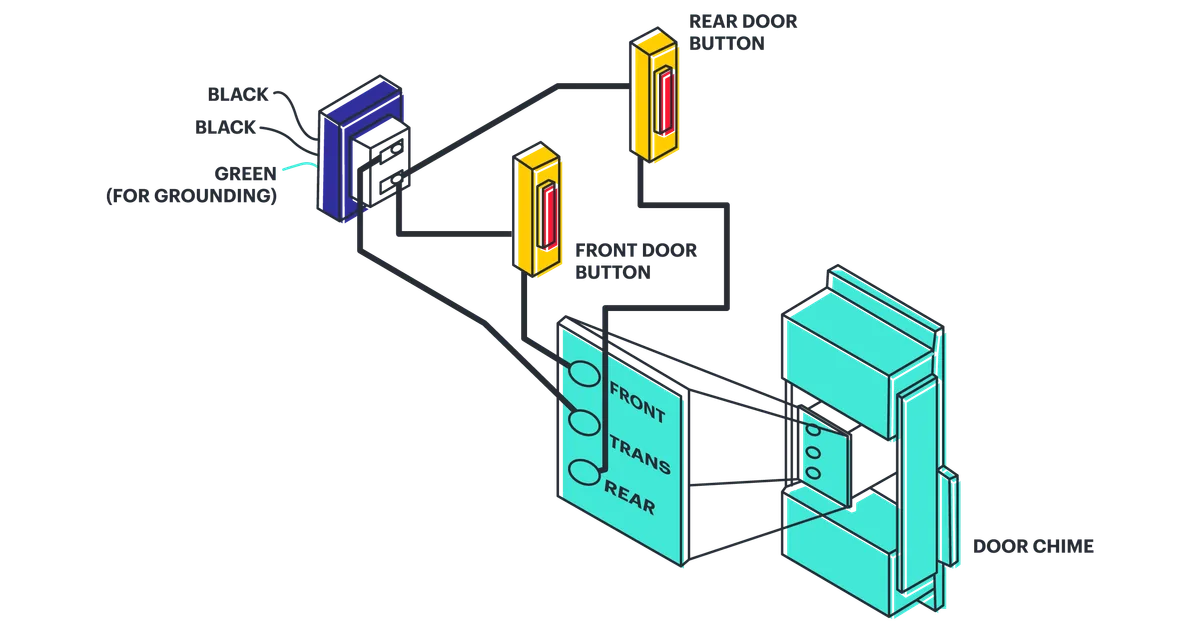
Image source: Web (Bing) / diagramboard.com (Web image (fair-use with source credit))
Essential Tools for the Task
You won't need a whole toolbox, but a few basic tools are a must.
- Screwdriver Set: Phillips head and flathead are usually needed for terminal screws and mounting screws. A powered screwdriver can speed things up.
- Drill with Drill Bits: For creating pilot holes or holes for wire passage. Masonry bits are needed for brick or concrete.
- Wire Strippers/Cutters: Essential for preparing the ends of existing doorbell wires.
- Pliers: Can be helpful for bending wires or holding small components.
- Level: To ensure your doorbell is mounted straight.
- Pencil/Marker: For marking drilling points.
- Voltage Tester (Non-Contact): Crucial for safety! This confirms the power is off before you touch any wires. You can find reliable non-contact voltage testers at most hardware stores. Per the National Electrical Code (NEC), ensuring power is off before working on electrical systems is a fundamental safety requirement.
- Ladder or Step Stool: If your doorbell is mounted high or low.
Step-by-Step: Getting Your Video Doorbell Wired and Mounted
This is where the actual work happens. We'll walk through the typical process, highlighting differences between wired and wireless models.
1. Powering Down: Safety First!
This is the absolute most important step. Before you touch any wires, you must cut the power to your existing doorbell.
- Locate Your Circuit Breaker Box: Find the breaker that controls your doorbell. It might be labeled "Doorbell," "Chime," or be on a general lighting circuit.
- Flip the Breaker Off: Make sure the breaker is in the "off" position.
- Test for Power: Use your non-contact voltage tester on your existing doorbell button to confirm the power is indeed off. Test all wires you'll be working with. If the tester lights up, the power is still on, and you need to find the correct breaker.
2. Removing the Old Doorbells (If Any)
Once the power is off, you can remove your old doorbell.
- Unscrew the Doorbell Button: This usually involves unscrewing a small cover plate or the button itself.
- Disconnect Wires: You'll see two wires attached to the back of the button. Unscrew them from their terminals. Don't let the wires slip back into the wall; secure them with tape if needed.
3. Preparing for Mounting: Location, Location, Location!
Choosing the right spot is critical for both functionality and aesthetics.
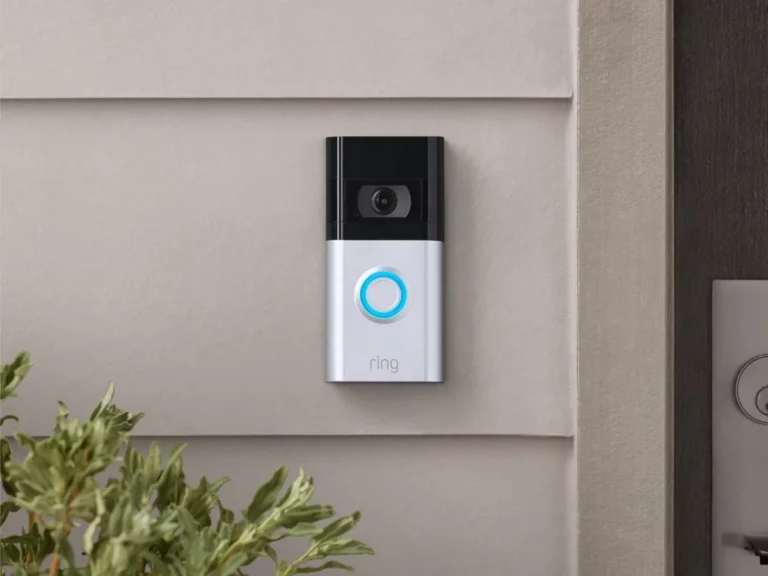
- Ideal Height: Most manufacturers recommend mounting the doorbell about 4 feet (1.2 meters) from the ground. This is generally at a good height to capture faces of approaching visitors.
- Field of View: Consider where you want the camera to look. Do you need to see the entire porch, or just the walkway? Angled mounting brackets can help if your door is set back or you have a specific viewing angle requirement.
- Proximity to Wi-Fi: For smart doorbells, a strong Wi-Fi signal is essential. Hold the doorbell unit (or its bracket) near the desired mounting spot and check your phone's Wi-Fi strength. If it's weak, you might need a Wi-Fi extender.
- Surface Material: The material of your wall (wood, brick, stucco, metal) will determine the type of screws and anchors you need.
4. Wiring It Up: Making the Connections
This step is where wired and wireless installations differ the most.
Visual Cues for Wired Doorbell Installation
For wired doorbells, you'll be connecting your existing doorbell wires to the new unit.
- Existing Wires: You should have two low-voltage wires.
- Connecting to the Doorbell: The doorbell unit will have terminals (often labeled "Front" and "Trans" or similar). Loosen these terminals, wrap one wire around each terminal, and tighten securely. It typically doesn't matter which wire goes to which terminal for most basic video doorbells, but always check your specific model's manual.
- Chime Connector: For wired installations, you'll often need to connect the doorbell to your indoor chime. This usually involves a small block that connects to your existing chime wires and the doorbell wires. Manufacturer instructions will guide you on this specific wiring, as chime types (mechanical vs. digital) can vary.
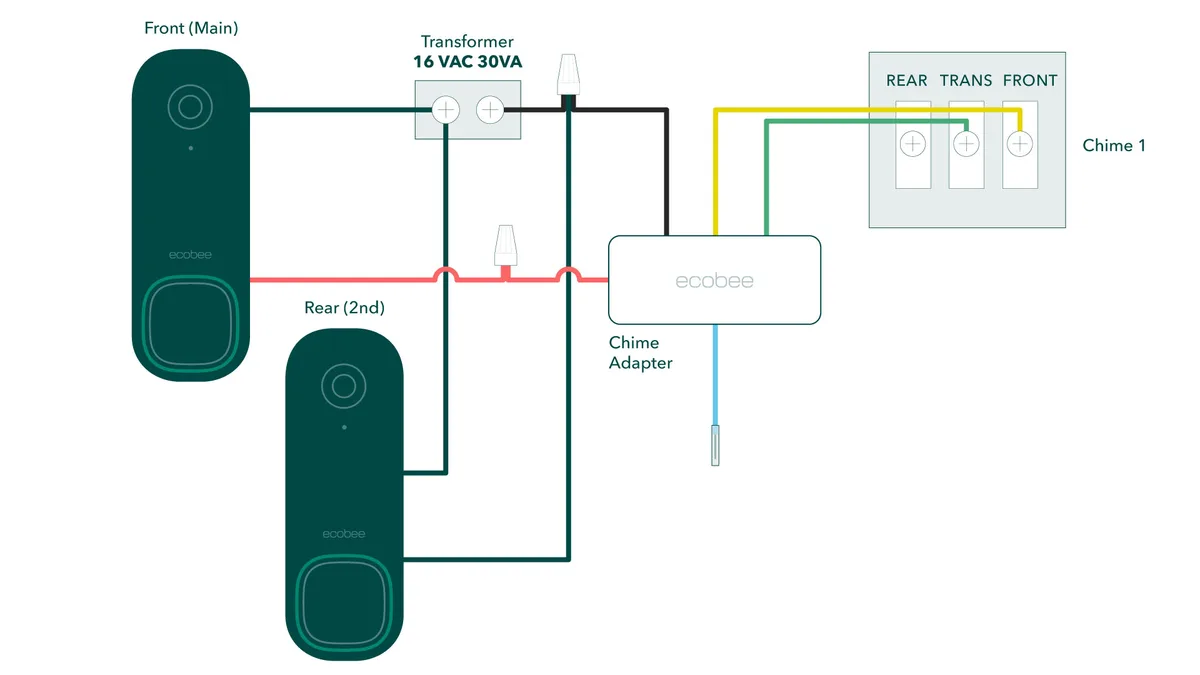
Image source: Web (Bing) / support.ecobee.com (Web image (fair-use with source credit))
Visual Cues for Wireless Doorbell Installation (Battery Setup)
Wireless doorbells offer more flexibility in placement since they don't rely on existing wires.
- Battery Installation: Most wireless units come with rechargeable batteries. These usually slide or clip into a compartment on the back of the doorbell unit. Ensure they are fully charged before installation; this can take several hours.
- No Wire Connection Needed: You won't be connecting any wires from your house. The doorbell is powered solely by its battery.
5. Mounting the Bracket and the Doorbell
With the wiring (or battery) sorted, it's time to secure the doorbell.
- Mark Pilot Holes: Hold the mounting bracket in place, use your level to ensure it's straight, and mark where the screws will go with a pencil.
- Drill Pilot Holes: Drill holes at your marks. If you're drilling into brick, stucco, or concrete, use appropriate masonry bits and insert wall anchors.
- Attach the Bracket: Secure the mounting bracket firmly to the wall using the provided screws and anchors.
- Attach the Doorbell Unit: For wired models, carefully tuck the wires into the wall opening before sliding or snapping the doorbell unit onto the bracket. For wireless models, the unit typically snaps or screws directly onto the bracket.
6. Restoring Power and Initial Setup
You're almost there! Time to bring the doorbell to life.
- Restore Power: Go back to your circuit breaker box and flip the breaker back on.
- App Setup: Most video doorbells require a smartphone app for setup and use. Download the manufacturer's app and follow the on-screen prompts to connect your doorbell to your Wi-Fi network. This often involves scanning a QR code on the doorbell or in the app.
- Testing: Once connected, test the doorbell by pressing the button. Check if the chime rings inside and if you receive a notification on your phone. Test the camera feed and two-way audio. Adjust the mounting bracket if the camera angle isn't quite right.
Tackling Common Installation Puzzles
Even with the best preparation, you might run into a snag or two. Here are some common issues and how to solve them.
Weak Wi-Fi Signal at Your Door?
This is a frequent headache. A weak signal means choppy video, delayed notifications, or the doorbell not connecting at all.
- Relocate the Router: If possible, move your Wi-Fi router closer to your front door.
- Use a Wi-Fi Extender or Mesh System: These devices boost your Wi-Fi signal throughout your home. Place an extender about halfway between your router and the doorbell's location.
- Consider Wired Ethernet: Some higher-end video doorbells offer an Ethernet option for a stable, hardwired internet connection. This eliminates Wi-Fi as a variable.
- Check Interference: Other electronic devices, like microwaves or cordless phones, can sometimes interfere with Wi-Fi signals.
Getting Your Chime to Work
If your doorbell rings but the indoor chime doesn't, it’s usually a wiring or compatibility issue.
- Check Wiring: Double-check the connections to your chime block. Ensure wires are secure and touching the correct terminals as per your doorbell's manual.
- Chime Type Compatibility: Most wired video doorbells are designed for standard mechanical chimes. If you have a digital chime, you might need a specific adapter or a replacement chime, as digital chimes often have different voltage requirements or signal patterns. Aggregate user reviews often highlight this as a common compatibility issue.
- Settings in the App: Some doorbell apps have settings to enable or disable the internal chime. Make sure this is turned on.
Troubleshooting Power Issues
If your doorbell isn't powering on at all, it’s usually one of a few things.
- Breaker is Off: Double-check that the correct circuit breaker is flipped back on.
- Loose Wires: For wired models, ensure the wires are making solid contact with the terminal screws on both the doorbell and potentially at your transformer. Loose connections are a frequent culprit.
- Insufficient Transformer Voltage (Wired): If your existing doorbell transformer is too low in voltage (e.g., 10V), it might not provide enough power for a video doorbell, which often requires 16-24V AC. You may need to replace your transformer with one that meets the doorbell's specifications. Manufacturer specs for video doorbells commonly list a minimum voltage requirement.
- Dead Battery (Wireless): For wireless models, the most obvious reason is a dead battery. Ensure it's fully charged or replace it if it's old.
When to Call in the Pros (or Rethink Your Approach)
While most video doorbell installations are DIY-friendly, there are times when it makes sense to get professional help. This can save you time, prevent costly mistakes, and ensure the job is done right.
- Unfamiliar Wiring: If your existing doorbell wiring looks ancient, is disorganized, or you're unsure about the voltage, it’s safer to call an electrician. Tampering with old wiring can be risky. Manufacturer specifications confirm that low-voltage wiring must be handled with care.
- No Existing Wiring: If you don't have any doorbell wires at all, running new wires can be complex. This is often a job best left to professionals, especially for a clean and code-compliant installation.
- Complex Mounting: If you have unusual wall materials, a very specific aesthetic requirement, or need to drill through a difficult surface, a professional installer can ensure it's done cleanly and securely.
- Repeated Failures: If you’ve tried the troubleshooting steps and your doorbell still won't power on, connect to Wi-Fi, or function correctly, it might be time to admit defeat and call for backup.
Frequently Asked Questions About Video Doorbell Installation
How long does setup typically take?
For a straightforward wired installation, you're usually looking at 30 to 60 minutes. Wireless installations can sometimes be quicker, often under 30 minutes once the battery is charged.
Can I install a video doorbell if I rent my home?
Generally, yes, but with caution. You'll need permission from your landlord to drill holes. For wireless models, installation is usually less intrusive.
Always check your lease agreement and get written consent before making any permanent modifications.
What if my doorbell button is broken or malfunctioning?
If your old doorbell button is already broken, you'll need to replace it with a new one before installing your video doorbell. If the existing wiring is damaged, it might be best to have an electrician assess and repair it first.
Do I need a specific type of transformer for a wired video doorbell?
Yes, most wired video doorbells require a transformer that outputs between 16-24V AC. Many standard doorbell transformers are only 10V, which is insufficient. You may need to purchase and install a compatible transformer, which is a job for someone comfortable with basic electrical work or a qualified electrician.
Can I use a solar panel to power my wireless video doorbell?
Some wireless video doorbells are compatible with optional solar panel accessories. These can help keep the battery charged continuously, reducing the need for manual recharging, provided your home gets enough direct sunlight.
Your Visual Checklist for a Successful Install
Before you power everything back on, do a quick visual check.
- Power Off: Confirm the breaker is off.
- Wires Secure: Ensure all wires are firmly attached to the terminals.
- Bracket Level: The mounting bracket should be perfectly straight.
- Doorbell Snapped In: The doorbell unit should be securely attached to the bracket.
- Wi-Fi Signal: (After powering on) Check your phone app for a strong Wi-Fi connection.
- Camera View: Make sure the camera's field of view is clear and captures what you need.