How Many Security Cameras Does a House Need
Ever wondered, "How many security cameras does a house need?" It's a question many homeowners wrestle with, trying to balance thorough protection with practicality and budget. Getting it right means understanding your specific property and what you aim to secure, rather than just guessing.
Our research shows that there's no single answer, but a personalized approach based on your home's layout and your security concerns can lead you to the perfect number. For instance, manufacturer specifications often detail optimal coverage angles, with wide-angle lenses typically covering up to 110 degrees, meaning fewer cameras might be needed for some areas. We'll guide you through this decision-making process.
Quick Answer
The number of security cameras a house needs varies greatly. Generally, 3-5 cameras cover most homes effectively. Prioritize critical entry points like the front and back doors, then expand to cover driveways, accessible windows, and blind spots.
Consider your property size and specific security worries.
Your Personal Security Camera Roadmap: Assessing Your Home's Needs
Figuring out how many security cameras your house truly needs isn't about buying the most expensive system; it's about smart strategy. Think of it like planning defenses for a castle, you wouldn't put a guard at every single stone, but you'd make sure the gates, walls, and key towers are well-watched. Your home has similar vulnerabilities and high-traffic areas that deserve primary attention.
We've found that homeowners often overestimate their needs. The goal is to achieve comprehensive coverage without overspending or creating a surveillance state that feels overwhelming. This roadmap breaks down your home into zones of importance, helping you assign cameras where they'll do the most good.
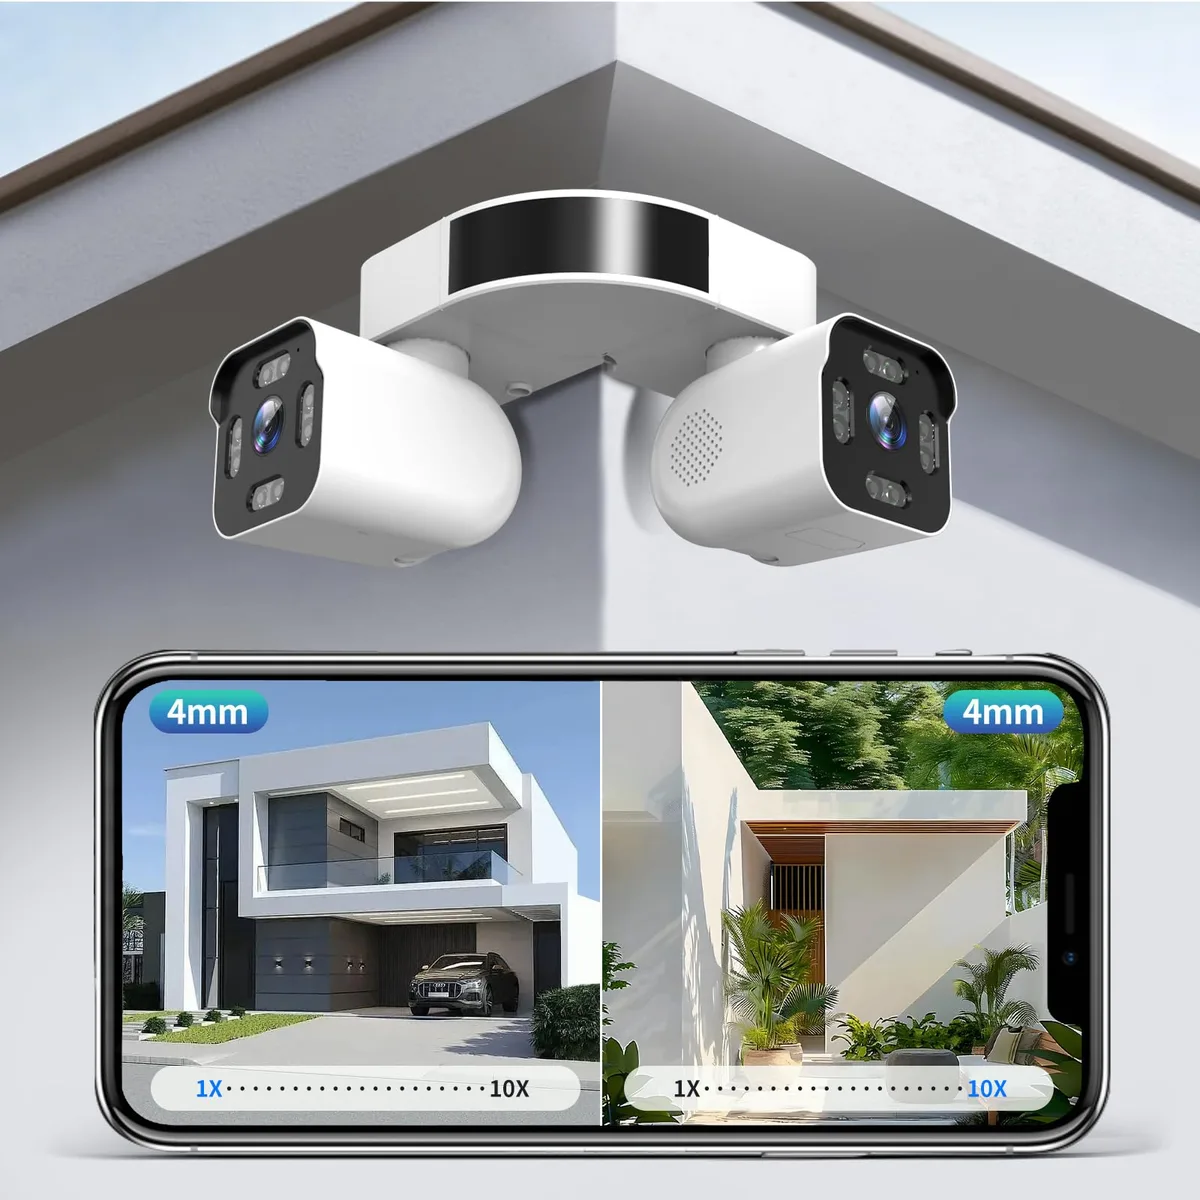
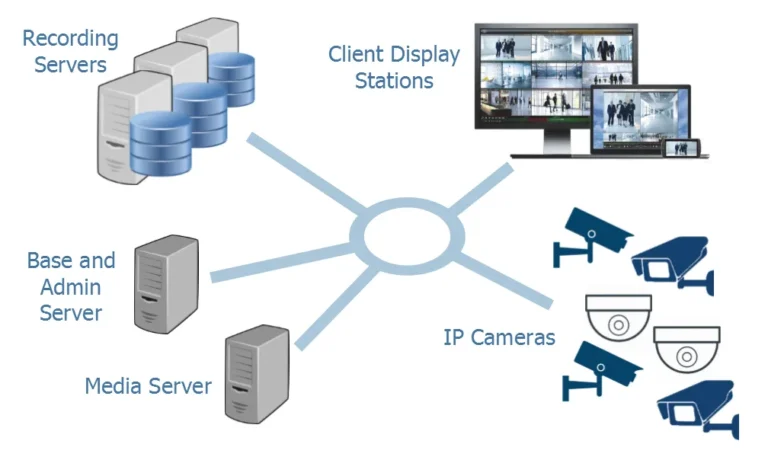
Image source: Web (Bing) / nellisauction.com (Web image (fair-use with source credit))
To start, you'll need to do a walk-around. Grab a notepad and walk the perimeter of your property, then go inside and check from different vantage points. What are the main ways someone could approach or enter?
What areas are most valuable to you? Answering these questions is the first step in building an effective, tailored security plan.
Step 1: The Essentials – Critical Camera Placement Zones
Every house can benefit from cameras at its most vulnerable points. These are the spots most likely to be targeted by intruders or where valuable assets, like delivered packages, are left. Manufacturer specifications consistently highlight these areas as critical for initial security camera deployment.
- Front Door: This is your primary entry point and the most obvious place to watch. A camera here can deter porch pirates and unwanted visitors, and provide clear footage of anyone approaching.
- Back Door/Patio Door: Often less visible from the street, these doors can be an easier target for break-ins. Ensure this entry is covered with a dedicated camera.
- Ground Floor Windows: Any window that's easily accessible from ground level, especially those that are secluded or not directly visible from the street, should be considered. A camera can deter potential entry and capture evidence if an attempt is made.
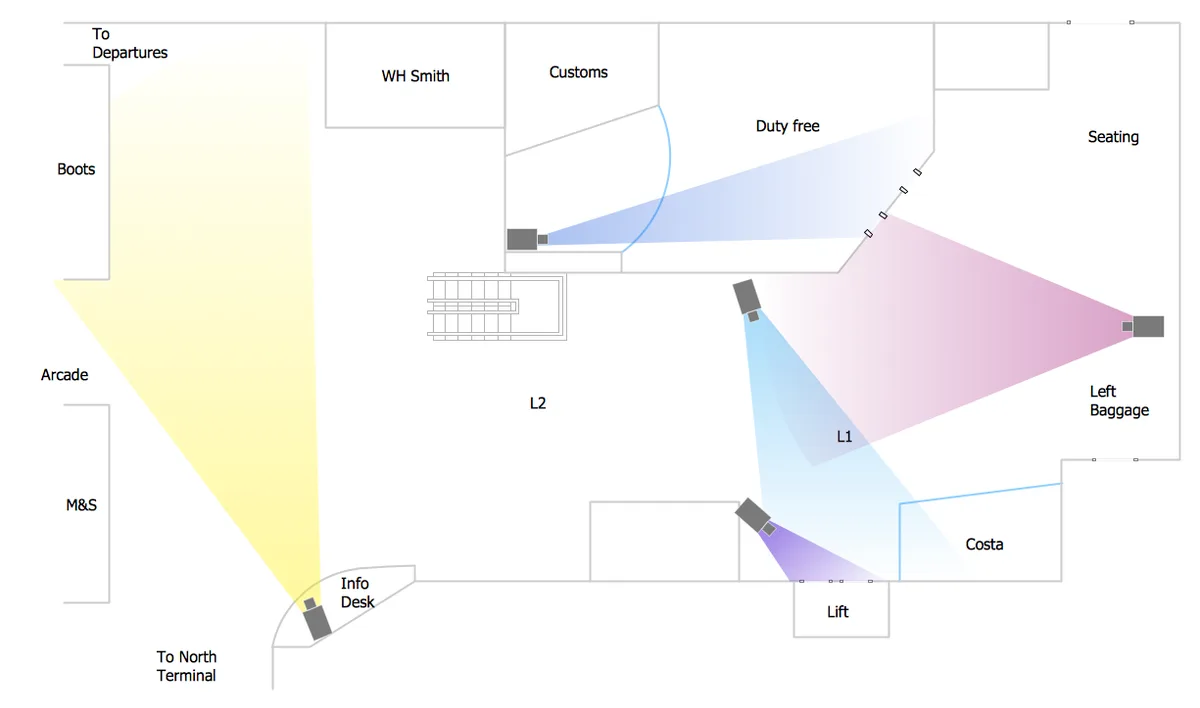
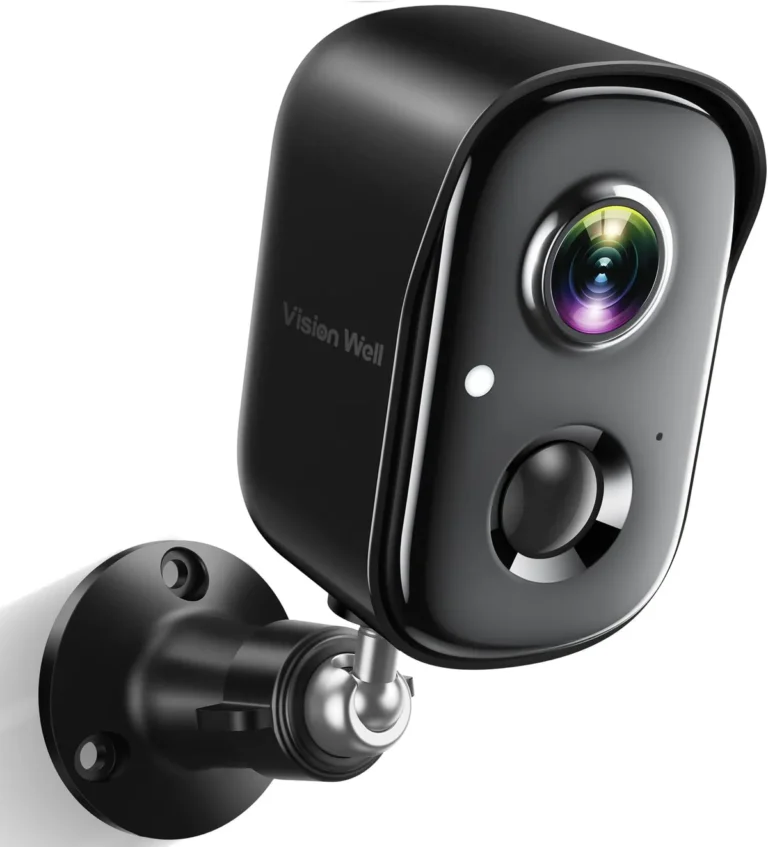
Image source: Web (Bing) / kr.pinterest.com (Web image (fair-use with source credit))
These three areas form the foundation of any home security camera system. For many smaller homes or apartments, securing just these spots might be sufficient. For larger properties, these are the non-negotiable starting points before you consider additional coverage.
Aggregate reviews report that neglecting these primary entry points significantly weakens a home's overall security posture.
Step 2: Expanding Your View – Covering Vulnerable Areas and Blind Spots
Once you've secured the essential entry points, it's time to think about the "extended perimeter" of your home. This involves looking at areas that might be less obvious targets but still pose a risk, or places where your cameras from Step 1 might have blind spots. The goal here is to create a layered defense.
- Driveway/Garage: If you have a detached garage or a long driveway, a camera can monitor vehicles, deter break-ins, and record any activity before it reaches your home's main entrance. This is especially important if your garage stores valuable items.
- Side Yards: These can be overlooked but offer hiding places for someone trying to approach unnoticed. Cameras placed here can catch anyone attempting to flank the house or access a rear door without being seen from the front.
- Any Accessible Upper-Story Windows: While less common entry points than ground-level ones, windows on the first floor or easily reachable balconies might still be vulnerable. Monitoring these adds an extra layer of awareness.
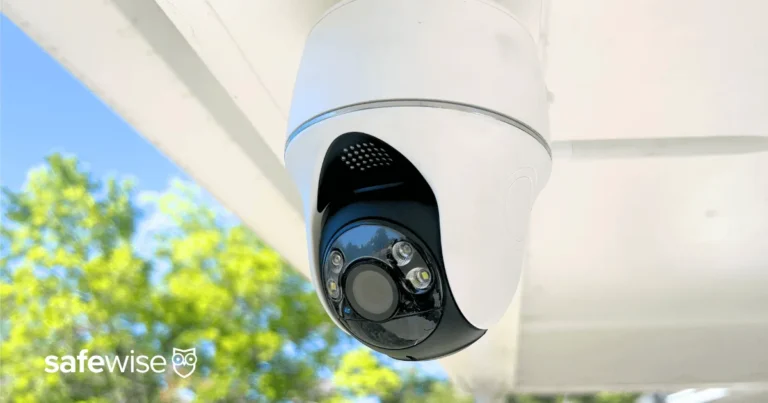
Image source: Web (Bing) / storage.googleapis.com (Web image (fair-use with source credit))
Identifying blind spots is key. These are areas around your property that you simply can't see from the street or from your existing camera locations. They often occur at the corners of the house, behind sheds, or in densely landscaped areas.
As of 2026, many smart home security systems can help you map these out, but a simple manual walkthrough is often just as effective.
Step 3: The "Nice-to-Haves" – For Extra Peace of Mind
After covering the critical entry points and extending your security perimeter, you might consider cameras for areas that offer additional peace of mind or monitor specific assets. These aren't usually mission-critical for basic home security but can be very valuable depending on your lifestyle and property.
- Backyard/Garden Areas: If you have a large yard, valuable landscaping, or outdoor recreational spaces where children play, a camera can provide monitoring for safety and to deter vandalism or unauthorized access.
- Pool Areas: For safety and to ensure the area is being used appropriately, especially if children are present.
- Detached Structures: If you have a workshop, guest house, or significant outdoor storage units containing valuable tools or equipment, a dedicated camera can offer protection for these separate areas.
- Interior Common Areas: Some homeowners opt for interior cameras in main living spaces, hallways, or near entry points for an added layer of monitoring, particularly for homes with frequent visitors or if you want to keep an eye on pets.
The decision to add these "nice-to-have" cameras often comes down to your specific concerns and budget. For example, a homeowner with a sprawling garden might prioritize a camera there, while someone with a detached workshop would focus on that structure first.
Step-by-Step Process: Planning Your Camera Layout
Thinking about your home's security camera count isn't a one-time decision; it's a process. It starts with assessment and ends with strategic placement. Follow these steps to ensure you're covering what matters most.
- Walk Your Property: As we’ve touched on, a thorough walk-around is non-negotiable. Start at the street and move around your entire property, both outside and inside. Note all potential entry points, secluded areas, and areas where you keep valuables.
- Map Vulnerabilities: On paper or a digital sketch, mark the areas you identified in step one. Think about how someone would approach your home. Are there clear lines of sight from the street, or are there hiding spots? This mapping exercise helps visualize your security gaps.
- Prioritize Zones: Based on your walk-through and map, rank your identified areas. Critical entry points (front door, back door) come first, followed by vulnerable exterior zones (driveway, side yards), then interior or less critical exterior areas.
- Determine Camera Types Needed: Consider the environment for each planned camera. Will it be exposed to direct sun or heavy rain? Does it need excellent night vision? This influences the type of camera (e.g., weatherproof outdoor camera vs. indoor dome camera).
- Select Camera Locations: Now, translate your prioritized zones into specific camera placements. For example, instead of just "driveway," specify "camera mounted on the garage exterior, pointing down the driveway." Consider power source access and Wi-Fi signal strength for wireless options.
- Estimate Camera Count: Based on the number of prioritized zones and the field of view of the cameras you're considering, estimate your total camera count. Remember, one camera can cover multiple angles if placed strategically, but don't sacrifice essential coverage for fewer cameras.
Mistakes to Avoid When Planning Your Camera Count
It's easy to get this wrong. We've seen homeowners who either spend too much on cameras they don't need or don't buy enough to cover critical areas. Here are some common planning blunders to steer clear of.
- Buying Too Many Cameras: Simply acquiring a large number of cameras without a strategic plan is wasteful. You might end up with redundant coverage or cameras in locations that offer little security value. Focus on quality of placement over sheer quantity.
- Ignoring Field of View Limitations: Assuming a single camera covers a large area is a frequent error. Even wide-angle lenses have limits. For example, a camera with a 110° FOV won't see everything, and blind spots will exist at the edges.
- Neglecting Power and Connectivity: Many overlook how cameras will be powered or connected. Wireless cameras need Wi-Fi, and battery-powered units need regular charging. Wired cameras require running cables, which can be challenging. Failing to plan for this can make installation difficult or impossible.
- Not Considering Night Vision Quality: If your cameras have poor night vision, they are essentially useless during the crucial nighttime hours when most burglaries occur. Always check the infrared range and low-light performance specifications.
- Overlooking Legal and Privacy Concerns: In some areas, there are regulations regarding camera placement, especially if they can view public spaces or neighbors' property. Be aware of local laws and ensure you're not violating privacy.
Expert Tips for Strategic Camera Placement
Getting the number of cameras right often comes down to smart placement. Even with fewer cameras, strategic positioning can provide robust coverage. Here's what seasoned security professionals advise.
- Mimic Intruder Paths: Think like someone trying to break in. Where would they go? Place cameras to monitor these likely paths and entry points. This helps you cover the most probable attack vectors.
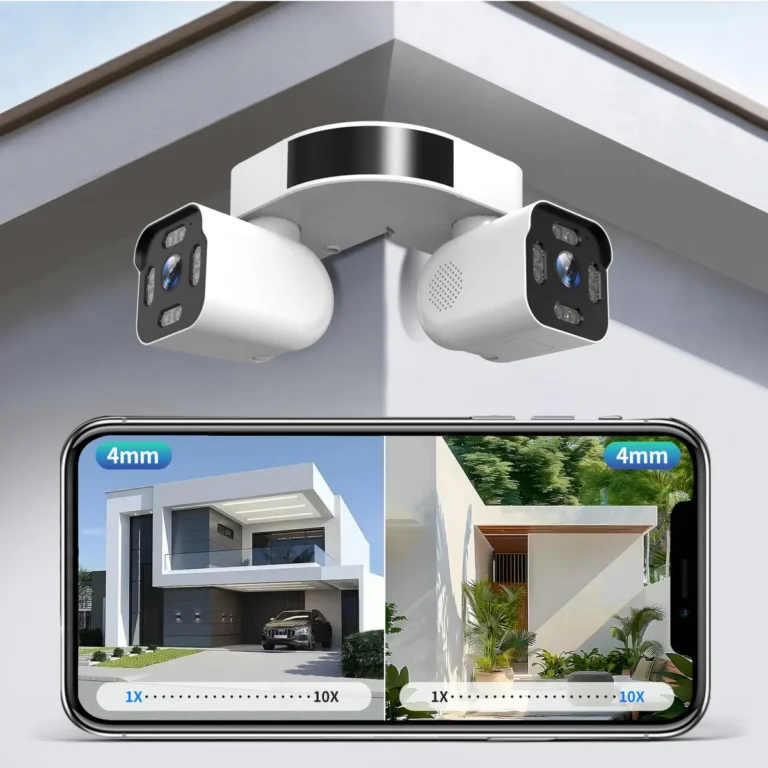
- Cover Corners and Intersections: Mounting cameras at corners can allow them to monitor two sides of a building or two intersecting areas, maximizing their view. For instance, a corner-mounted camera can watch both the front door and a side yard.
- Think About Lighting: Good lighting, both natural and artificial, aids camera performance. Cameras work best when they can see clearly. Avoid placing cameras where they'll be directly facing a bright light source, which can cause glare or overexposure.
- Elevate for a Better View: Mounting cameras at a height that’s difficult for someone to tamper with, but still allows for clear facial recognition, is ideal. Typically, 7-10 feet off the ground is a good range.
- Use Camera Angles Wisely: Position cameras so they look down rather than up, if possible. This helps capture clear facial features and makes it harder for an intruder to tamper with the camera without being seen.
Do I Need Interior Cameras?
The decision to install interior security cameras depends heavily on your specific needs and comfort level with surveillance within your home. While exterior cameras focus on deterring external threats and monitoring property, interior cameras can offer a different kind of security and peace of mind.
- For Monitoring Vulnerable Individuals: If you have children, elderly parents, or pets at home, interior cameras can provide a way to check in on them remotely. This is particularly useful if you work long hours or travel frequently.
- For High-Value Interior Assets: If you store sensitive documents, expensive art, or other high-value items within your home, interior cameras can offer an additional layer of security.
- For Monitoring Entry Points from Inside: Cameras placed in hallways leading to main doors can provide an extra visual confirmation of who is attempting to enter, even if they are already at the door.
- Privacy Considerations: It's crucial to address privacy when considering interior cameras. Ensure all household members are aware of their presence and location. Avoid placing cameras in private areas like bedrooms or bathrooms. Manufacturer guidelines and local regulations often dictate best practices for interior surveillance.
Ultimately, the number of interior cameras is a personal choice, balancing security needs with privacy concerns. For most, 1-2 well-placed interior cameras in common areas are sufficient for monitoring purposes.
How many security cameras does a house need? (Summary Decision Guide)
This table helps you quickly gauge your needs based on your property type and main concerns. Remember, these are starting points, and you can always adjust based on your specific walkthrough.
| Property Type / Concern | Essential Cameras (Min.) | Recommended Cameras (Ideal) | Key Areas to Cover |
|---|---|---|---|
| Small Home / Apartment | 2 | 3 | Front Door, Back Door, Accessible Window |
| Average Suburban House | 3 | 4-5 | Front Door, Back Door, Driveway, Side Yard, Accessible Window |
| Large Home / Estate | 5 | 6+ | All Entry Points, Driveway, Perimeter Gates, Detached Structures, Yard Access Points |
| Package Theft Concern | 1-2 | 2-3 | Front Door (direct view), Driveway/Street access |
| Monitoring Kids/Pets | 1-2 (Interior) | 2-3 (Interior/Exterior) | Play areas, Entry/Exit points, Main living spaces |
| Deterring Break-ins | 3 | 4-6 | All entry points, easily accessible windows, driveway, side yards |
This guide, informed by industry standards for residential security and aggregate user feedback, aims to provide a clear starting point. Always conduct your own property assessment for the most accurate camera count.