Why Is My CCTV Camera Not Working?
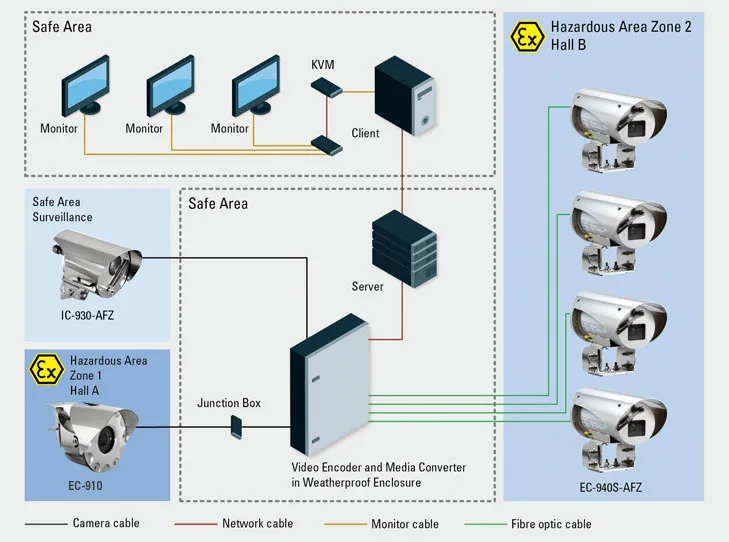
Image source: Web (Bing) / storage.googleapis.com (Web image (fair-use with source credit))
It's incredibly frustrating when your CCTV camera stops working, especially when you rely on it for security or monitoring. You’ve probably checked the obvious, but it’s still not giving you that clear picture you expect. Don't worry, most of the time, the fix isn't some complex technical overhaul.
We’ve gathered insights from manufacturer specifications and common troubleshooting reports to help you diagnose the problem efficiently. As of 2026, the fundamental reasons for a CCTV camera failure remain consistent. Let’s break down the potential issues step-by-step, starting with the most basic checks to get your system back online.
Quick Answer
Your CCTV camera might not be working due to a power issue, a faulty connection, a network problem, or software glitches. Check the power adapter, video cables, and network status first. Ensure your Digital Video Recorder (DVR) or Network Video Recorder (NVR) is operational.
Sometimes, a simple reboot or firmware update resolves the issue.
No Image on Screen? Let's Start Here
When your CCTV camera’s screen is completely black, the first thing to rule out is the most straightforward: is it actually getting power? A lack of power is the most common reason for a camera to appear dead. This applies whether you have a standalone IP camera or a system connected to a DVR/NVR.
Is the Camera Powered On?
If you're seeing no signal at all, the most likely culprit is a lack of power. A camera needs a stable power source to function, and if that’s interrupted, it simply won’t turn on. This is true for both wired and wireless models, though the power delivery methods differ.
- For wired cameras: Check the power adapter connected to the camera itself, or if it's a Power over Ethernet (PoE) setup, verify the PoE switch or injector is active.
- For wireless cameras: Ensure the battery is charged or the power adapter is securely plugged in.
Is the Recorder (DVR/NVR) On and Operational?
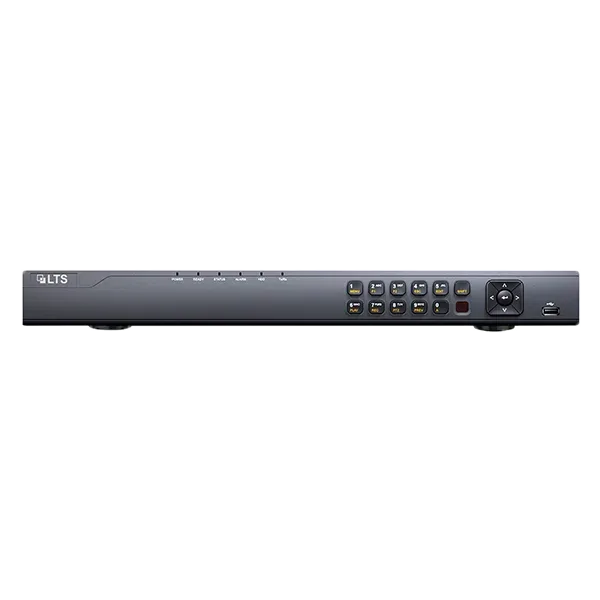
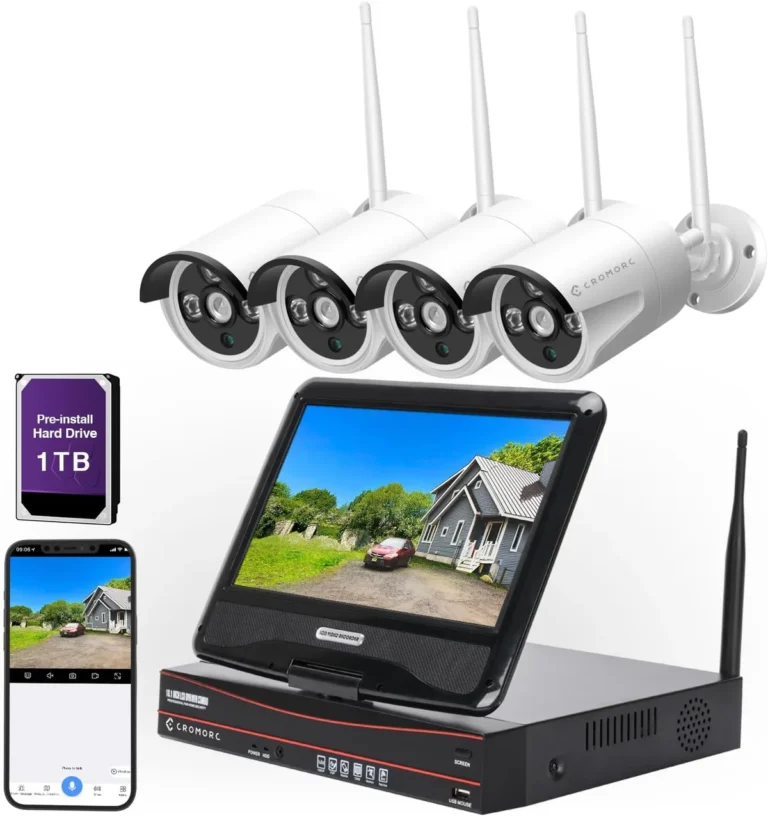
Before you dive deep into the camera itself, confirm that your Video Recorder, whether it's a Digital Video Recorder (DVR) for analog cameras or a Network Video Recorder (NVR) for IP cameras, is powered on and functioning correctly. If the recorder has issues, it won't display any camera feeds, regardless of whether the cameras are working. Look for power indicator lights on the recorder.
If the recorder is off or showing error lights, address that first. You can find more on troubleshooting recorder issues in our guide on keeping surveillance systems running smoothly.
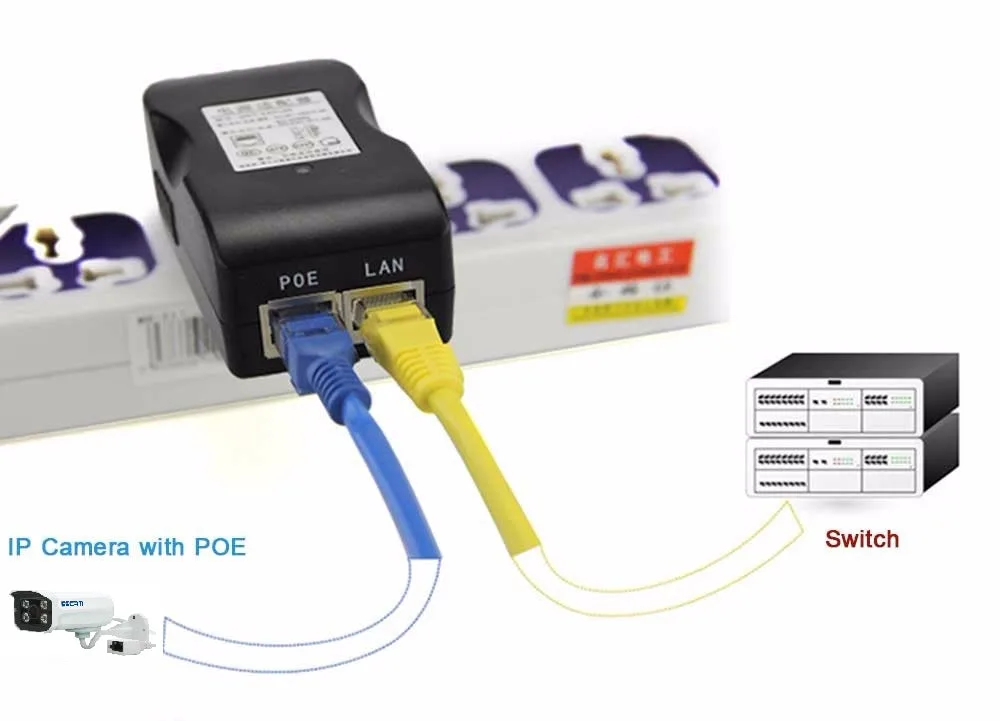
Image source: Bing (Web (fair-use with source credit))
The Screen's Black: Is It the Camera or the Recorder?
If the recorder is confirmed to be on and operational, but you still have a black screen for one or all cameras, the problem likely lies between the camera and the recorder. This could be the power supply to the camera or the physical connection transmitting the video signal. These are critical points where failure can stop the entire feed.
Checking Power to the Camera (Adapters & PoE)
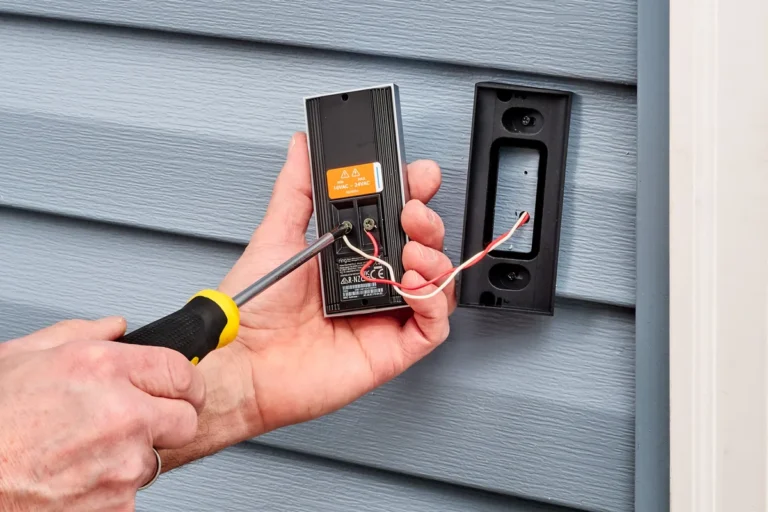
For cameras that use a dedicated power adapter (typically 12V DC), ensure the adapter is firmly plugged into both the camera and a working power outlet. Sometimes, power strips can fail, or the outlet itself might be dead. Try plugging another small appliance into the same outlet to verify it's active.
If your system uses Power over Ethernet (PoE), the camera receives both data and power through a single Ethernet cable. You'll need to check the PoE switch or injector.
- PoE Switch: Confirm the switch is powered on and the specific port the camera is connected to is active. Some switches have indicator lights for each port, showing power status and network activity.
- PoE Injector: If you're using an injector, check that it's plugged into a working outlet and that its power indicator light is on. The Ethernet cable from the injector then connects to your camera.
If you suspect the power adapter or PoE injector itself is faulty, and you have a spare or another identical device, swapping it out is a good diagnostic step. Manufacturer specifications often detail the required voltage and amperage for their cameras, so ensure any replacement adapter meets these needs.
Checking the Video Cable Connection (Camera to Recorder)
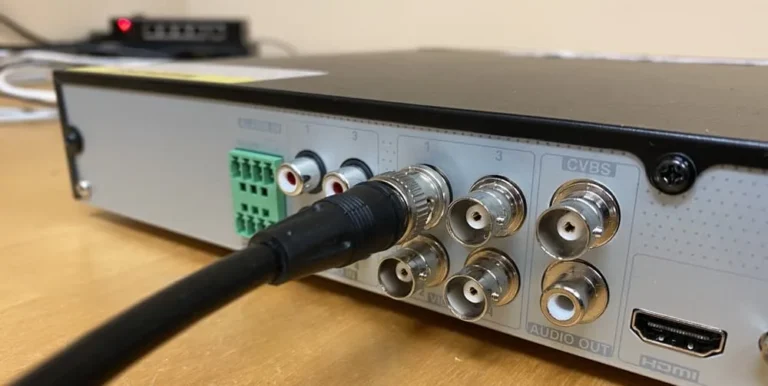
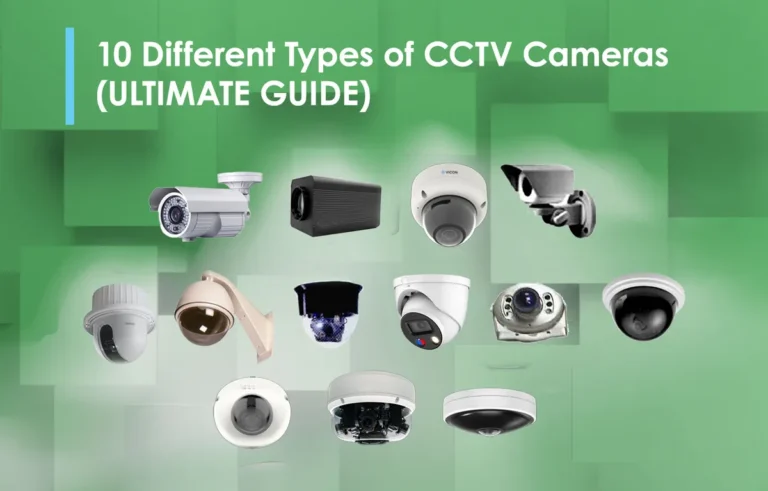
The cable carrying the video signal from the camera to your DVR or NVR is a vital link. For analog CCTV cameras, this is typically a coaxial cable with BNC connectors. For IP cameras, it's an Ethernet cable.
For Analog Cameras (Coaxial Cable):
- Check that the BNC connector is securely attached to both the camera and the DVR. A loose connection can easily cause a no-video situation.
- Gently wiggle the connectors at both ends. If the image flickers or momentarily appears, the connection is likely the issue.
- Inspect the cable for any visible damage, such as cuts, kinks, or corrosion, especially if it runs outdoors or through tight spaces.
For IP Cameras (Ethernet Cable):
- Ensure the Ethernet cable is fully seated in the camera's port and the port on your NVR or PoE switch.
- Look for any damage to the cable jacket or the connector pins.
- If using PoE, this cable is also carrying power, so a damaged Ethernet cable could cause both power and video loss.
If you have a spare cable of the correct type, swapping it in can quickly tell you if the cable itself is the problem.
Picture's Fuzzy or Distorted: What's the Bottleneck?
A fuzzy, distorted, or snowy image on your monitor means the camera is likely powered and connected, but the signal quality is poor. This can be caused by a variety of factors, ranging from physical damage to the transmission lines to interference. Getting a clear picture requires a clean, uninterrupted signal.
Assessing Cable Condition and Quality
The condition and quality of your video cables are paramount for a clear image. Even a minor internal break or significant degradation in a coaxial or Ethernet cable can introduce noise and distortion.
- Coaxial Cables (Analog): Older or lower-quality coaxial cables can degrade over time, especially when exposed to the elements. Look for any signs of physical damage like crushing, cuts, or corrosion on the connectors. Manufacturers recommend using RG59 or RG6 coaxial cable for surveillance systems to ensure adequate signal strength. In our research, using cables with poor shielding can also lead to interference from nearby electrical devices, power lines, or other video cables.
- Ethernet Cables (IP Cameras): For IP cameras, using Cat5e or Cat6 Ethernet cable is standard. Damaged shielding or internal wire breaks in these cables can lead to packet loss and signal degradation, resulting in a distorted or choppy video feed. Ensure the connectors (RJ45) are properly crimped and seated.
Examining Camera Lens and Housing
Sometimes, the issue isn't with the wiring or power, but with the camera's immediate environment or its components. A dirty lens is one of the simplest, yet most common, reasons for a fuzzy image.
- Lens Obstruction: Check the camera's lens for dirt, dust, water spots, spiderwebs, or even insect activity. Even a small amount of debris directly on the lens can significantly blur the image.
- Lens Fogging: If the camera is exposed to rapid temperature changes, condensation can form on the inside or outside of the lens. This is more common in outdoor cameras.
- Physical Damage: Inspect the camera housing for any cracks or damage. While less common, severe impacts could have misaligned or damaged the internal lens mechanism.
To clean the lens, use a soft, lint-free microfiber cloth. For stubborn grime, a specialized lens cleaner can be used sparingly. Ensure you're gentle to avoid scratching the lens surface.
Camera Appears Offline: Connectivity Issues
If your camera's status indicator is red, shows "offline" in your software, or simply doesn't appear in your video feed list, the problem lies with its connection to the network or the recording system. This is particularly common with IP cameras, but wired analog cameras can also be affected if their connection to the DVR is lost.
Verifying Network Connection (Wired vs. Wireless)
The first step here is to determine if your camera is wired or wireless and then check that specific connection type.
Wired IP Cameras: These connect via Ethernet cables to your router or NVR.
- Check the Cable: Re-seat the Ethernet cable at both the camera and the router/NVR. As mentioned, a damaged cable can also cause connectivity loss.
- Check the Port: Try plugging the camera into a different Ethernet port on your router or NVR. The port itself could be faulty.
- Check Router/NVR Status: Ensure your router or NVR is powered on and functioning. A network outage will bring down all connected devices.
Wireless IP Cameras: These connect via Wi-Fi.
- Signal Strength: The most frequent cause of wireless camera dropout is a weak Wi-Fi signal. The camera might be too far from the router, or there might be physical obstructions (thick walls, metal objects) blocking the signal. You can check signal strength in the camera's app or via your router's settings. Our guide on improving WiFi signal strength offers detailed solutions.
- Wi-Fi Network: Ensure the camera is connected to the correct Wi-Fi network and that the Wi-Fi password hasn't changed. If your Wi-Fi network name (SSID) or password has been updated, you’ll need to reconfigure the camera.
- Interference: Other wireless devices (microwaves, cordless phones, Bluetooth devices) operating on the same 2.4 GHz frequency can interfere with your camera's Wi-Fi connection.
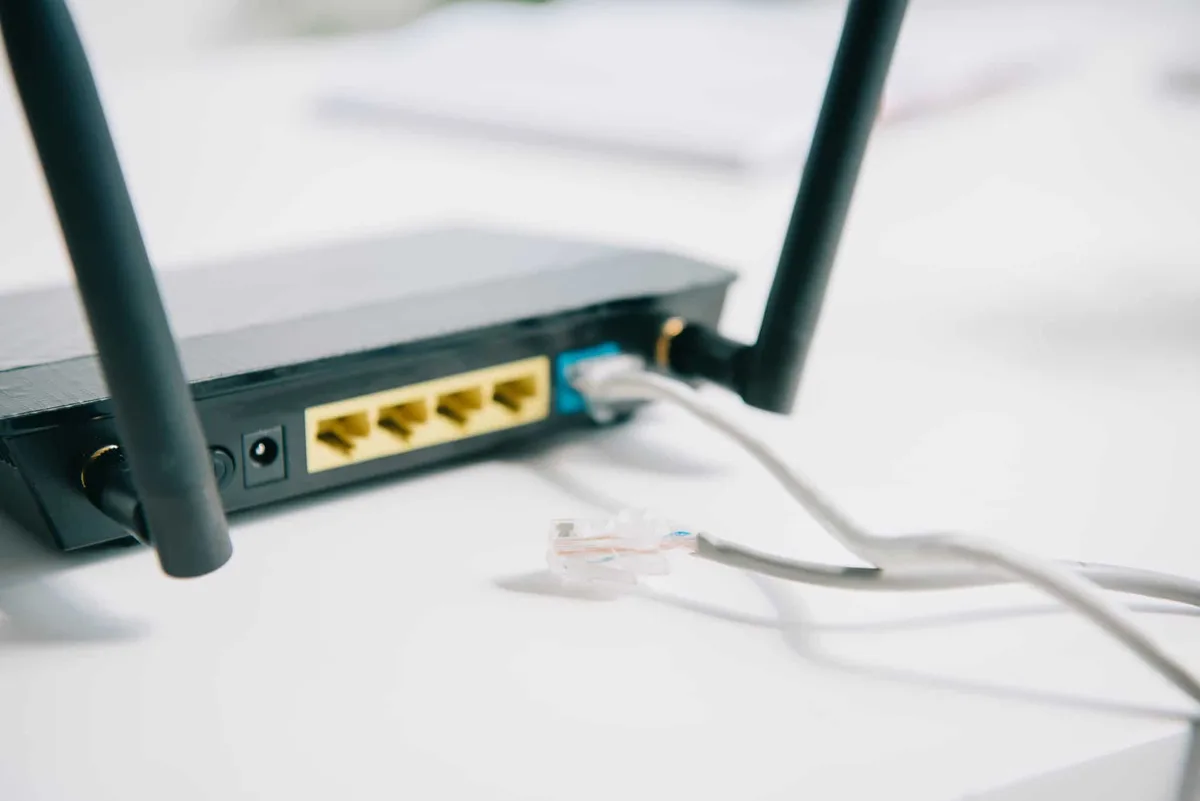
Image source: Web (Bing) / evbn.org (Web image (fair-use with source credit))
Checking Router and Network Settings
If your camera is still offline after checking the physical connections and signal strength, the issue might be with your network configuration.
- IP Address Conflicts: Every device on your network needs a unique IP address. If your camera or recorder is assigned an IP address already in use, it can cause connection issues. Most modern routers and NVRs handle this automatically, but in complex networks, conflicts can arise.
- Firewall Settings: Your router's firewall or security software might be blocking the camera's communication. You may need to add the camera's IP address to an exception list or configure specific port forwarding rules, as recommended by the camera manufacturer.
- DHCP Server: Ensure your router's DHCP server is enabled. This service automatically assigns IP addresses to devices on your network. If it's off, devices won't get an address and can't communicate. You can usually check this in your router's administrative settings.
If you've recently changed your router, network settings, or internet provider, it’s a good time to re-verify all your device configurations.
It Was Working, Now It's Not: Intermittent Problems
When your CCTV camera works sometimes but not others, it’s particularly maddening. These intermittent issues can be tough to pin down because the problem isn't constant. It often points to unstable power, loose connections that get jostled, or software/firmware bugs that only appear under certain conditions.
Power Surges and Stability
Unstable power is a frequent cause of intermittent camera failures. Power fluctuations from the grid, or even issues within your home's electrical system, can cause a camera or its power supply to briefly shut down or reset.
- Brownouts/Blackouts: Brief power dips can cause cameras to lose power and reboot. While many systems are designed to recover, repeated instability can sometimes lead to glitches or prevent a full restart.
- Faulty Power Adapters/Supplies: An aging or failing power adapter might not deliver a consistent voltage. This can lead to the camera behaving erratically, sometimes working, sometimes not. If your camera is connected via PoE, an unstable PoE switch can also cause these issues. Manufacturer specifications for power supplies often indicate a tolerance range for voltage input, and if your adapter fluctuates outside this, it can cause problems.
Using a surge protector or, even better, an Uninterruptible Power Supply (UPS) for both your recorder and cameras can help stabilize power and prevent damage from surges or sudden outages.
Firmware Glitches and Updates
Software and firmware are the brains of your camera and recorder. Just like any computer, they can develop glitches or bugs that cause them to behave unexpectedly.
- Outdated Firmware: Manufacturers release firmware updates to fix bugs, improve performance, and patch security vulnerabilities. Running old firmware can mean you’re missing critical fixes that might be causing your intermittent issues. Our guide on updating camera software covers this process in detail.
- Corrupted Firmware: In rare cases, a firmware update might fail or become corrupted during the process, leading to instability or a complete system failure.
- Software Bugs: The software on your DVR/NVR or the mobile app you use to view your cameras can also have bugs. A software update for the viewing application might resolve the problem.
If you suspect a firmware issue, checking the manufacturer's website for the latest firmware for both your cameras and recorder is a wise step. Always follow the manufacturer's instructions carefully when performing updates.
Recording Issues: Footage Missing or Incomplete
When your camera is online and showing a picture, but you find that recordings are missing, incomplete, or not happening at all, the problem often lies with the storage system. Your recorder needs to be able to write the video data, and if its storage is full, faulty, or improperly configured, it can't save footage. This is a critical aspect of surveillance, as the recorded evidence is often the primary purpose of the system.
Checking the Video Recorder's Storage (Hard Drive/SD Card)
The most common reason for a lack of recordings is that the storage device within your DVR or NVR has run out of space. Modern surveillance systems use either internal Hard Disk Drives (HDDs) in DVRs/NVRs or microSD cards in individual IP cameras.
- Check Storage Capacity: Access your recorder's menu or software interface to check the current storage usage. If it's at 100%, it needs to clear space. Many systems are set to automatically overwrite the oldest footage when the drive is full, a feature known as continuous recording. However, if this setting is disabled, recording will simply stop once capacity is reached. Our guide on managing saved video files can help you manage space.
- Storage Health: HDDs and SD cards have a finite lifespan. If the drive is failing, it might not be able to write new data reliably, leading to missed recordings or data corruption. Some recorders can perform a SMART (Self-Monitoring, Analysis, and Reporting Technology) test on the HDD to check its health. If an SD card is faulty, it might need to be replaced. You can learn more about how video is stored.
Verifying Recording Schedules and Settings
Beyond just capacity, the recorder’s settings dictate when and how recordings are made.
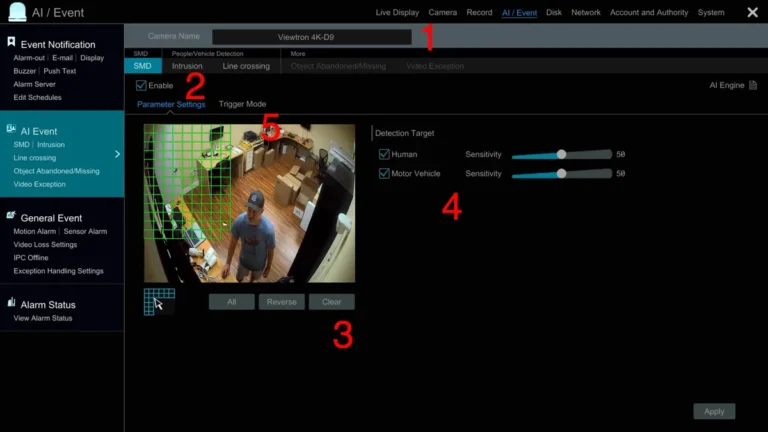
- Recording Mode: Is the system set to record continuously, on motion detection, or on a specific schedule? If it’s set to motion detection and there hasn’t been any detected motion, no recording will occur. You might need to adjust motion detection sensitivity or zones. For continuous recording, ensure that feature is enabled. Our article on understanding constant camera recording explains this in detail.
- Schedule Conflicts: If you have a custom schedule set up, double-check that it's active and doesn't have gaps where recording should be happening. For example, a schedule might be set to record only during business hours, and if an event happens outside those hours, nothing will be saved.
- Event-Based Recording: If your system uses event-based recording (like motion detection or alerts), ensure these triggers are properly configured. Sometimes, a sensitivity setting too low will miss events, or a specific camera might have its motion detection turned off. You can explore fixing motion detection issues if this is the cause.
When to Call in the Pros: Knowing Your Limits
While many CCTV camera issues can be solved with a bit of troubleshooting, some problems require professional expertise. If you’ve gone through the basic checks and your camera still isn't working, it might be time to hand it over to a specialist. Attempting complex repairs without the right knowledge can sometimes cause more damage, especially with delicate electronics.
- Advanced System Failures: If your entire security system is down, or if you suspect a major hardware failure within the DVR/NVR (like a motherboard issue), professional diagnostics are usually needed. These components are complex and often require specialized tools for repair or replacement.
- Network Integration Issues: For large or complex network setups, integrating security cameras can become intricate. Professionals can ensure proper IP addressing, firewall configurations, and network segmentation for optimal performance and security. If you're struggling with managing network traffic on a complex network, an expert can help.
- Camera Replacement or Installation: If a camera is physically damaged beyond simple cleaning or if you need to install new cameras in hard-to-reach locations, a professional installer will have the tools and experience to do it safely and correctly.
- Data Recovery: If your storage device has failed and you need to recover critical footage, specialized data recovery services are often the only option. Our guide on retrieving lost video files offers preliminary steps, but professional services are best for hardware failure.
Knowing when to stop troubleshooting and call a qualified technician can save you time, money, and frustration in the long run.
CCTV Camera Not Working: Frequently Asked Questions
Why is my security camera showing a black screen?
A black screen usually means the camera isn't receiving power, or there's a problem with the video cable connection between the camera and your recorder. Check the power adapter or PoE source and ensure all cables are securely connected at both ends. If an analog camera's coaxial cable is damaged or its BNC connector is loose, this can also cause a black screen.
Why is my security camera offline?
An offline camera typically indicates a connectivity issue. For wired IP cameras, verify the Ethernet cable and port. For wireless cameras, check your Wi-Fi signal strength, ensure it’s connected to the correct network, and that your router is functioning.
Network configuration problems or IP address conflicts can also cause a camera to appear offline.
Why is my security camera image blurry?
Blurry images are often caused by a dirty camera lens. Clean the lens with a microfiber cloth and appropriate lens cleaner. Other causes include condensation on the lens, physical damage to the camera housing, poor cable quality leading to signal degradation, or focusing issues within the camera itself.
How long should security footage be kept?
The duration for keeping security footage varies based on legal requirements, company policy, and storage capacity. Many businesses keep footage for 30 to 90 days, while some may extend this for longer periods for evidentiary purposes. Regulations like GDPR may also influence retention policies.
Our article on retention policies for surveillance video delves into this further.
What is continuous recording on security cameras?
Continuous recording means the camera or DVR/NVR records footage 24/7, without interruption. This method ensures you capture every moment, but it requires significant storage space. It’s often used in high-security areas or when every second of activity is critical.
If your system isn't recording continuously, check the recording schedule settings.